In this week’s blog Collections Management Technician Jasmine Hide talks about the rehousing, repitching, and condensing of the Corson collection, and the space saving possibilities of optimal shelf use.
Shuffling the Corson Collection
Reply
In this week’s blog Collections Management Technician Jasmine Hide talks about the rehousing, repitching, and condensing of the Corson collection, and the space saving possibilities of optimal shelf use.
In this week’s blog our Art Collection Documentation Assistant Gaby Cortes discusses the work she has been undertaking for the first phase of a campus-wide audit of the Art Collection, highlighting our student artworks on paper from the Edinburgh College of Art.
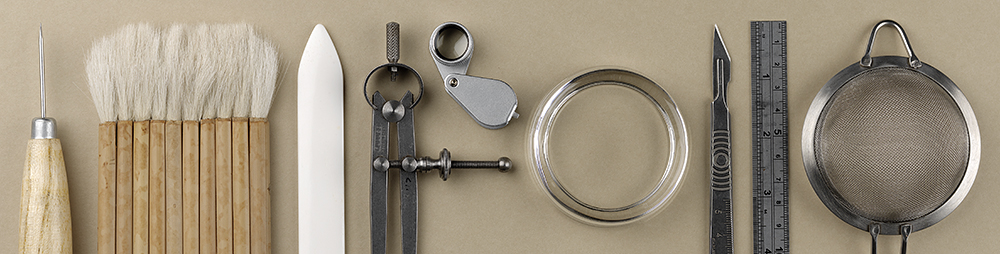
In this post book conservator Amy Baldwin talks about the conservation work undertaken on volumes appearing in the upcoming online exhibition “Rewriting the script: the works and words of Esther Inglis”.
Isabela Tapia Hernandez
The Collections Care Assistant role was created for our students to explore the cultural heritage sector through employment and support their career aspirations post-graduation.
This is the second of three blog posts detailing their time with us!
Back in March we welcomed our new Student Collections Care Assistants; Abigail Miskin, Ella Joyce and Isabela Tapia Hernandez. Four months on and it is time to say goodbye and thank you to the first, Abigail, who has been offered an amazing opportunity to shadow a team of conservators in Italy, learning Paintings Conservation and develop on the skills she has learned here with us.
The Collections Care Assistant role was created for our students to explore the cultural heritage sector through employment and support their career aspirations post-graduation. This inaugural year involved collaborative efforts to optimise the role for students, collections, and service. Abigail, Ella and Isabela exhibited exceptional communication, maturity, flexibility, and a willingness to learn, making the role’s first year highly successful. These qualities also allowed the established team members to learn and improve the role, which we aim to continue offering in 2024-25 and beyond.
This is the first of three blog posts detailing their time with us!
Anyone who has attended a meeting, had a conversation in the corridor, or bumped into me in one of our stores, knows that one of my main talking points for at least the past 5 years has been my ambition to undertake a campus-wide audit of the Art Collection. Obviously, there have been a few major world events that have hindered this, but it’s finally happening!
With over 8000 works in the collection, and at least 31% of them on display around campus (1845 works over 415 separate locations!), it’s not a straightforward job. We will have to gain access to office spaces, lecture halls, corridors, and seminar rooms, as well as taking a deep dive into the artworks held in storage.

Anna checking artworks in store
As usual, we rely on a spreadsheet to keep us in check. Although the most important detail is updating the location, we are also looking at the condition of the artworks, whether they need to be photographed, and what fixings are installed on the back. All of this will make it easier for us to provide access (online, for exhibition, teaching, or loan) or identify artworks that need further work to make them available. This information will be uploaded to our Collections Management Database (Vernon CMS) to enable greater location control and improve overall information on each of the artworks.
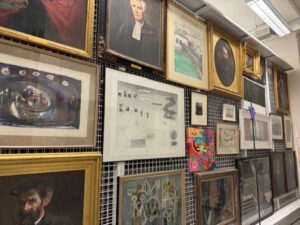
Artworks in store
The audit has begun in earnest, with 2313 works in storage listed and locations updated as of the beginning of this month. Alongside this work, our Documentation Assistant Gaby is also running trials on the use of barcodes on artworks for location control, which I’m sure you’ll be able to read about in a future blog post! We’ll be out and about on campus for the next year, so please say hello if you spot us.
Anna Hawkins
Museum Collections Manager
In this post, our Technician, Robyn Rogers, discusses the recyclable book cradles she has developed as part of the conservation team’s ongoing work to make exhibitions at the University of Edinburgh more sustainable.
By Amanda Dodd, Projects Conservator, Heritage Collections
In this week’s blog, Amanda Dodd reviews the work she did on the One Health Project with a particular focus on this use of more sustainable materials when conserving collections.
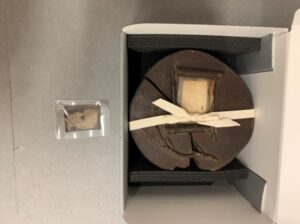
Above: Rehoused R(D)SVS photograph and ornate frame of O.C. Bradley.
In October 2023 I took over as Project conservator for The One Health initiative. A little bit of background: The project, generously funded by the Wellcome Trust, was a monumental effort to catalogue, preserve, and provide access to three distinct archival collections pertaining to the evolution of animal health and welfare in Scotland from the 1840s onwards. These collections include the Royal (Dick) School of Veterinary Studies (R(D)SVS), OneKind Animal Charity, and the Royal Zoological Society of Scotland (RZSS).
We are delighted to welcome three new people to the Conservation and Collections Management Team this month. Abigail Miskin, Ella Joyce and Isabela Tapia Hernandez will be joining us as our first ever Student Collections Care Assistants.
Ella, Abigail and Isabela will be working with us until the end of July on a range of different projects and activities. Let’s hear them introduce themselves in their own words:
By Morven Rodger, Collections Registrar, Heritage Collections
As the Collections Registrar, one of my core responsibilities is coordinating loans from the University’s Heritage Collections to external exhibitions. Whenever an item from our collections is requested by another institution, I work with our conservators, curators, and technicians, while liaising with the borrowing institution, to manage the risks and help make the process as smooth as possible.
I am always excited by new loan requests, and the prospect of sharing our collections with broader audiences, but no loan is without risk, and lenders must balance the risks and benefits to justify their decision to lend. The loan request is a borrower’s opportunity to make their case, explain why they want to borrow, show that they understand the practicalities, and demonstrate the value our items will add to their exhibition.