The Book Surgery Part 2: Bringing Everything Together

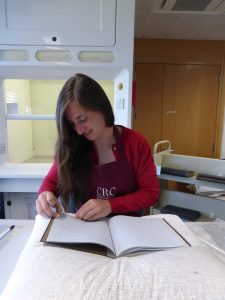
In this blog, Project Conservator Mhairi Boyle her second day of in-situ book conservation training she has undertaken with Book Conservator Caroline Scharfenberg (ACR). Mhairi previously undertook a Maternity Cover contract at the CRC within the Conservation Department.


In the previous blog, the examination and initial steps in spine repair and board reattachment of two volumes from the Royal (Dick) School of Veterinary Studies (R(D)SVS) were described. The first blog in this series can be found here.

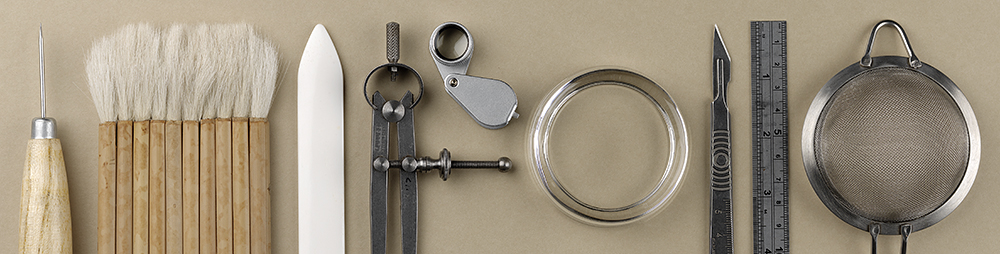
After my first session with Caroline, I sat down and pored over all my notes and the millions of photos I had taken. The amount of thought, precision and care that goes into book spine linings and repairs that will eventually be hidden and concealed shows how complex even in-situ book conservation steps can be. After jotting down my notes into a coherent order and cross-referencing everything with Caroline, I came back to the studio a few weeks later refreshed and ready for a full day of training and collaboration.

In this session, Caroline and I focused on making spine pieces and hollows, and examined how to reattach cracked book boards in different ways. One of the things I like most about working in Conservation is that we are constantly adapting and evolving techniques, tailoring them to the objects we are currently working on. This is exactly what Caroline demonstrated to me: informed by our initial examinations of both volumes, we tailored the treatment steps for each book based on its size, weight, and particular areas of weakness.

After the book spines were both lined, providing them with adequate strength, we lifted the cover material off the book boards with along the spine edges so that the new linings could be slotted under the lifted material. Because one book had a leather cover and the other had a cloth-covered spine, it was a good opportunity to practice this technique and see how it works in different scenarios. I personally found the cloth material easier to lift than the leather, because it was lighter and easier to manoeuvre.

The cloth covering the spine was lifted, and the new lining was slotted under the lifted material.

The leather-bound volume was given a new hollow.

We then went onto looking at book hollows, and how the hollow can be adapted for books of different sizes and sewing structures. A hollow supports the volume by giving it flexibility, allowing it to open more fully. Sometimes a book may have had a hollow in the past that has failed/become damaged, and sometimes a book may have never had one to begin with. The leather-bound volume had a hollow-back structure, so we used the traditional hollow structure to re-instate its flexibility. The other volume has a ‘tight-back’ sewing structure, meaning that the covering material has been directly adhered either to a spine lining, or directly to the spine itself. In this case, there was evidence of a previous spine lining.

The laminated spine piece was adapted from the typical ‘hollow’ structure.

Because this volume was smaller, lighter, and had less space for a hollow, we decided to instead create a sturdy yet flexible spine piece, which consisted of three pieces of archival-grade paper adhered together. This took up less room on the already narrow and small spine structure. The spine piece was hinged onto the spine with adhesive, creating a hollow mechanism, and then covered with Japanese paper. Japanese paper was then tugged and adhered onto the boards underneath lifted cover material.


Tightly wrapping the volume and new hollow in bandages allows the hollow and spine covering to fully adhere to the contours of the book spine.

When adhering the spine piece and hollow to their respective volumes, we used 50/50 wheat starch paste and EVA adhesive. Caroline showed me a novel way of applying this – she first went in with the wheat starch paste for flexibility and increased drying time, then used a layer of EVA adhesive over the top for strength. EVA dries very quickly and can be difficult to work with at times, so layering it over the wheat starch paste gave us more time to fix everything into the position we wanted, before tightly wrapping both volumes in bandages and weighting everything down so it adhered in all the right places.

Inner joint repairs help to further stabilise the board reattachment.

After everything dried, I went in and applied inner joint repairs for more stability, applied the consolidant Klucel G to any weak areas of leather, and consolidated the damaged board corners with 50/50 wheat starch paste and EVA adhesive.


I have really enjoyed the collaborative nature of this project and I would like to thank Caroline for sharing her wealth of knowledge with me. It has driven home to me how important it is to have great mentors to help develop your decision-making skills and hand skills alongside. Although there are plenty of reference books and articles, there is nothing quite like working alongside a leading expert in the field.

Both books are in one piece again!

Volunteer Voice – Laura Keizer

In this week’s blog, we interview a conservation volunteer to find out what they do in the studio and the benefits of volunteering….

Laura Keizer surface cleaning a bound volume in the conservation studio

Laura Keizer surface cleaning a bound volume in the conservation studio

1.What is your name?

Laura Keizer

2. Where are you from?

I’m originally from the Netherlands, but – following a short stint in Reykjavík – have been an Edinburgh resident for over three years now

3. What do you do when you are not volunteering?

Despite currently being swamped in dissertation research for the MSc in Book History and Material Culture, I love to go hiking in the Scottish hills and highlands, hunting for castles or other medieval vestiges on my bike, or simply reading a book or knitting.

Continue reading