One of the most interesting parts of my job as the University’s Conservation Officer is working on the CRC’s exhibitions programme. Whether it be condition checking, installing works, framing and mounting exhibits or consulting on display conditions such as temperature, relative humidity and light, one thing I can be always sure of, is the work is always varied. Due to ever-changing nature of the exhibitions and exhibits, I can never be quite sure what will come through the doors of the conservation studio, which was certainly the case when assisting with the installation of the recent ‘…Something Blue’ exhibition.
As Emma Smith, Exhibitions Officer and curator of the exhibition explains “In spring of this year the University’s Special Collections presented a wide ranging exhibition in the Main Library Gallery, on the colour and concept of blue. This was a great opportunity for the various expertise within the department to come together to showcase the variety of the University’s collections. It was during one conversation with Dr Andy Grout, Honorary Research Fellow at the Centre for Research Collections, that the work of Russian born artist Marc Chagall (1887 – 1985) was first mentioned. “When I think of blue, I think of Marc Chagall.”
A simple search through the library catalogue http://collections.ed.ac.uk/art confirmed two holdings attributed to the artist in the University’s art collection. Abraham and Sarah (1956) and Rehab and the Spies of Jericho (1960) are colour lithographs from Chagall’s Bible Series which was first commissioned by the important French dealer Ambroise Vollard (1866 – 1939) in 1930. To include the work of such a prominent figure in the landscape of Modern art was to be an excellent addition to the exhibition, but then to discover through the photographic records of the works, that they were both washed in a beautiful rich shade of blue, was a delightful bonus!
Both works were hanging in a faraway corner of the University, and were found to both have the frames they were bought in when they were acquired by the university in the 1970s. Neither of which were ‘display ready’, and the decision was made to reframe the works and fit them with UV filter glass.”
The two Chagall lithographs were therefore passed to conservation to undertake this process. The first step was to remove the prints from their frames and window mounts, an important step due to the fact they remained as they had been when framed in the 1970s. The window mount, and the method by which the prints were hinged, were therefore likely to be of a poorer quality which can ultimately be the cause of long-term damage to the object. Acidity in poor quality materials has to potential to migrate to the collection items and cause discolouration and embrittlement and hasten their deterioration. It is therefore important that these issues are identified so action can be taken which, in this case, consisted of replacing the poor quality materials with acid-free mount board hinged with Japanese tissue and wheat starch paste, thus minimising the risk of any further deterioration.
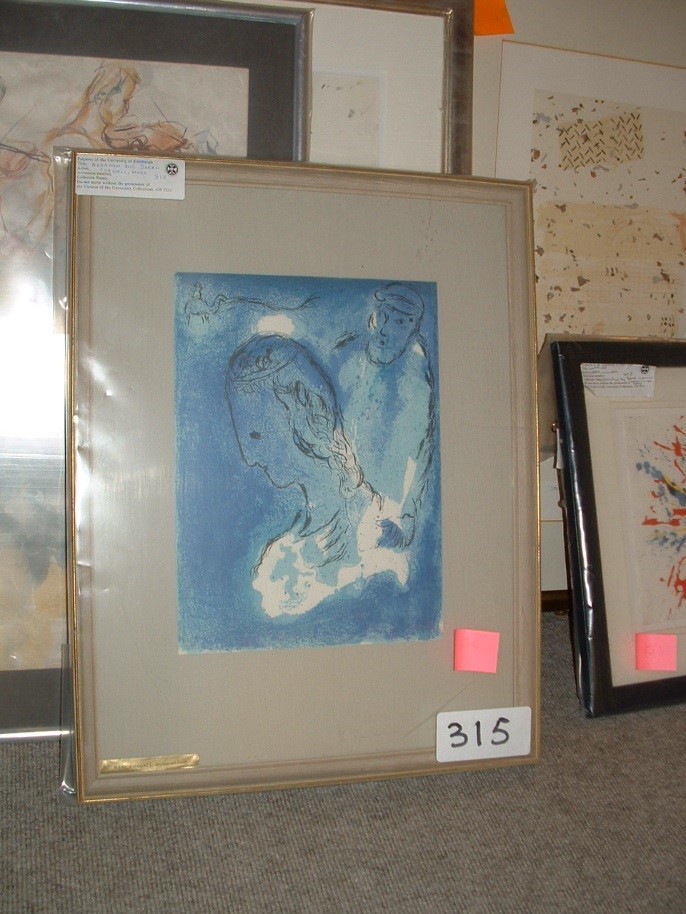
Chagall’s ‘Abraham and Sarah’ in its previous frame
Although pressure sensitive tape had been used to position the prints in their window mounts, it was thankfully relatively simple and easy to remove due to the natural degradation and ageing process causing the tape to become brittle and lose its adhesive qualities. Using a metal spatula, the tape could be lifted from the paper, with any more stubborn areas being removed by the gently application of heat to soften the adhesive.

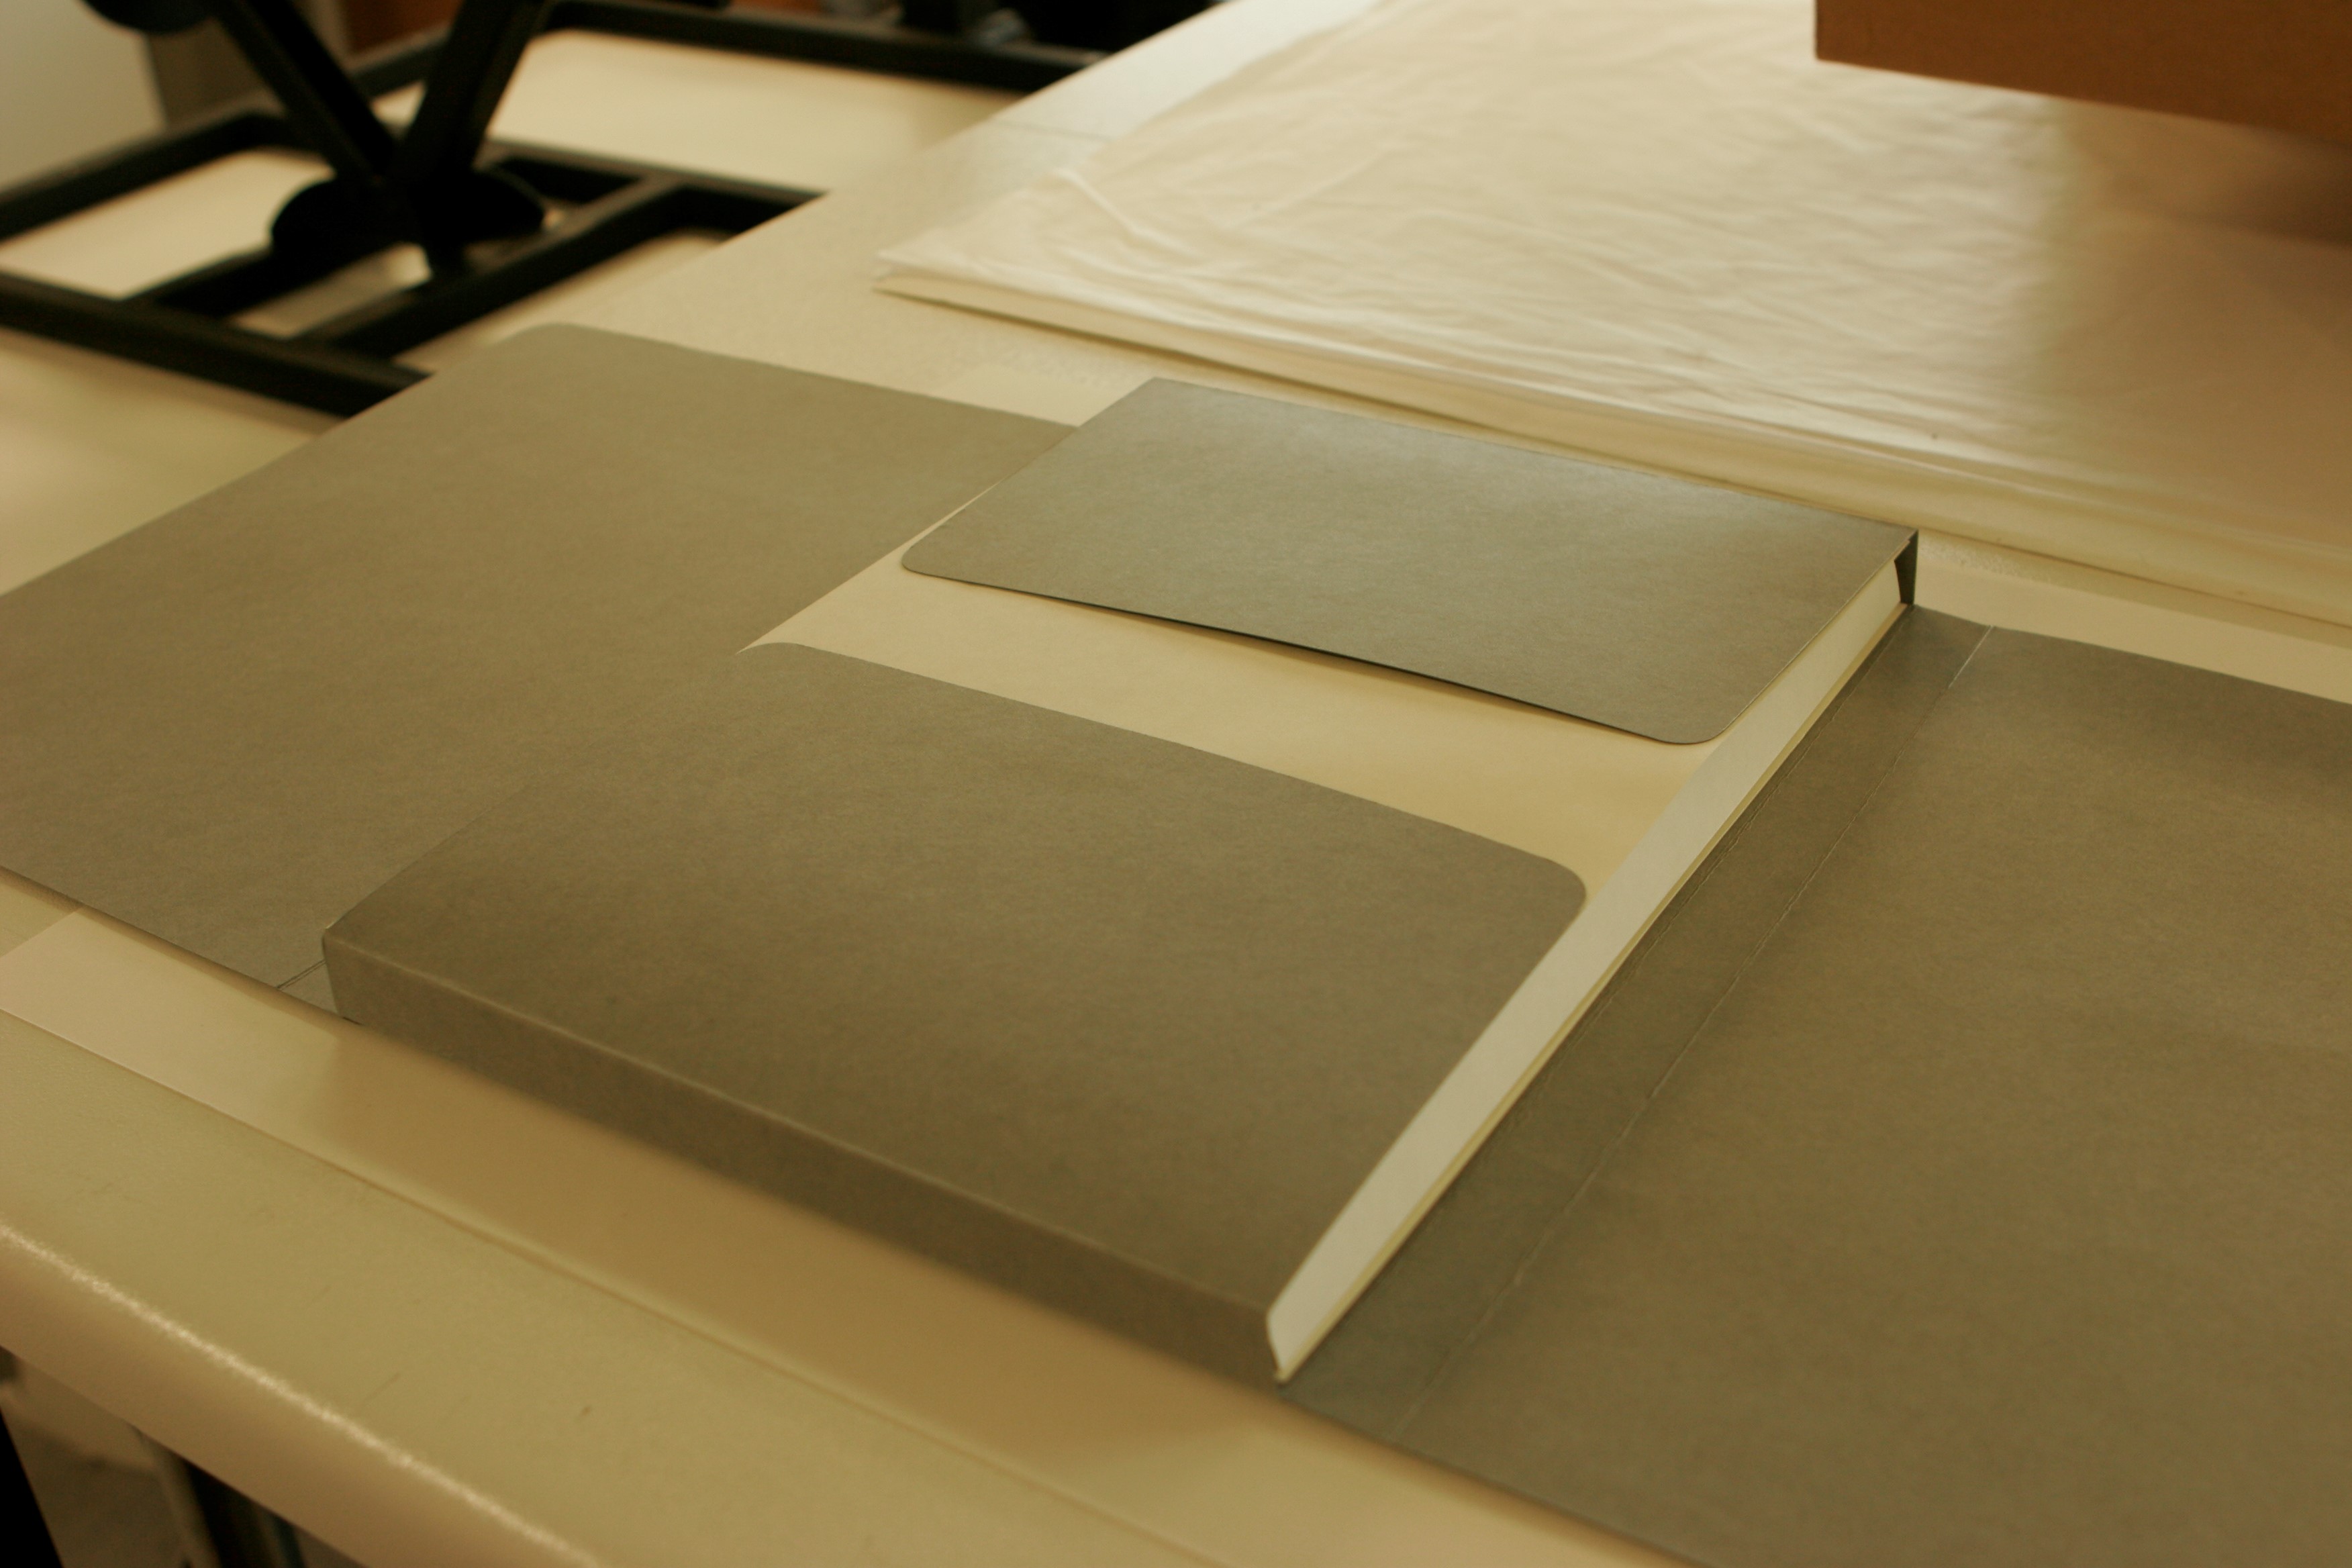
Unframing the Chagall Prints
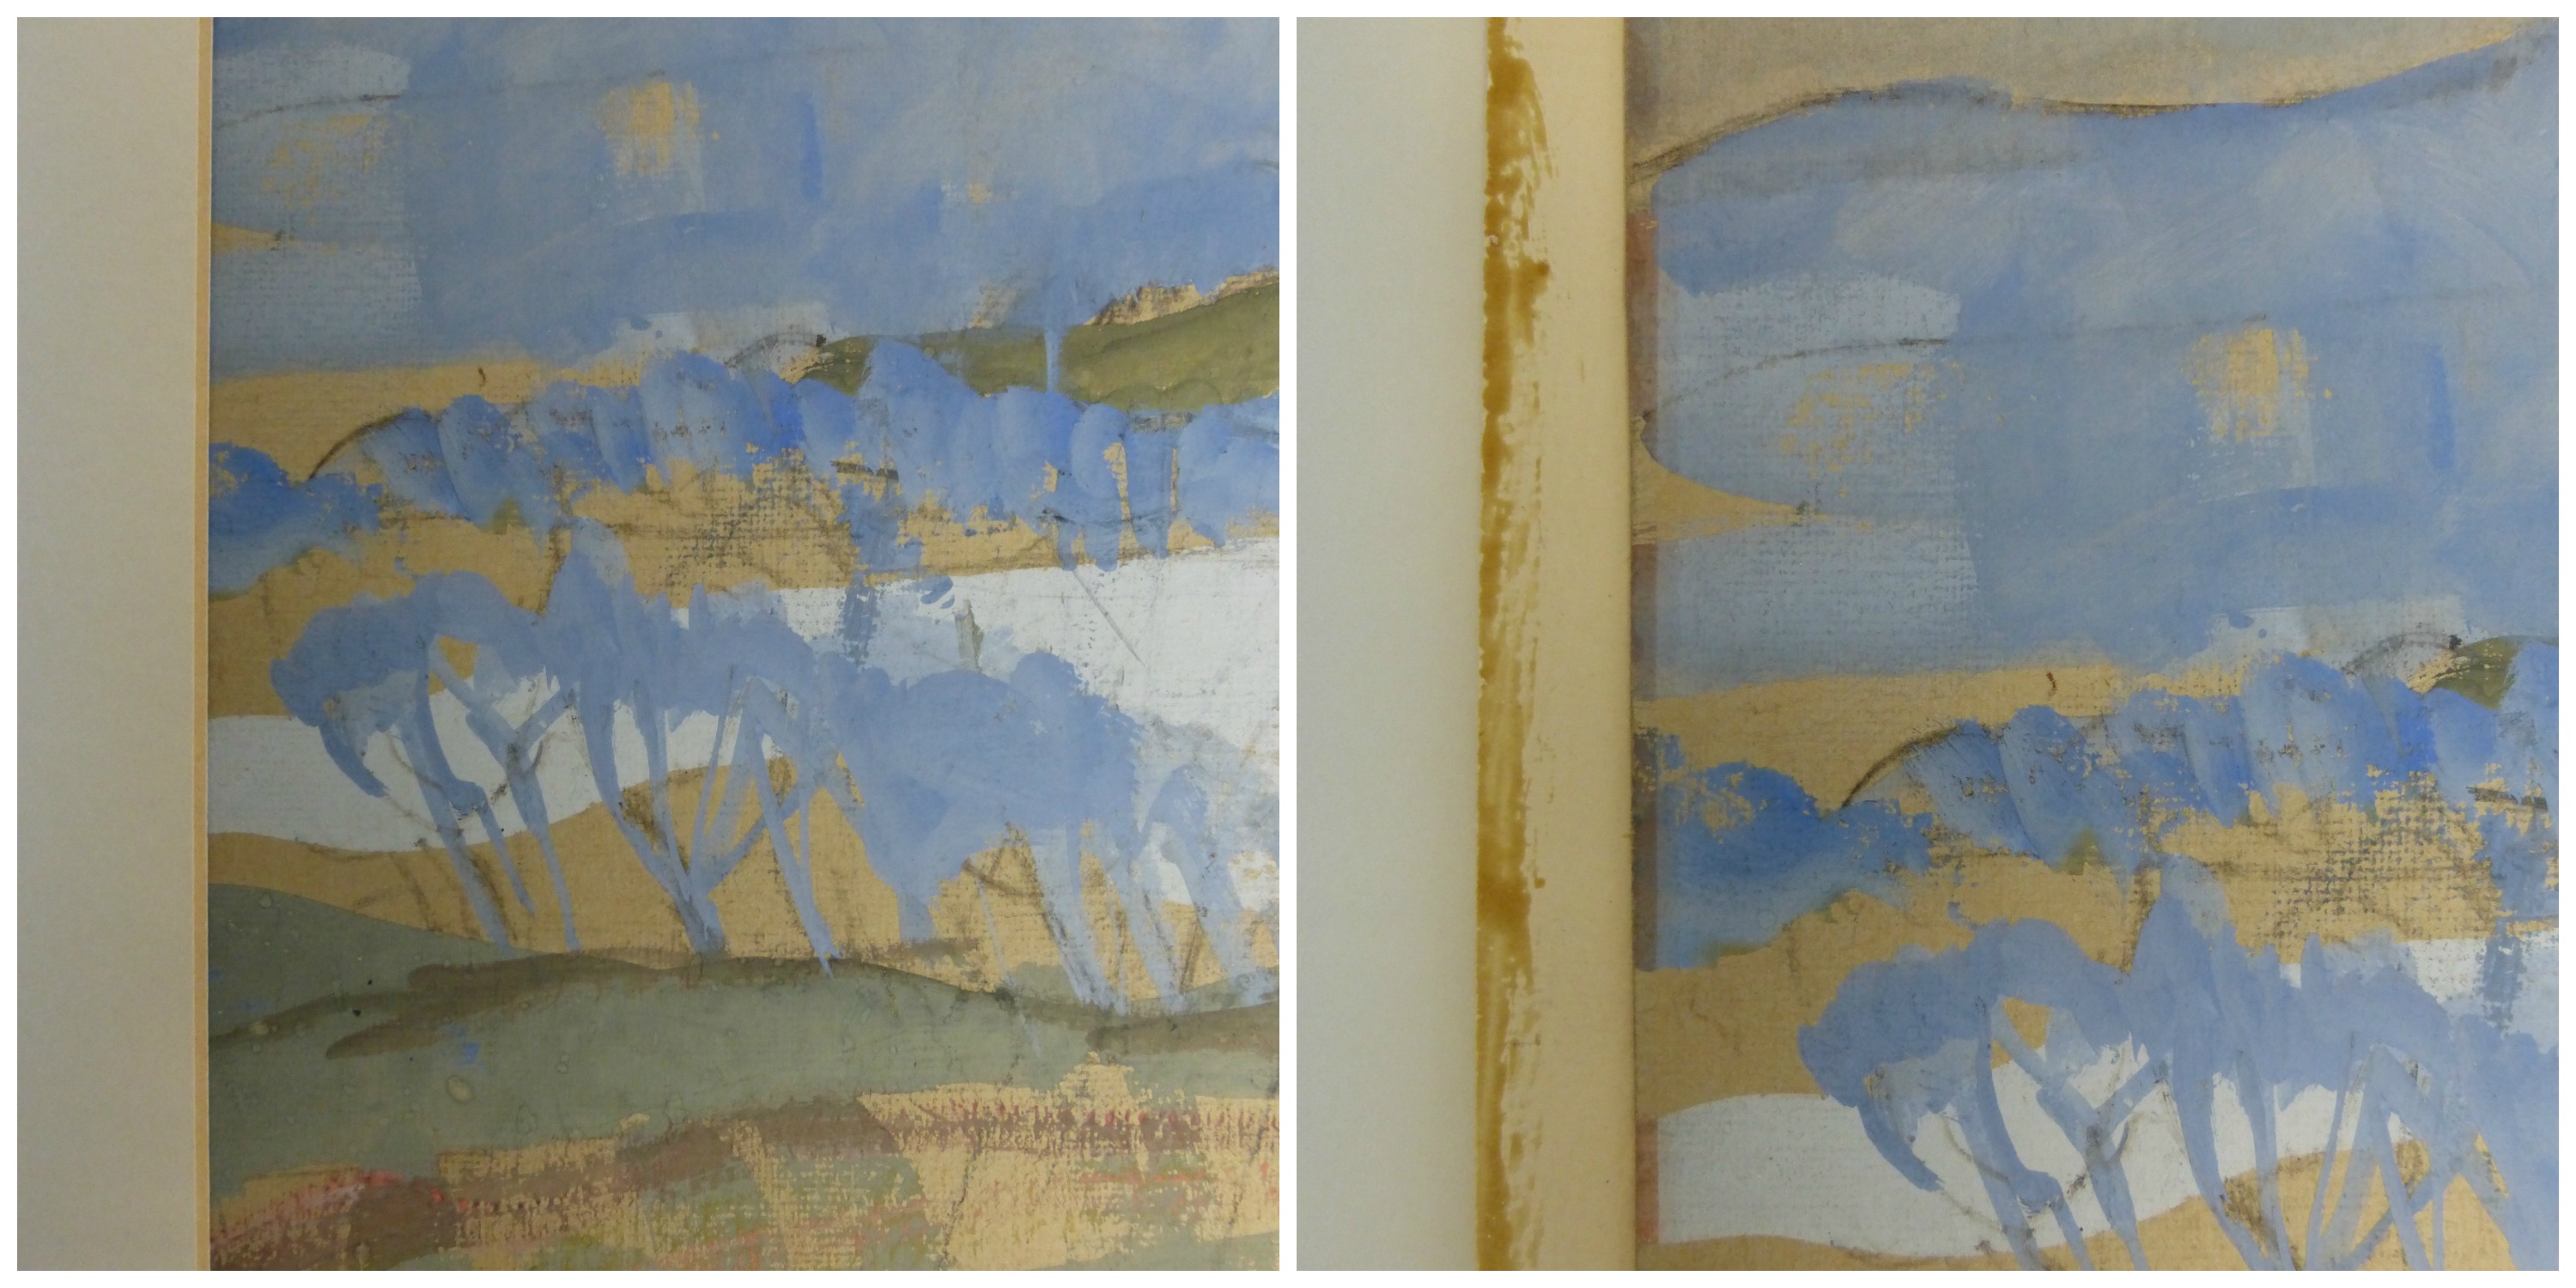
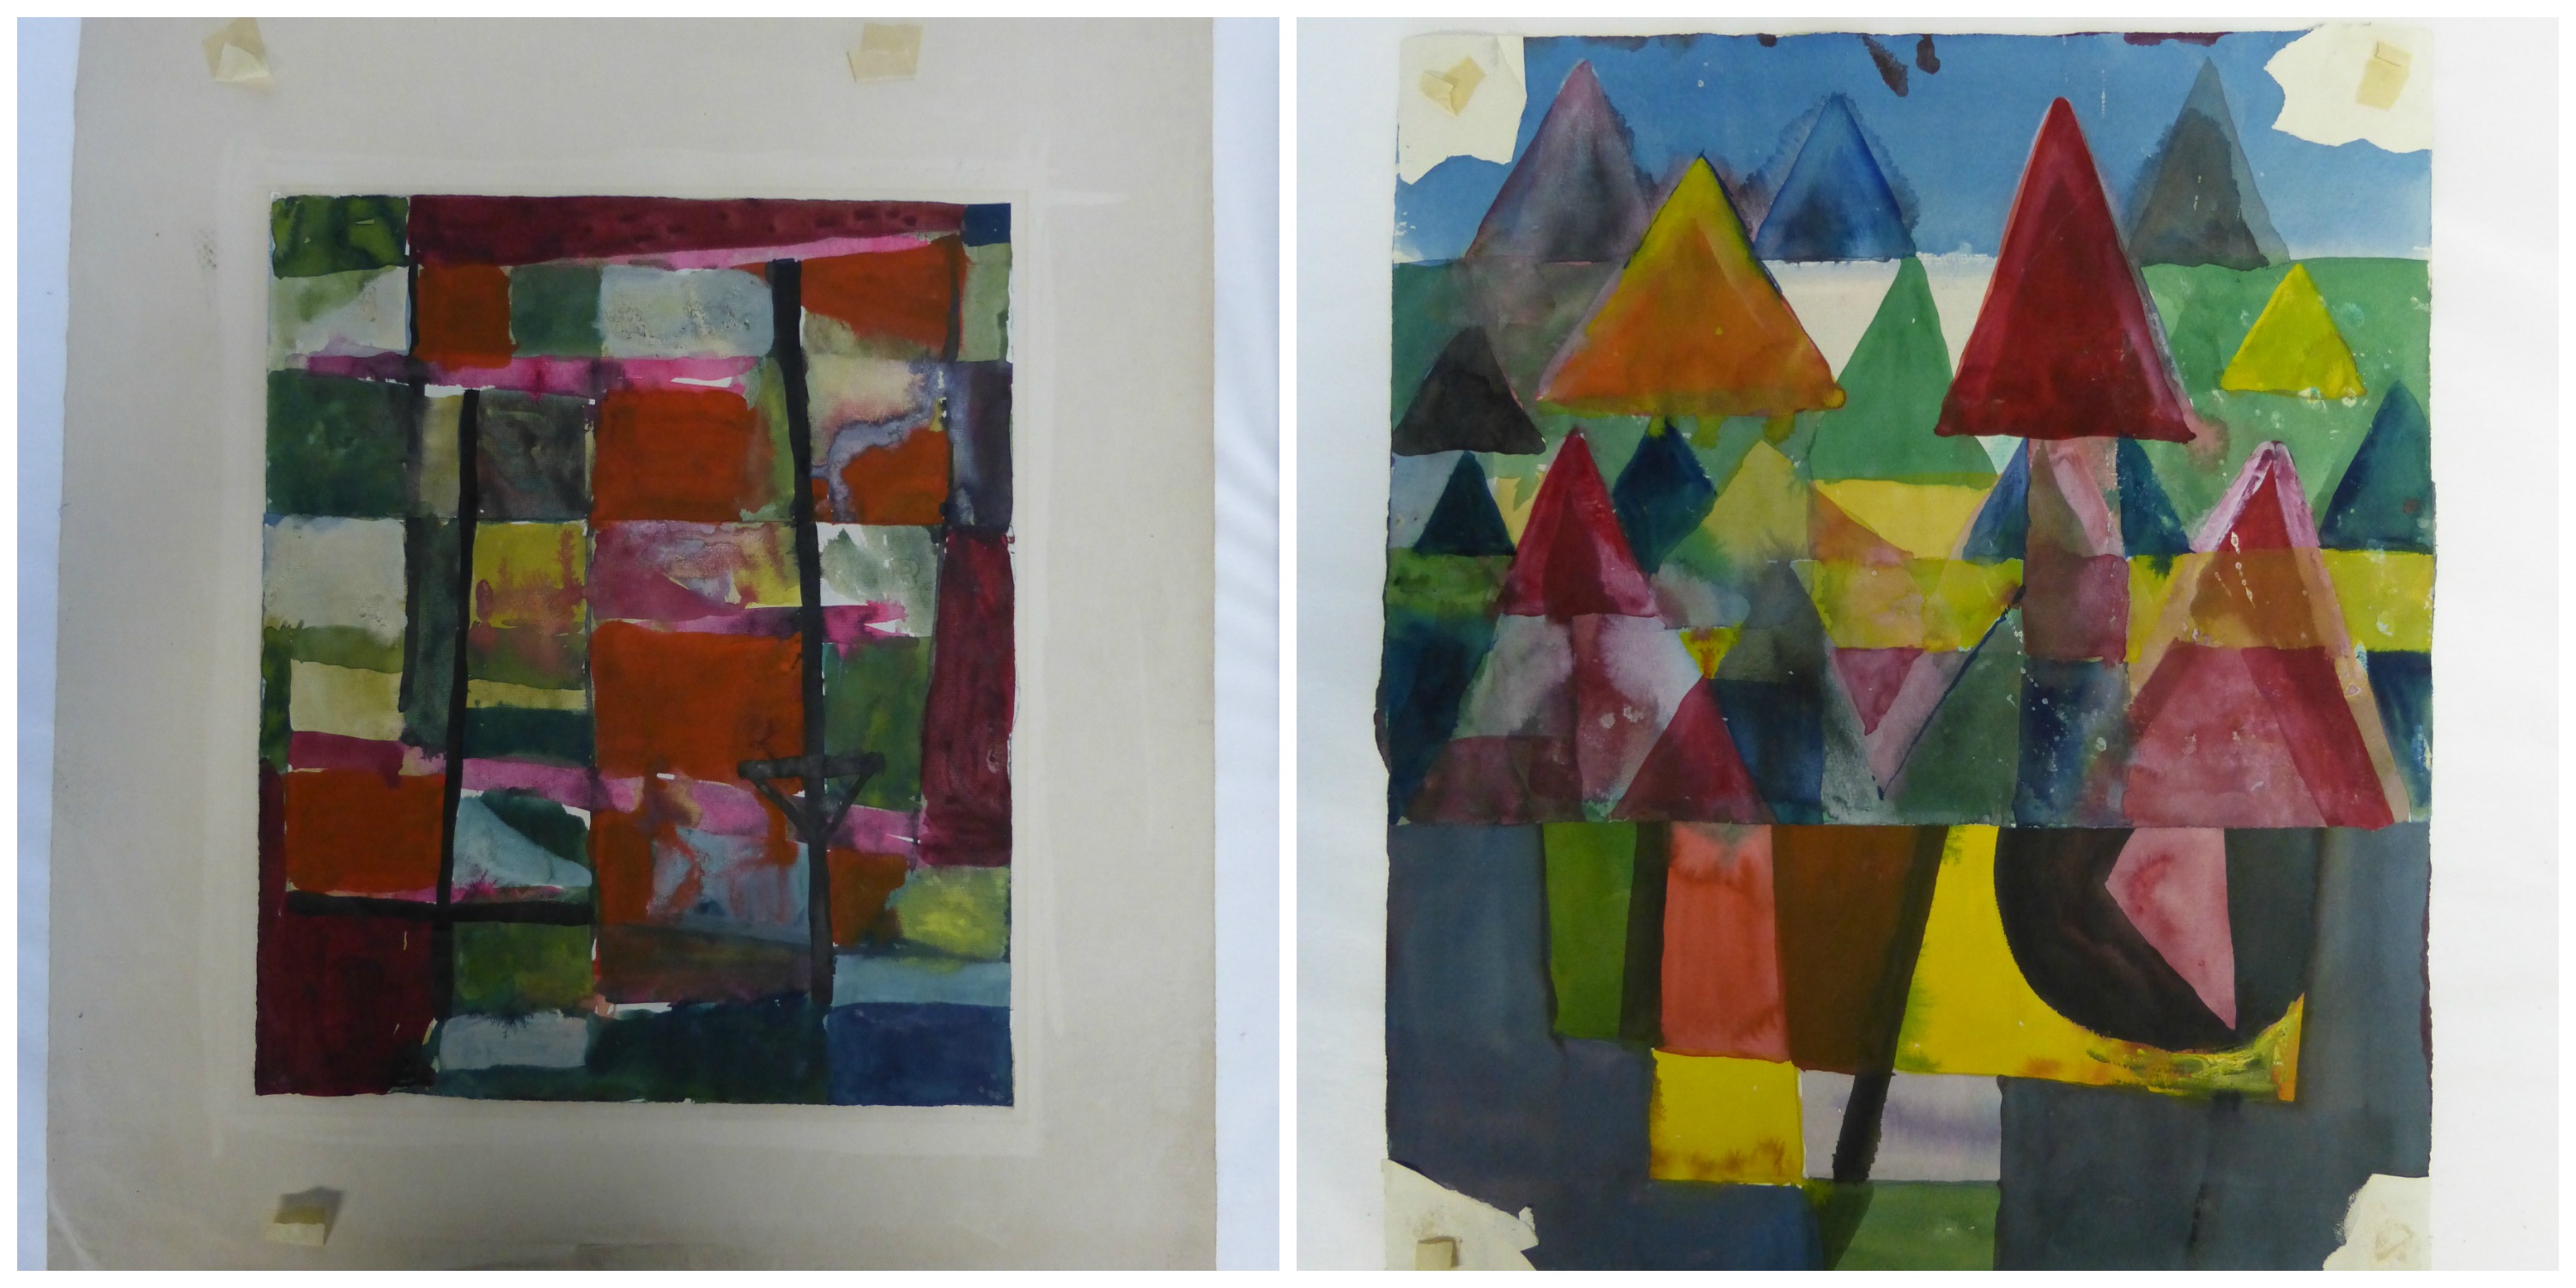
Upon removing the print from its mount, we were to find a nice (and rather unexpected) surprise! A previously hidden Chagall image – most likely a lithograph – on the reverse which was duly photographed and documented for future record.

Previously hidden image on the reverse
The decision was taken to float mount the prints in their new frames – allowing the edges of the print to be shown – and hinged to the mount board along the top and bottom edge using Japanese tissue and wheat starch paste; a process which can be easily reversed if necessary with no adverse effects to the object. Once in their new frames, with the added protection of UV filtered glass to minimise risk the risk from ultra violet light, the prints were ready to be displayed in the exhibition.
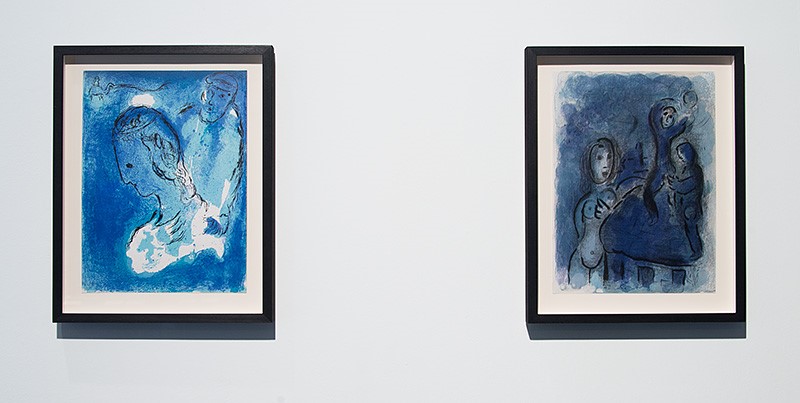
Chagall’s on display in the ‘…Something Blue’ exhibition, Main Library
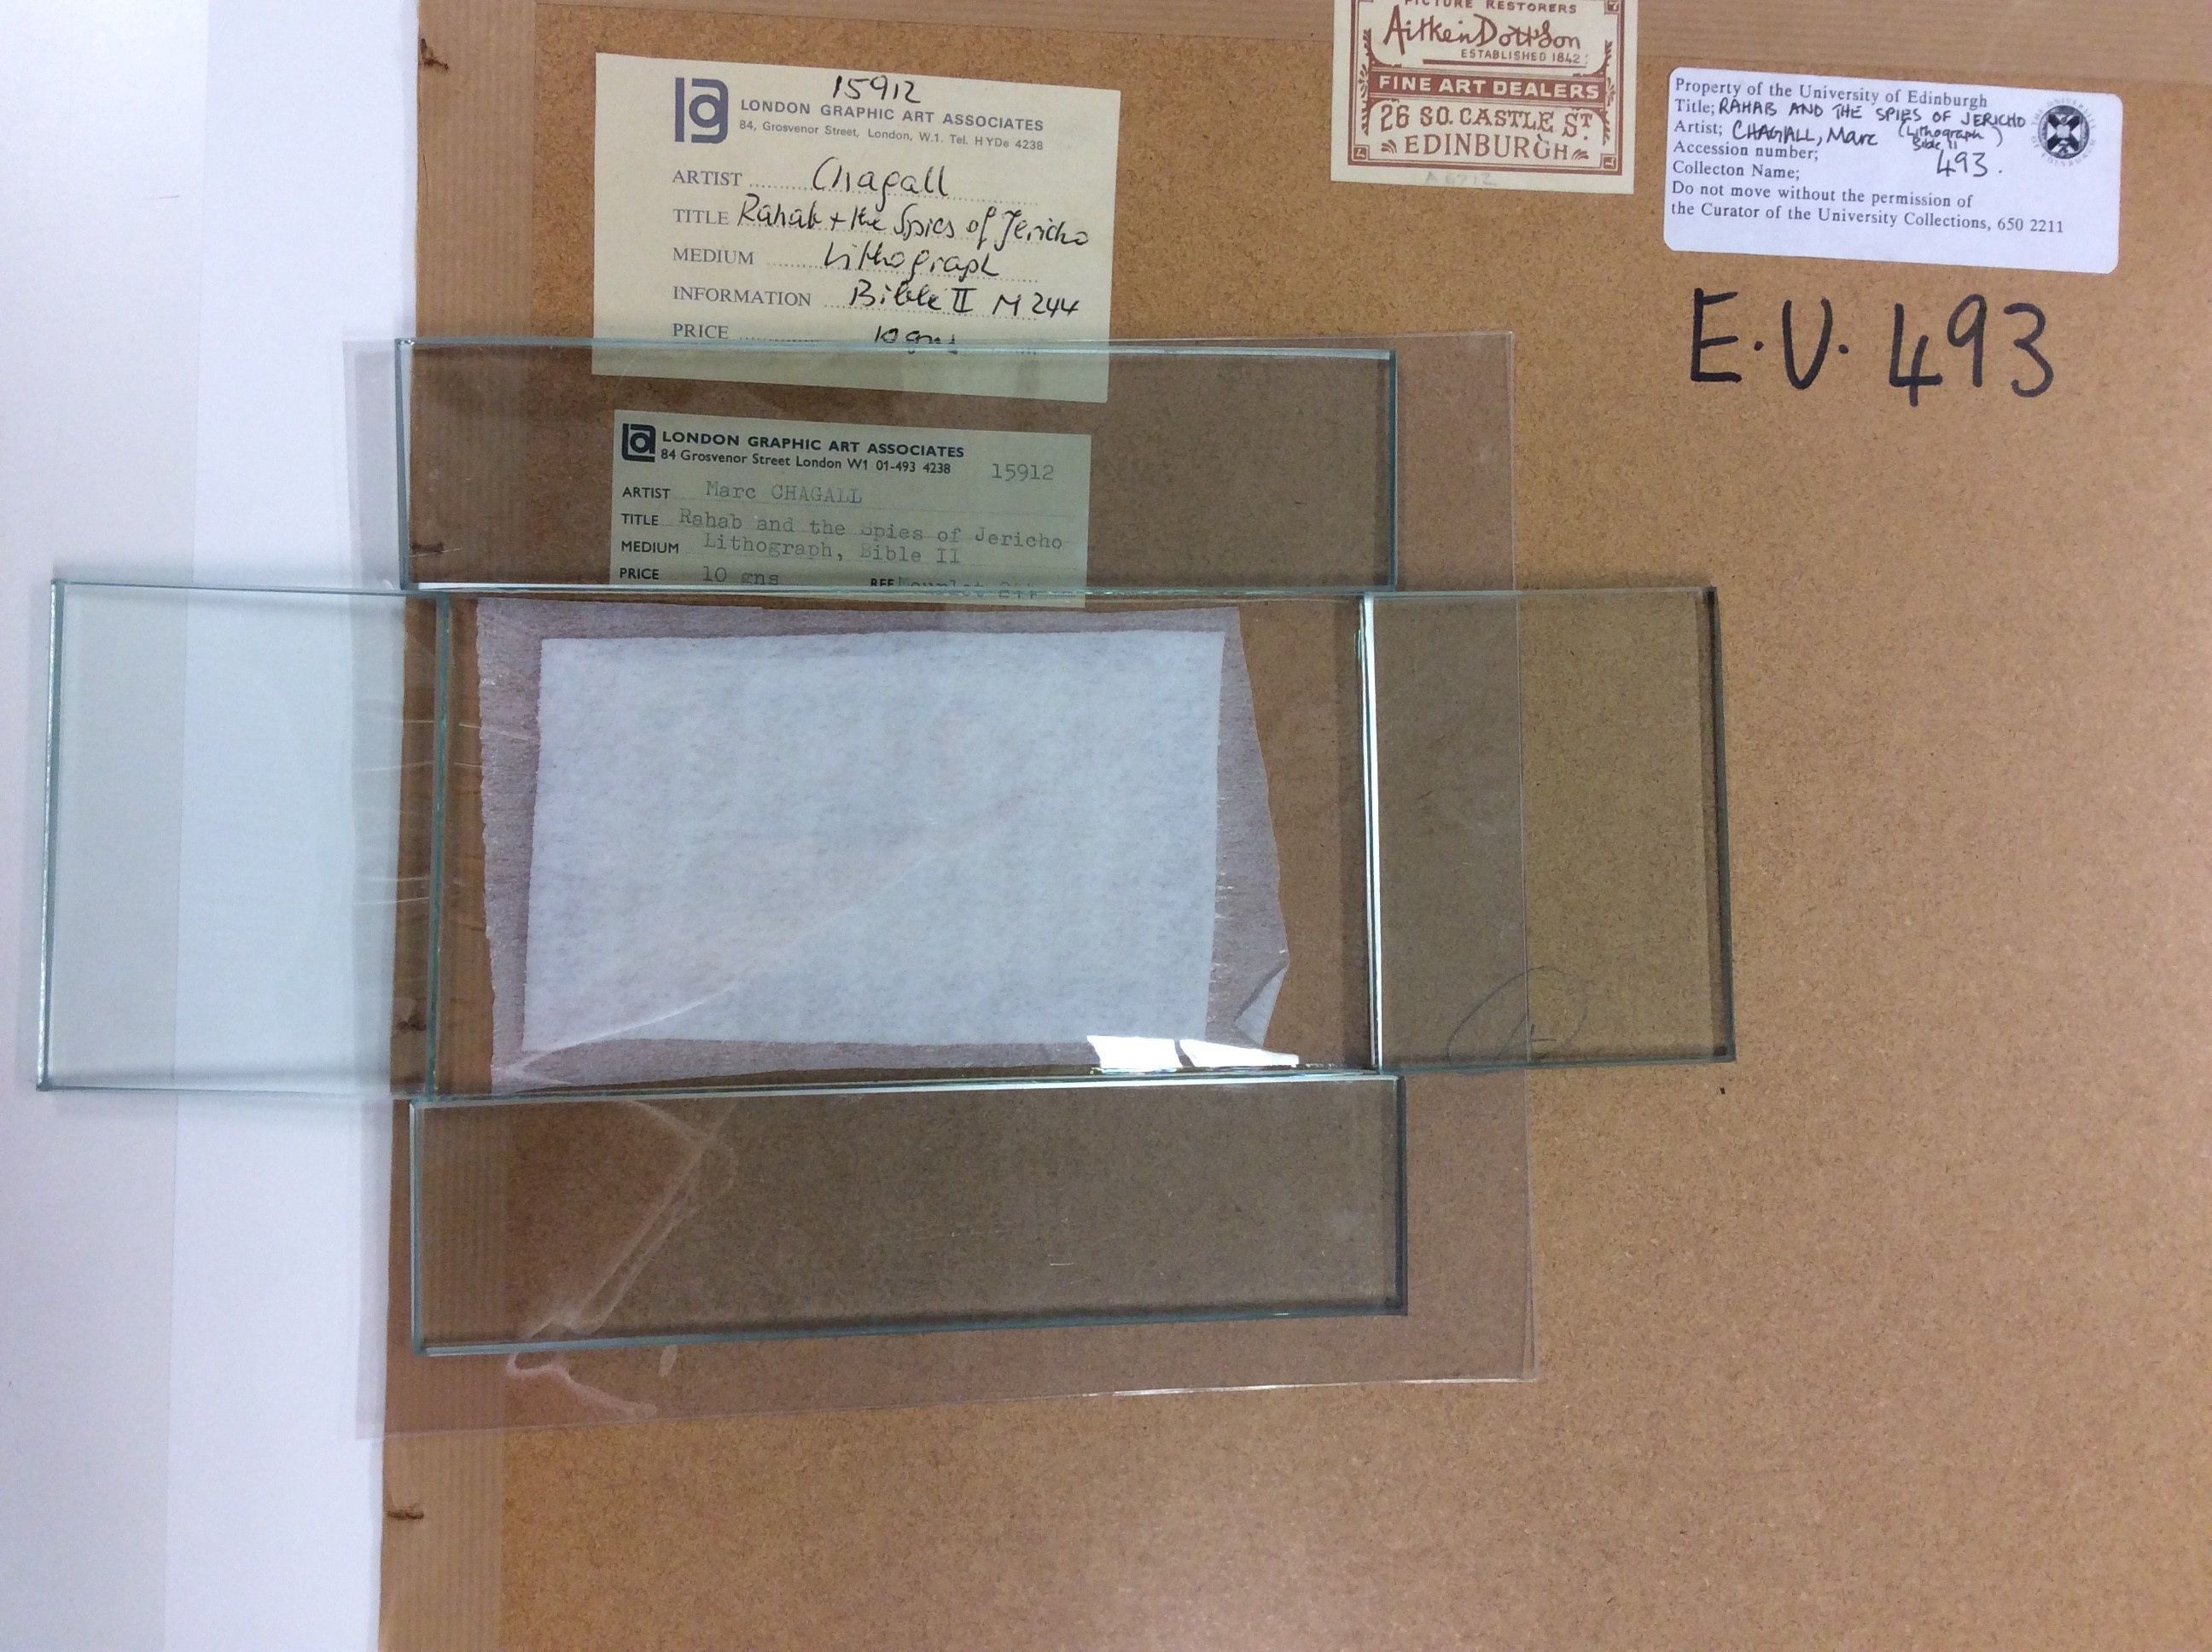
The old 1970s frames were not significant in themselves, however they did have some very important features that had to be preserved, namely the labels on the reverse. These labels, which are commonly found on the reverse of frames, are an important part of any object as they can help determine the provenance of the work. In the case of the Chagall’s, the labels demonstrated where it had previously been framed and sold before coming the University. This documentation can be greatly important information in tracing its history, and ultimately determining its authenticity and value.
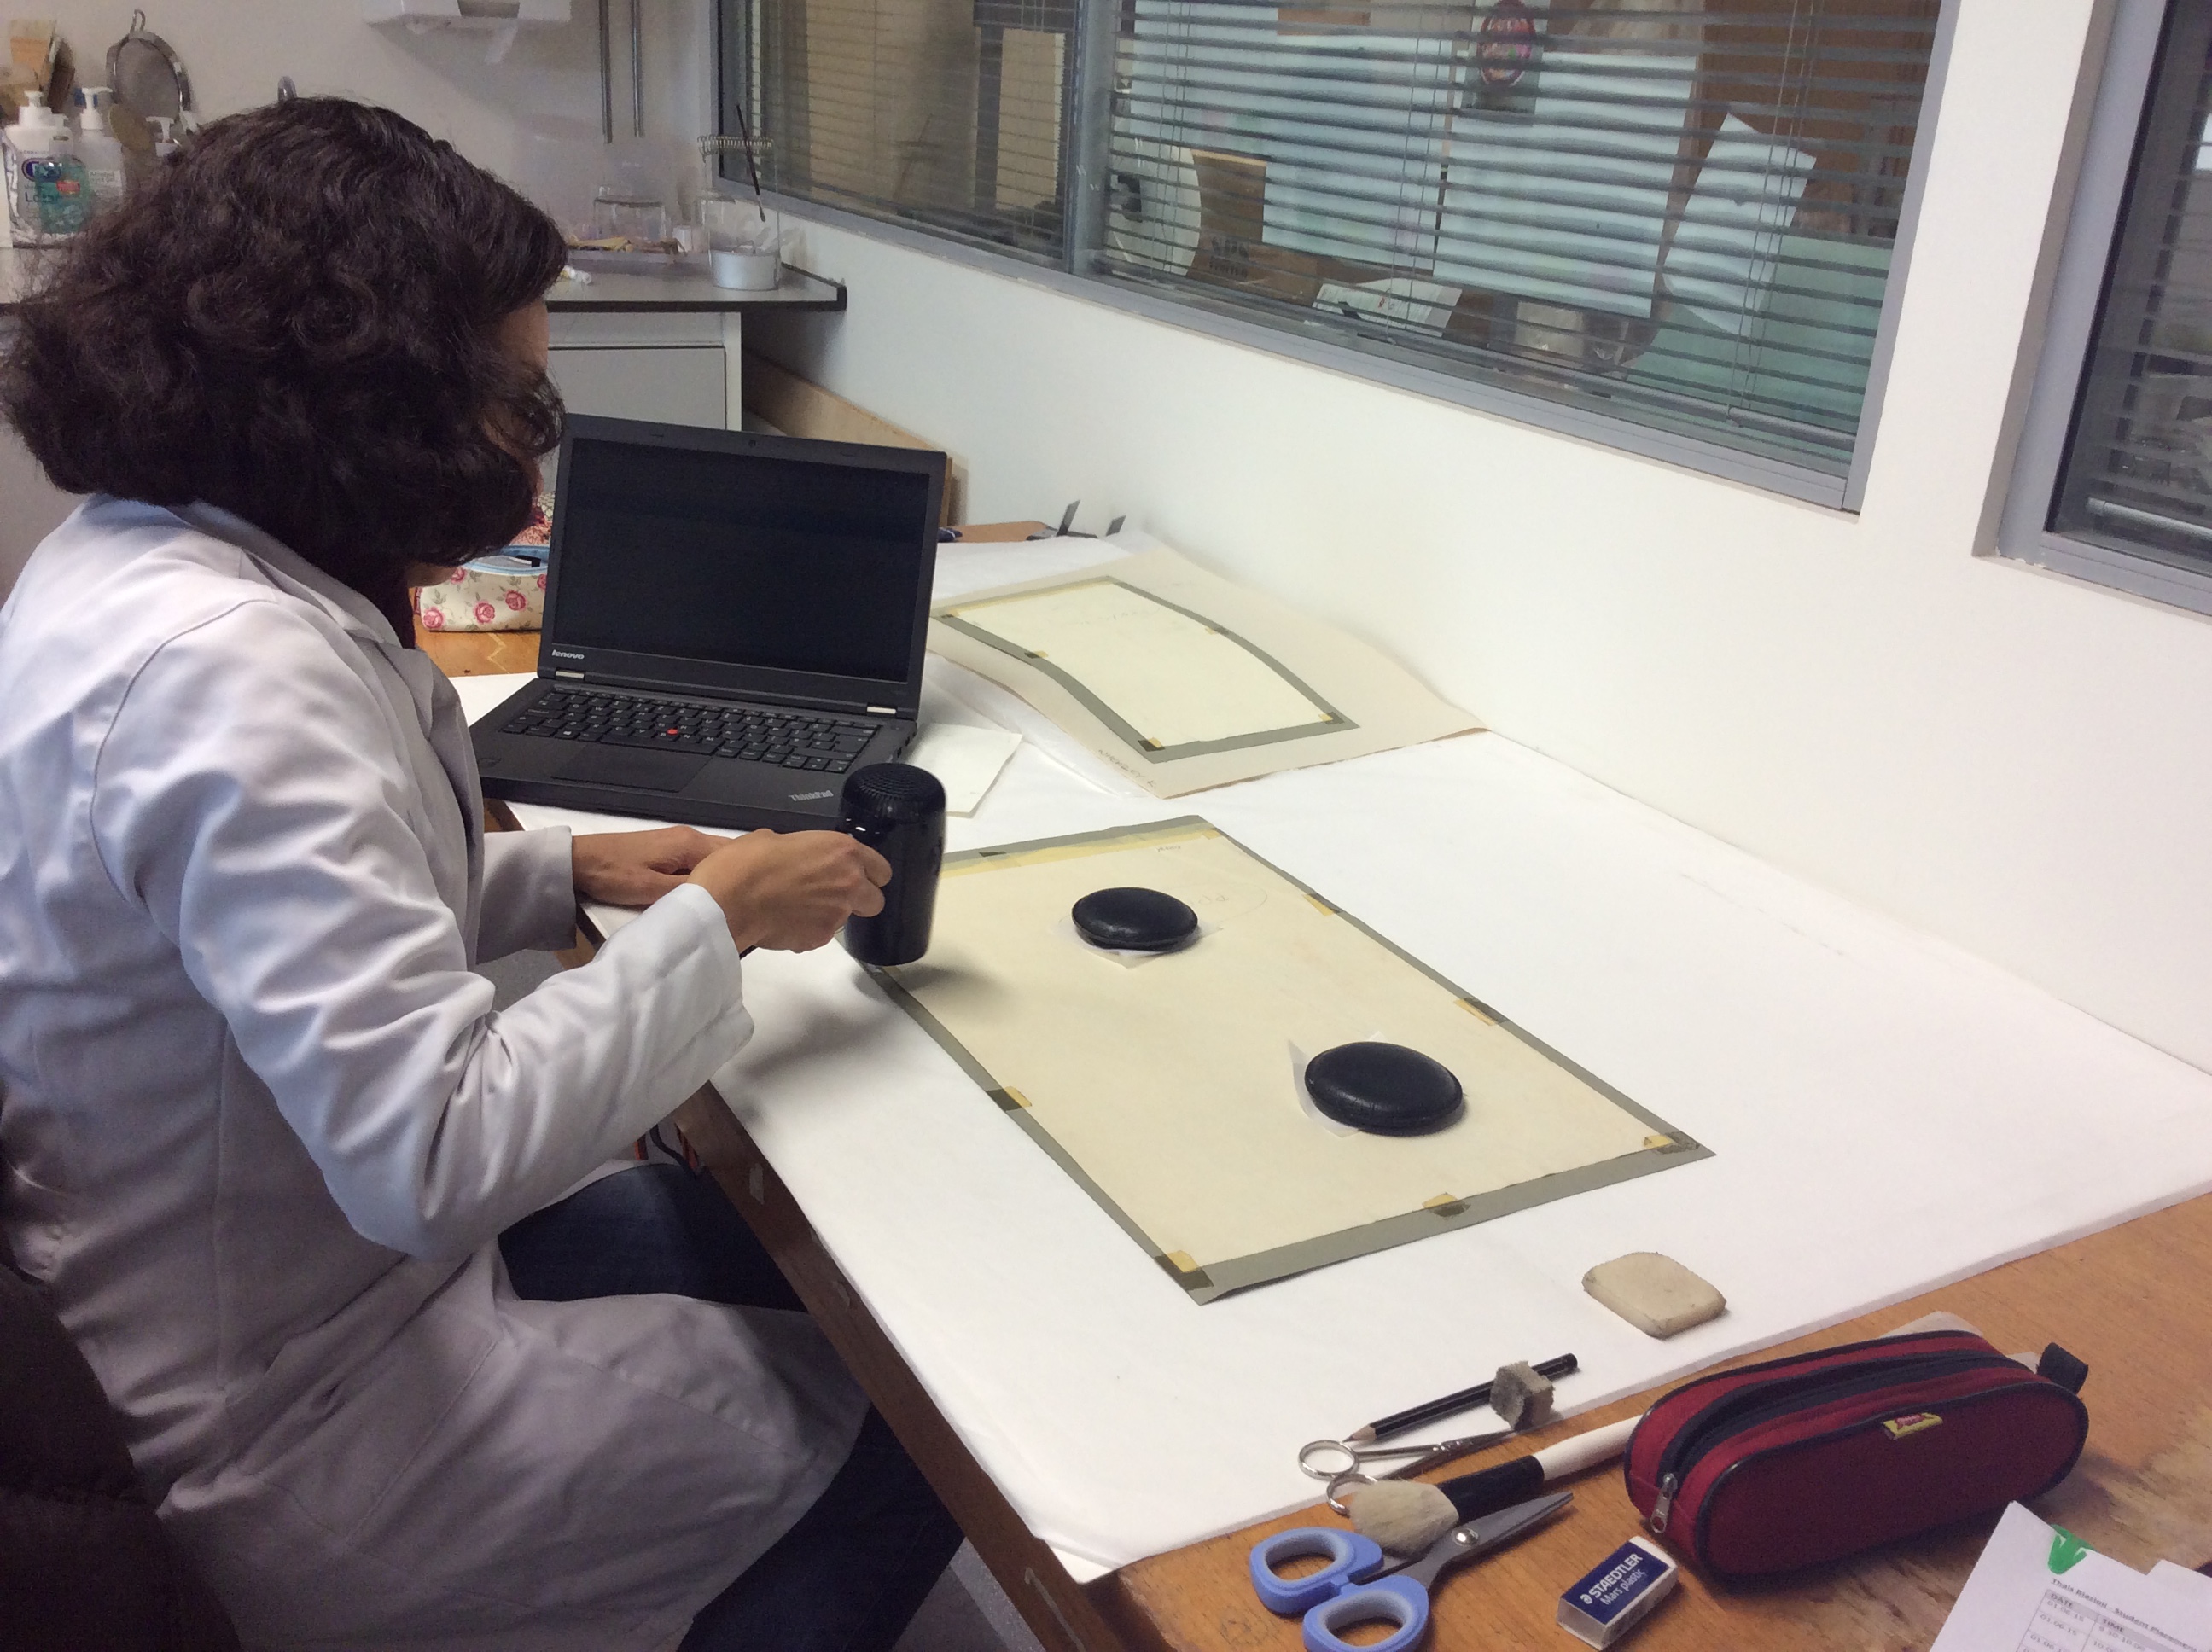
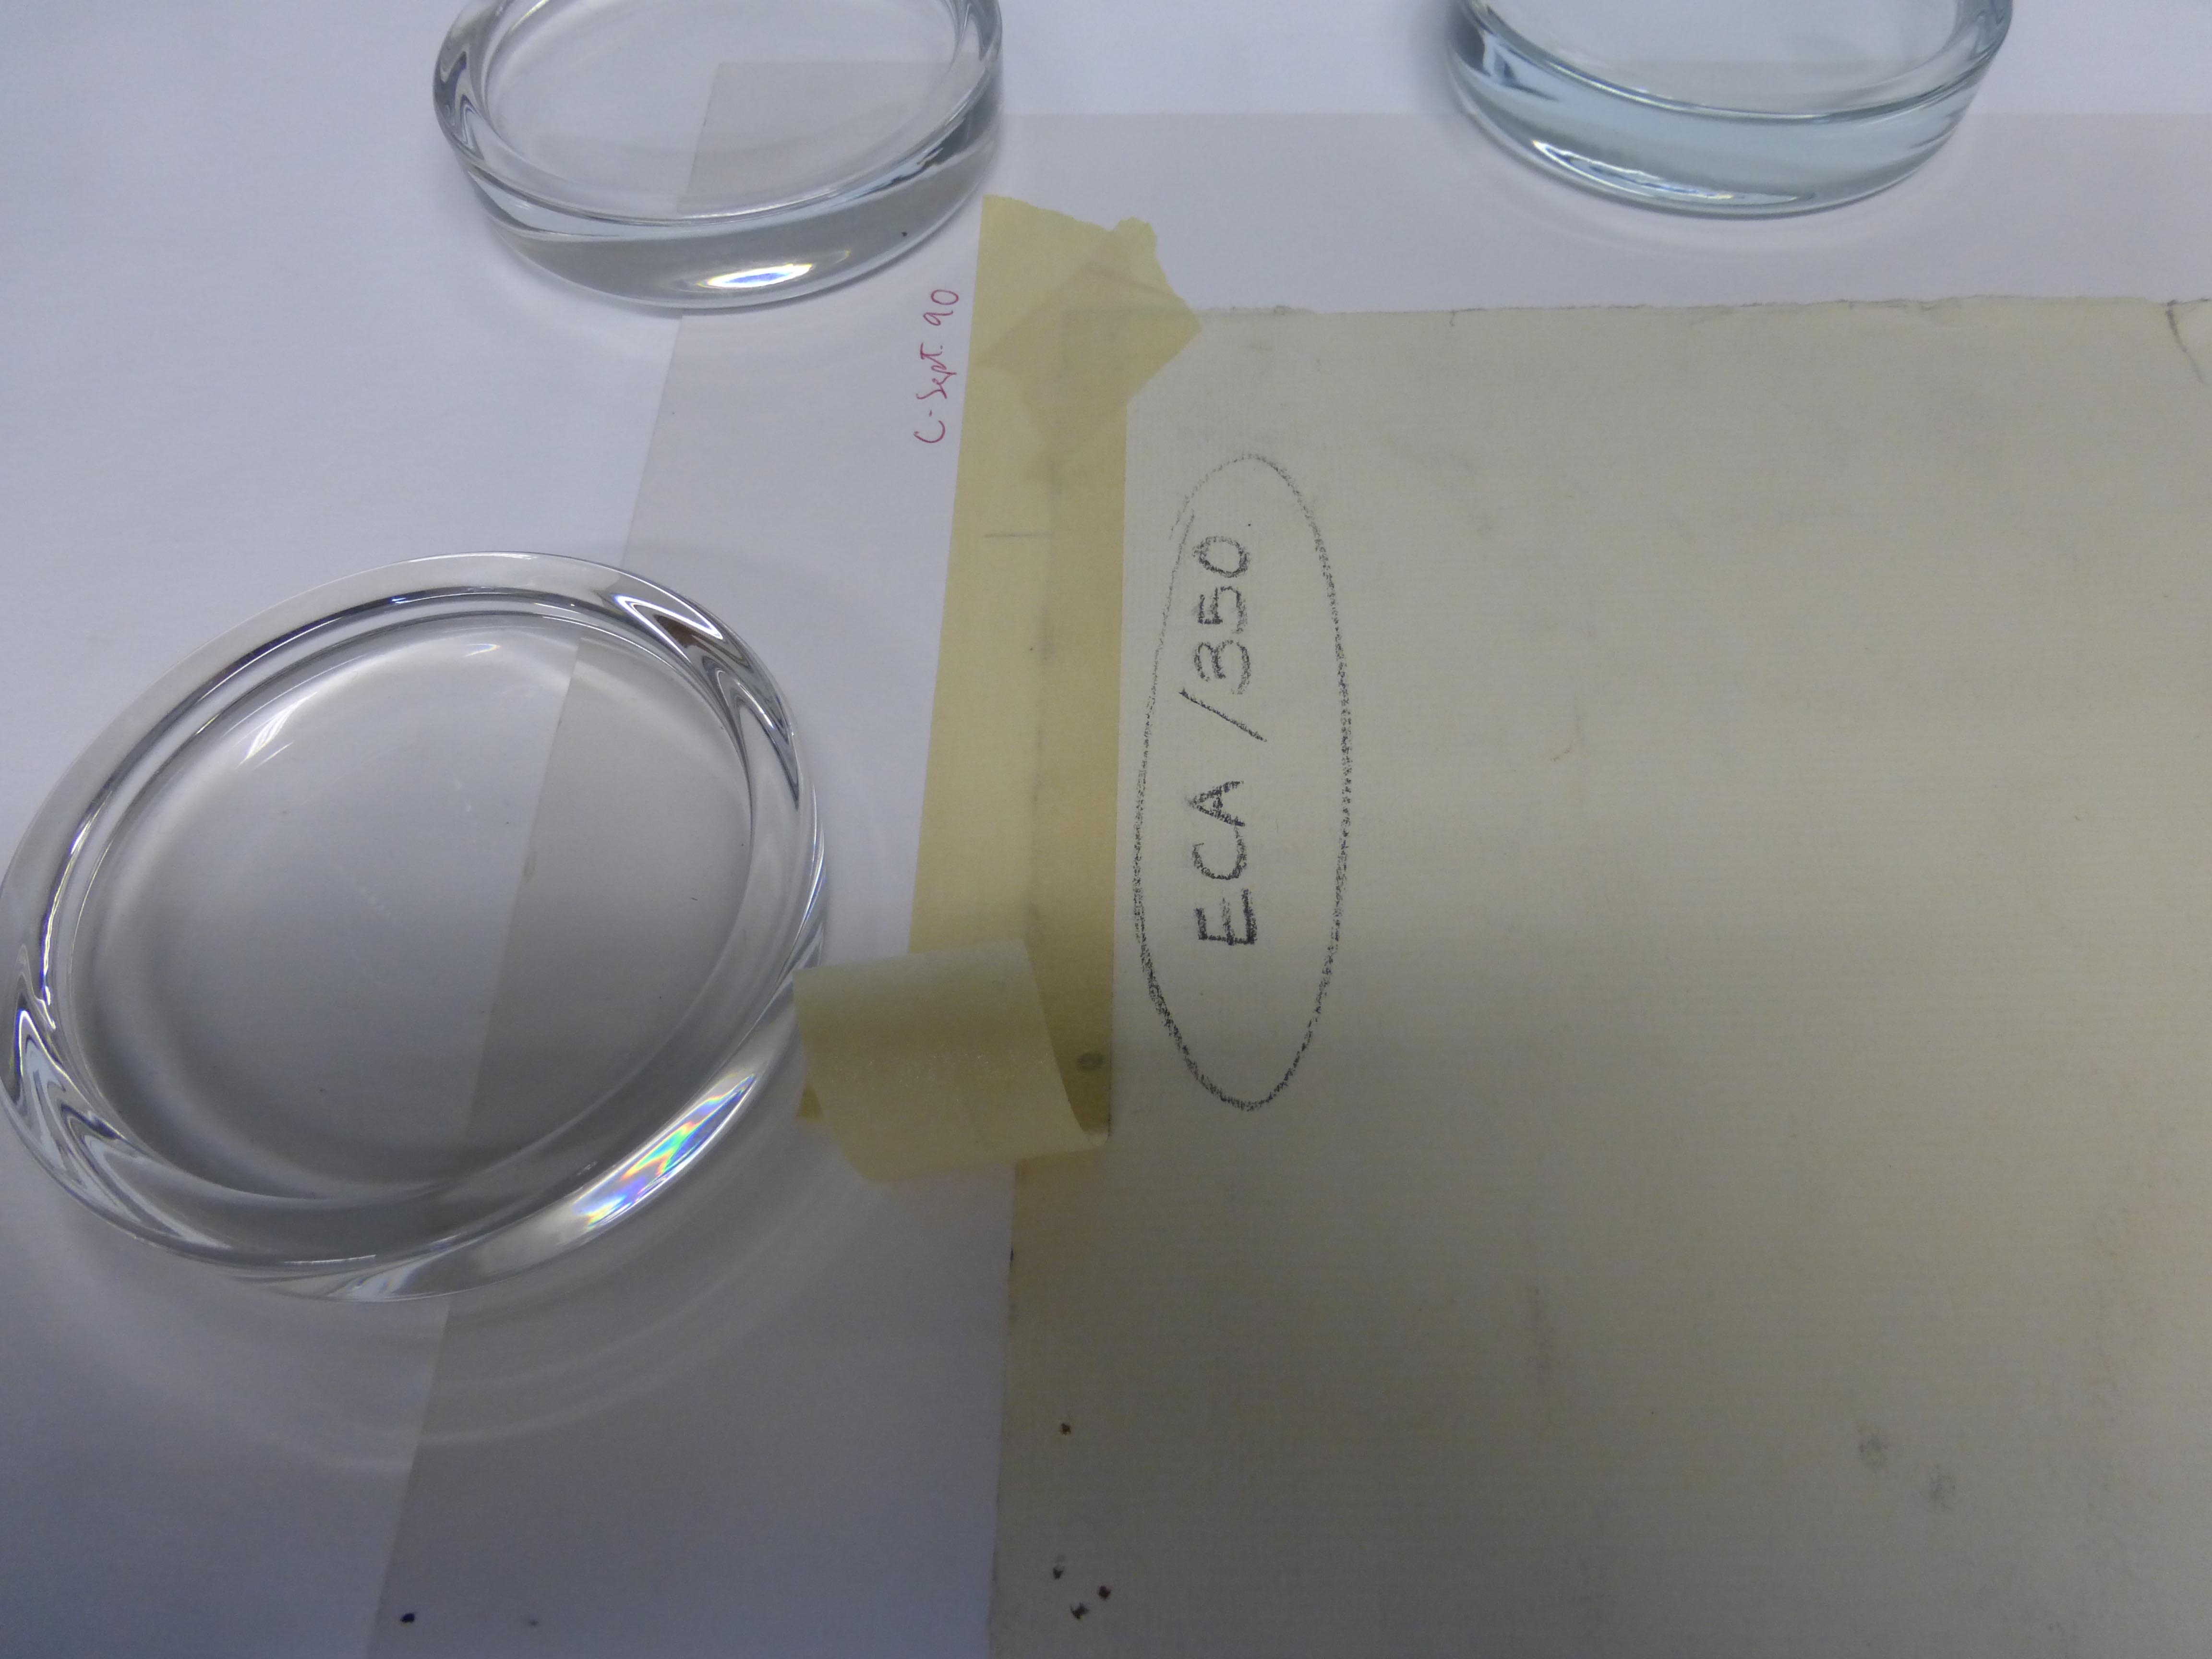
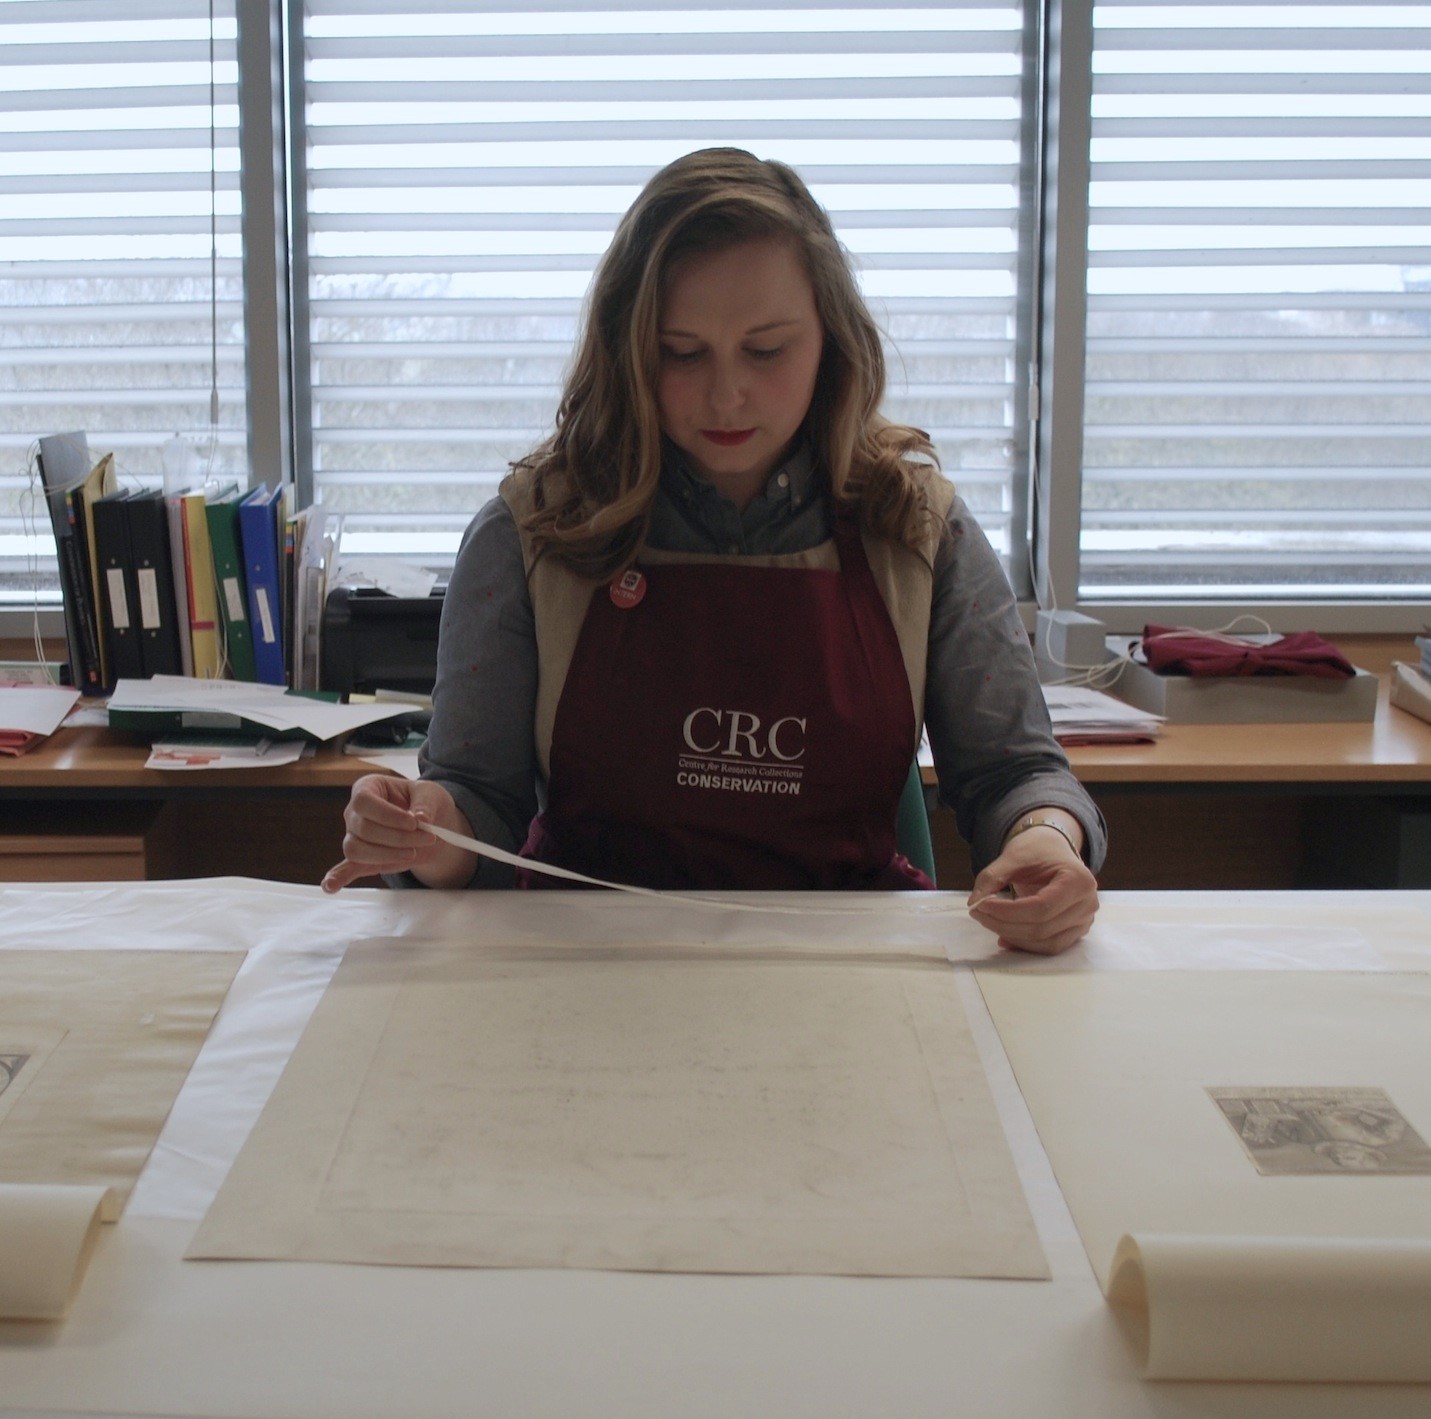
It was therefore important that when reframing the Chagall’s, these labels were kept for future reference. The old 1970s frames were no longer required which meant that the labels that were adhered upon the verso of the backing board would have to be removed and transferred to the new frames. This was achieved by slowly introducing moisture to the labels thus softening the adhesive and allowing the label to be gently lifted from the backing board. A wetted piece of capillary matting was placed upon the label with a sheet of Gore-tex acting as an interleaving layer; its micro-porous nature allowing moisture to slowly penetrate the label without saturating the paper and possibly disturbing any moisture sensitive media. Finally, a layer of transparent polyester was placed over the label and weights placed around the edge to ensure a humid environment was maintained. Once the adhesive had been suitably softened, the label could be lifted from the backing and pressed under weight to ensure they remain flat whilst drying.
Label during the humidification process
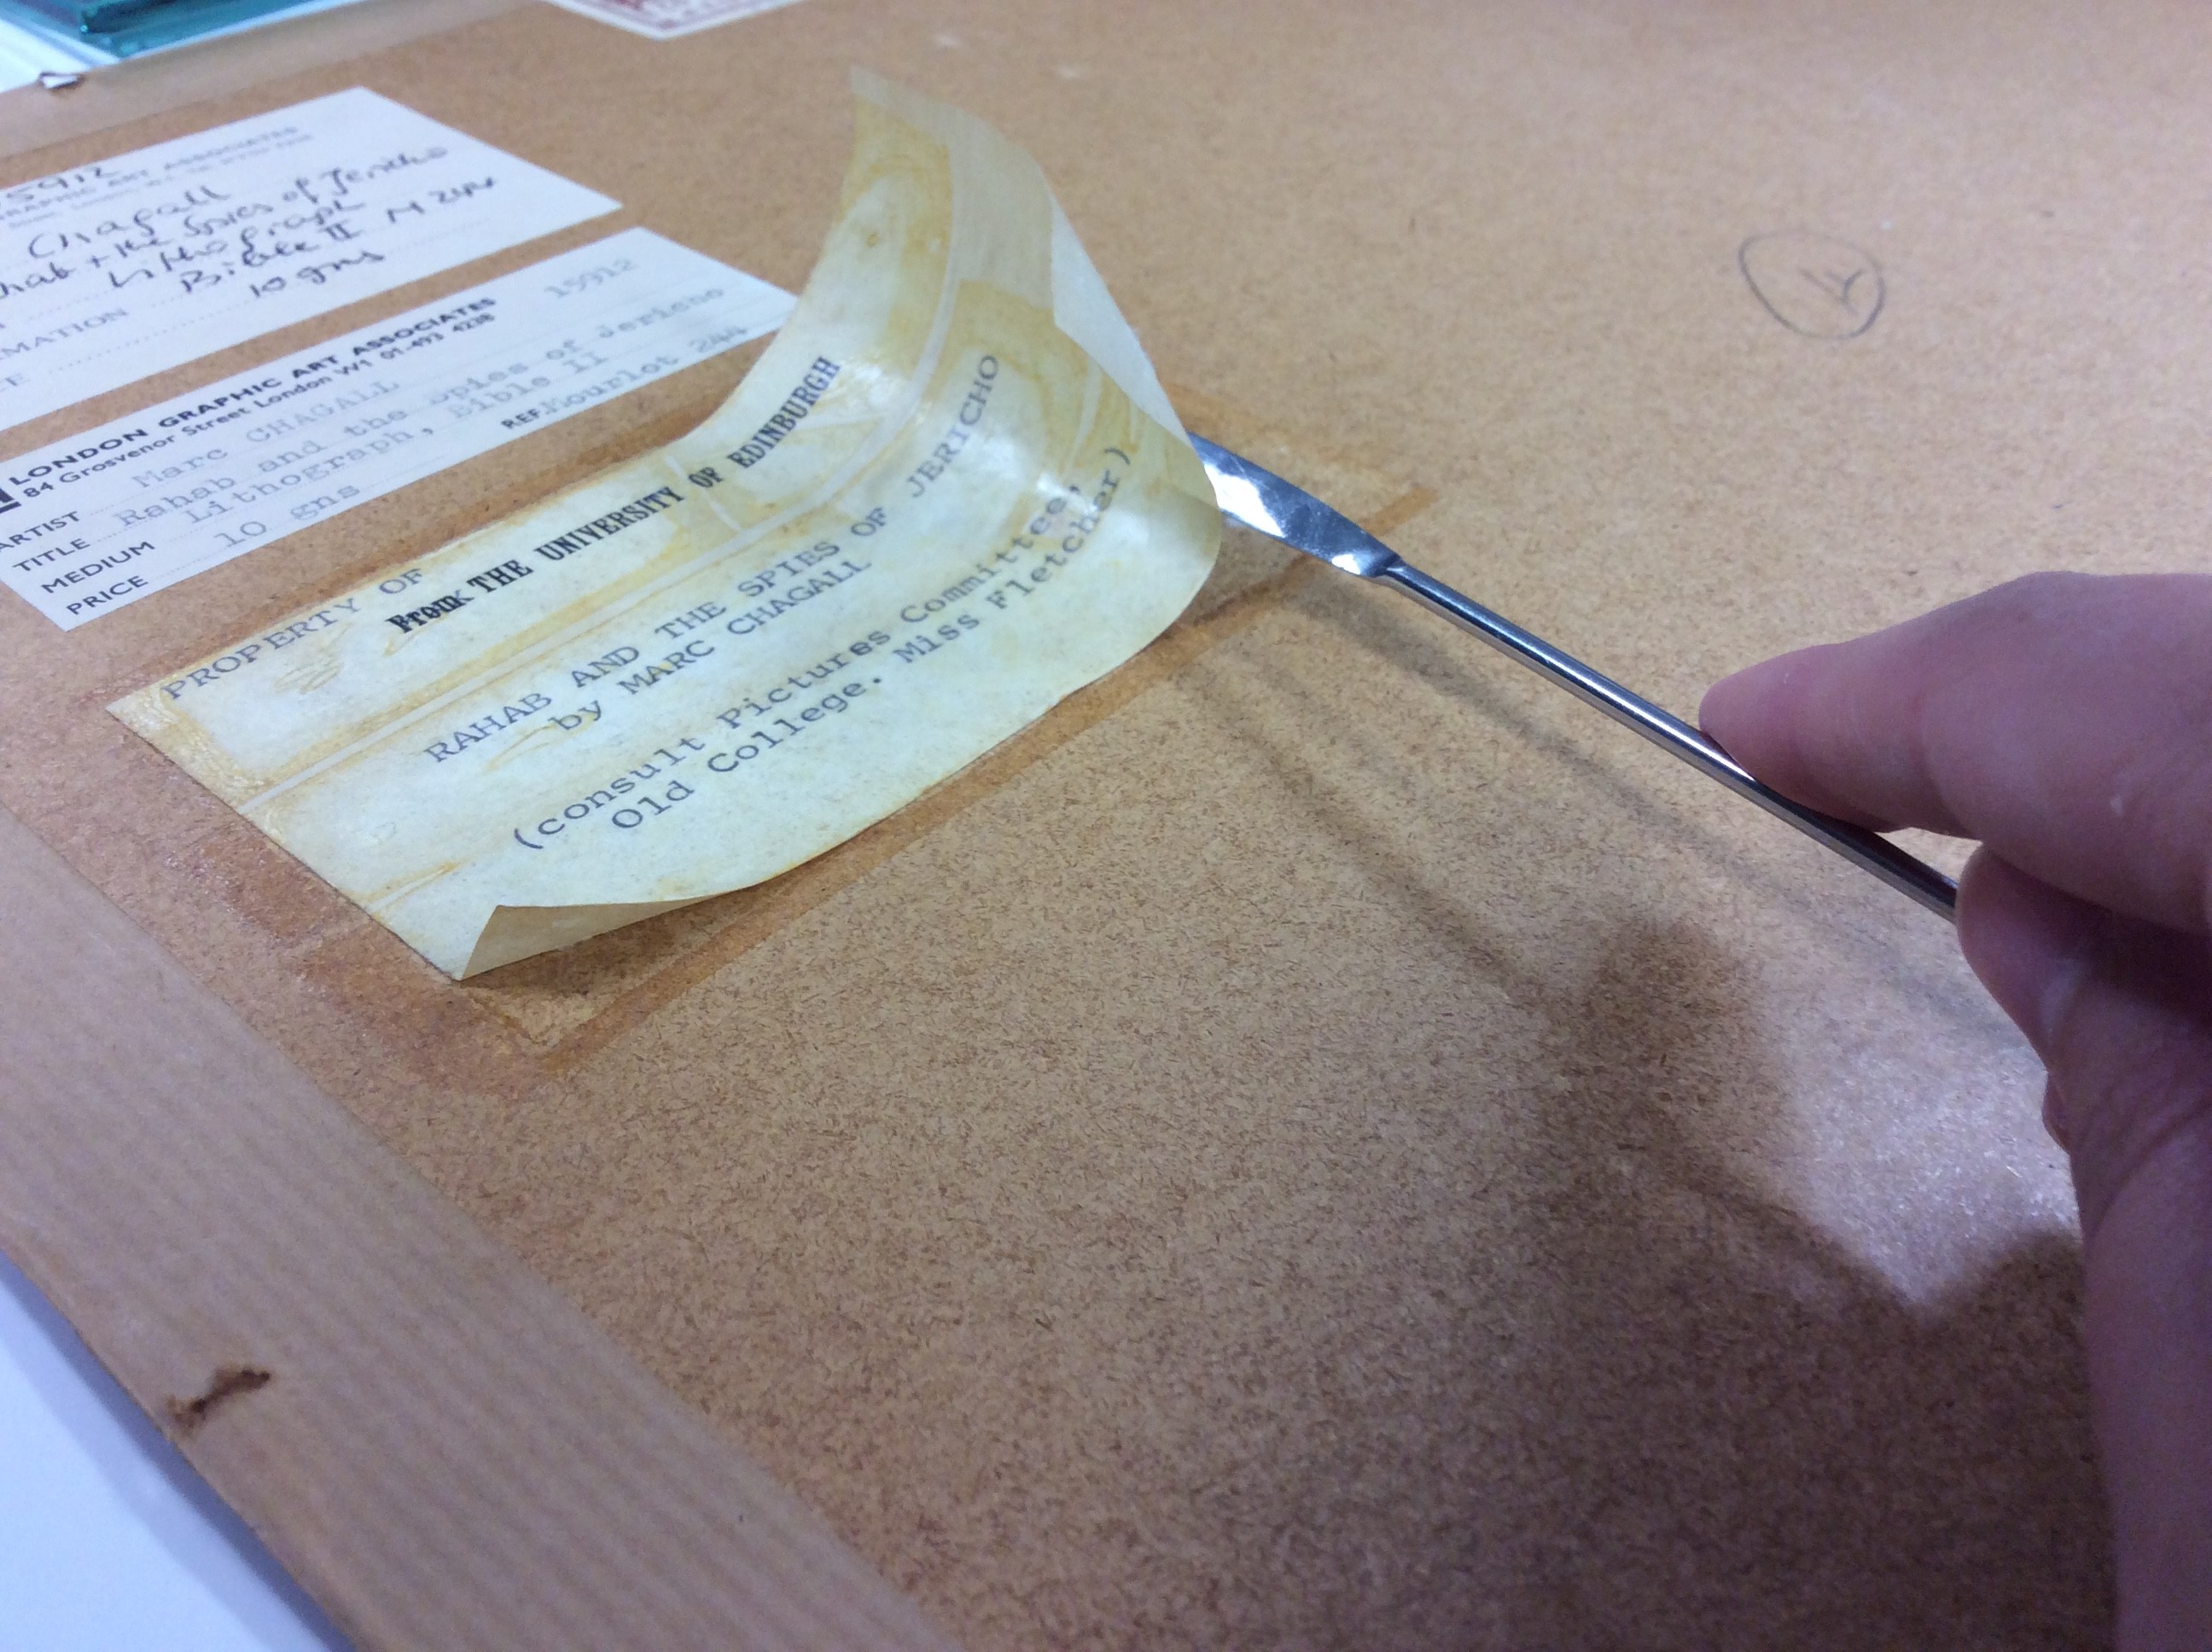
Lifting the label off the backing board once the adhesive has been softened
Now that the labels have been removed, they are ready to be transferred and kept with the new frames, with all the appropriate records updated to document how the Chagall’s were previously framed. So although its housing may have changed, its “back” story endures…
Post by Emma Davey, Conservation Officer