I am writing this on the very last day of my work placement here at the University of Edinburgh. I have had an amazing six weeks learning about caring for the historic musical instrument collection. Many of the things I have learnt can be applied to other kinds of collection material but some things are very instrument-specific. So I thought I’d talk about some of those.
For example, I have learnt how to make frets from gut (the same material used for early strings) for 17th century string instruments. This involves using a special knot to tie the gut round the fingerboard, making it as tight as possible and sliding it to the right position, then burning the ends so it won’t unravel (and so it looks really neat). Fire is something I never thought I would use in conservation, so this was awesome!

New frets on a archlute – the knots are on the back of the fingerboard, at the top, where they would be least disruptive to the player
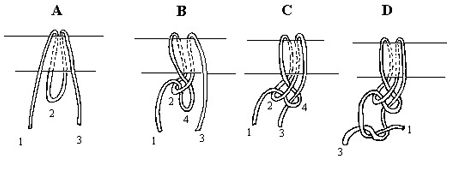
How to tie the fret knot. Image from Gamut Music Inc.
There is a mathematical equation for positioning the frets on the fingerboard in order to achieve perfect semi-tones. However, these instruments are not in playing condition, so it doesn’t matter too much about the precise positioning of the frets. You may ask, why put them on in the first place, if they are not needed for playing? For the same reason you’d take plastic strings off a baroque instrument and replace them with new gut strings: the instrument should be made to look complete and correct so the viewer understands how it works, and how it should look. It should look as if it could be played, and if it were played it would sound authentic. But let’s not get started on authenticity of sound…
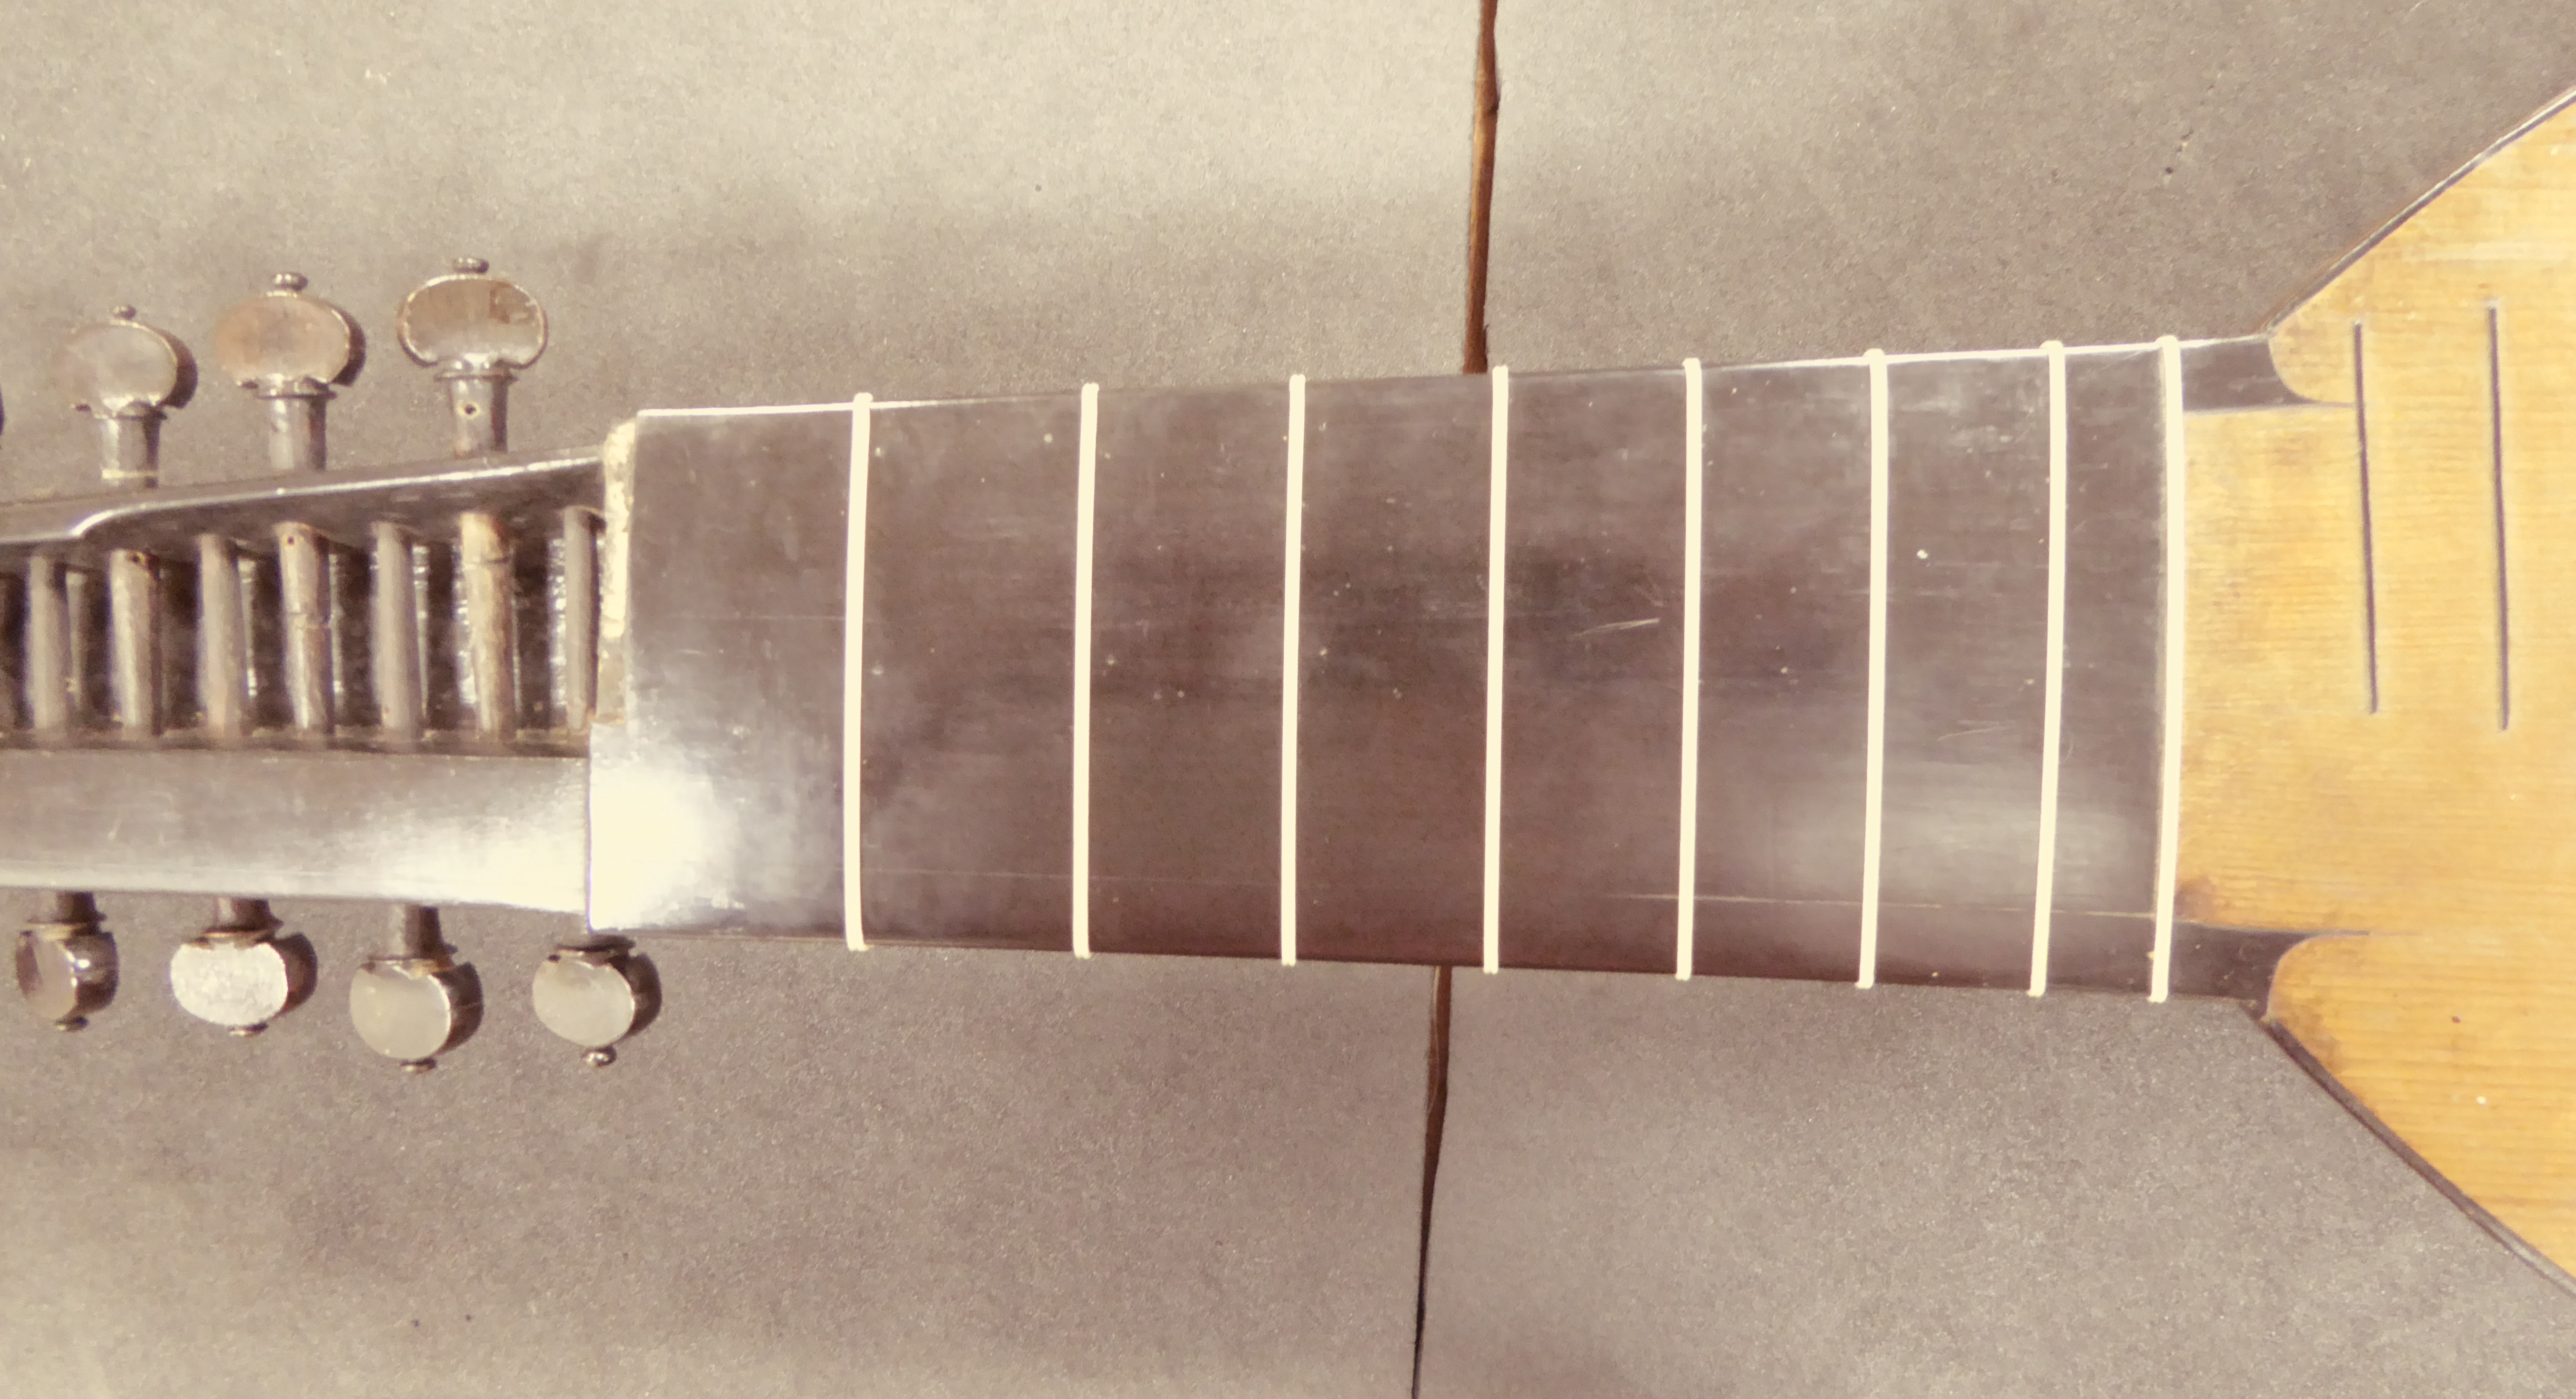
New frets on an archlute – front view
Many of these instruments did have frets, and most people wouldn’t know (I didn’t) but it makes a lot of difference to the sounds they would have made. Also they did not have nylon in the 17th century!
However, it’s not just about using the correct materials, but using them properly and wasting as little as possible. So when I put strings on a baroque guitar, the strings which have been made (by Gamut, an early music string maker) have a few extra inches that are not needed. These few inches can then be used to make frets, for example. The knots at the bridge of a guitar or lute can be tied in many different ways, but the way we do it here is so that all the ends point downwards (when the instrument is held as if for playing) and are tucked away behind the bridge. Beautiful!
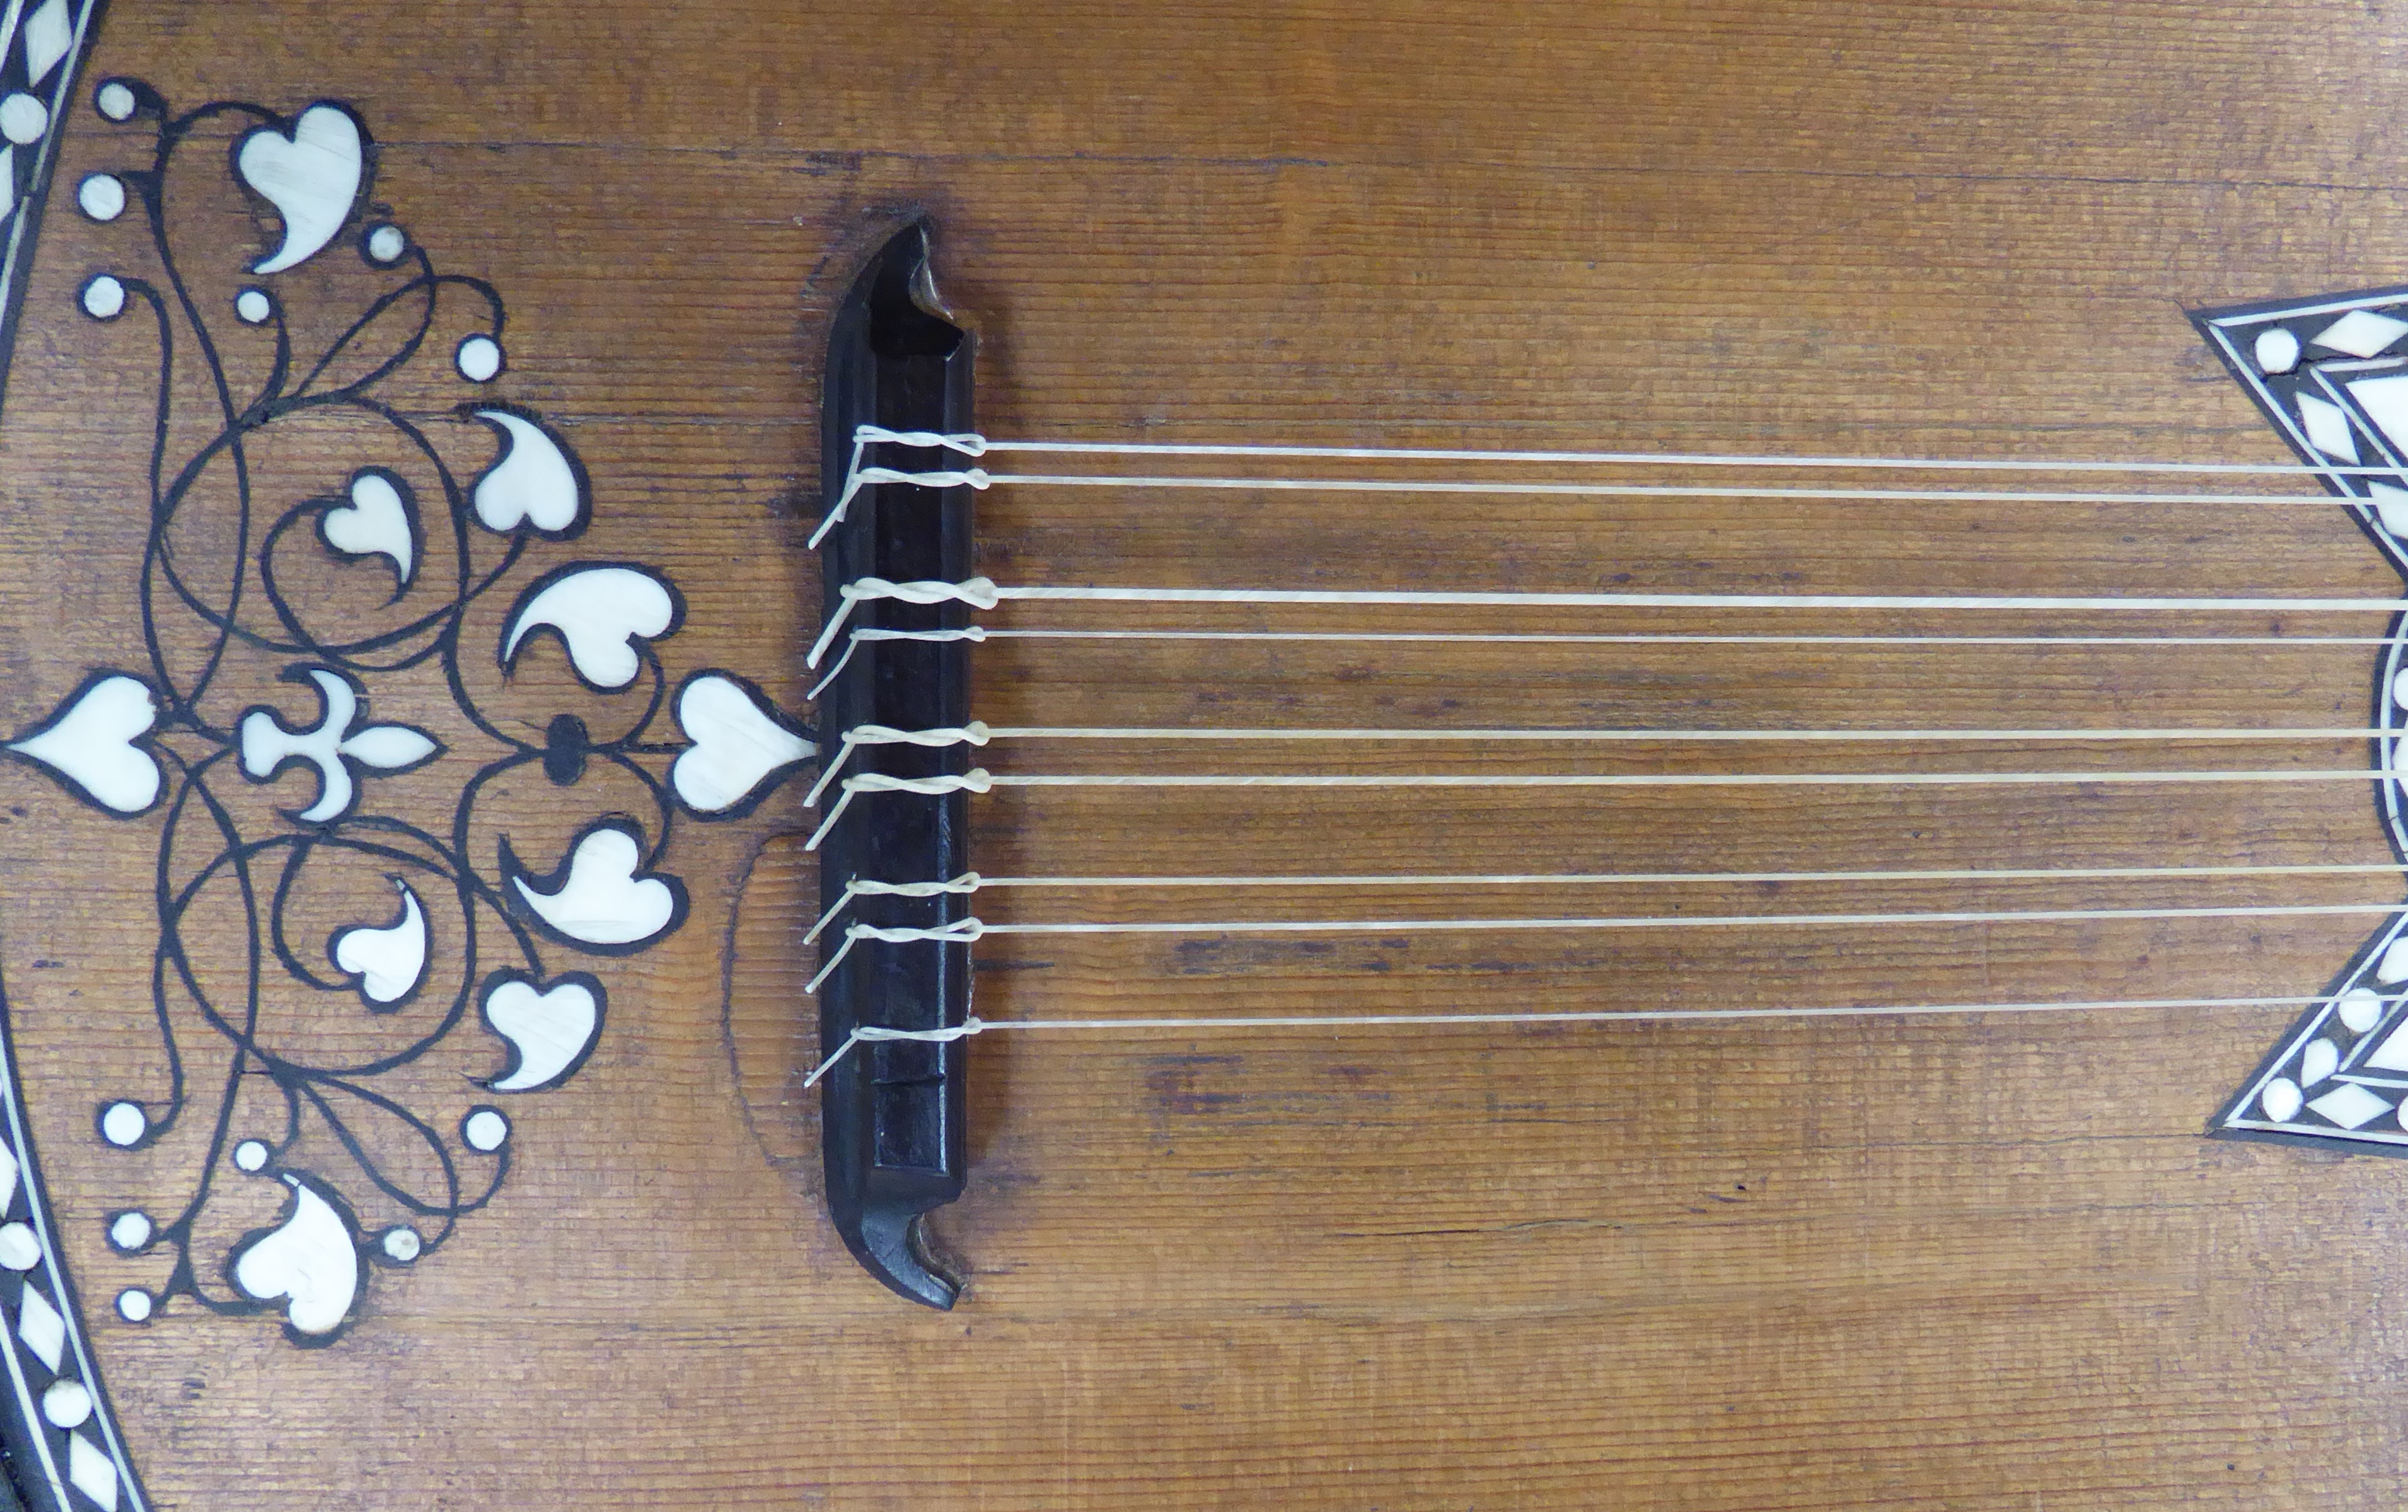
Baroque guitar with new gut strings, detail of bridge. Check out that inlay!
Last week I did a short presentation to show the CRC staff what I have been doing during this placement, which I rounded off with before and after images of the head of an instrument called a viola da gamba – the first string instrument I had the pleasure of working with. And the loveliest, I think. In Southampton I volunteer at the SeaCity Museum, working with their objects conservator who likes to personify things in the collection, describing a piece of newly consolidated Murano glass as ‘a lot happier’, or a rusty medieval sword as ‘not very well’. I think this can be applied nicely to the viola da gamba. She looks great for a 319 year-old, and genuinely seems happier with her new strings.
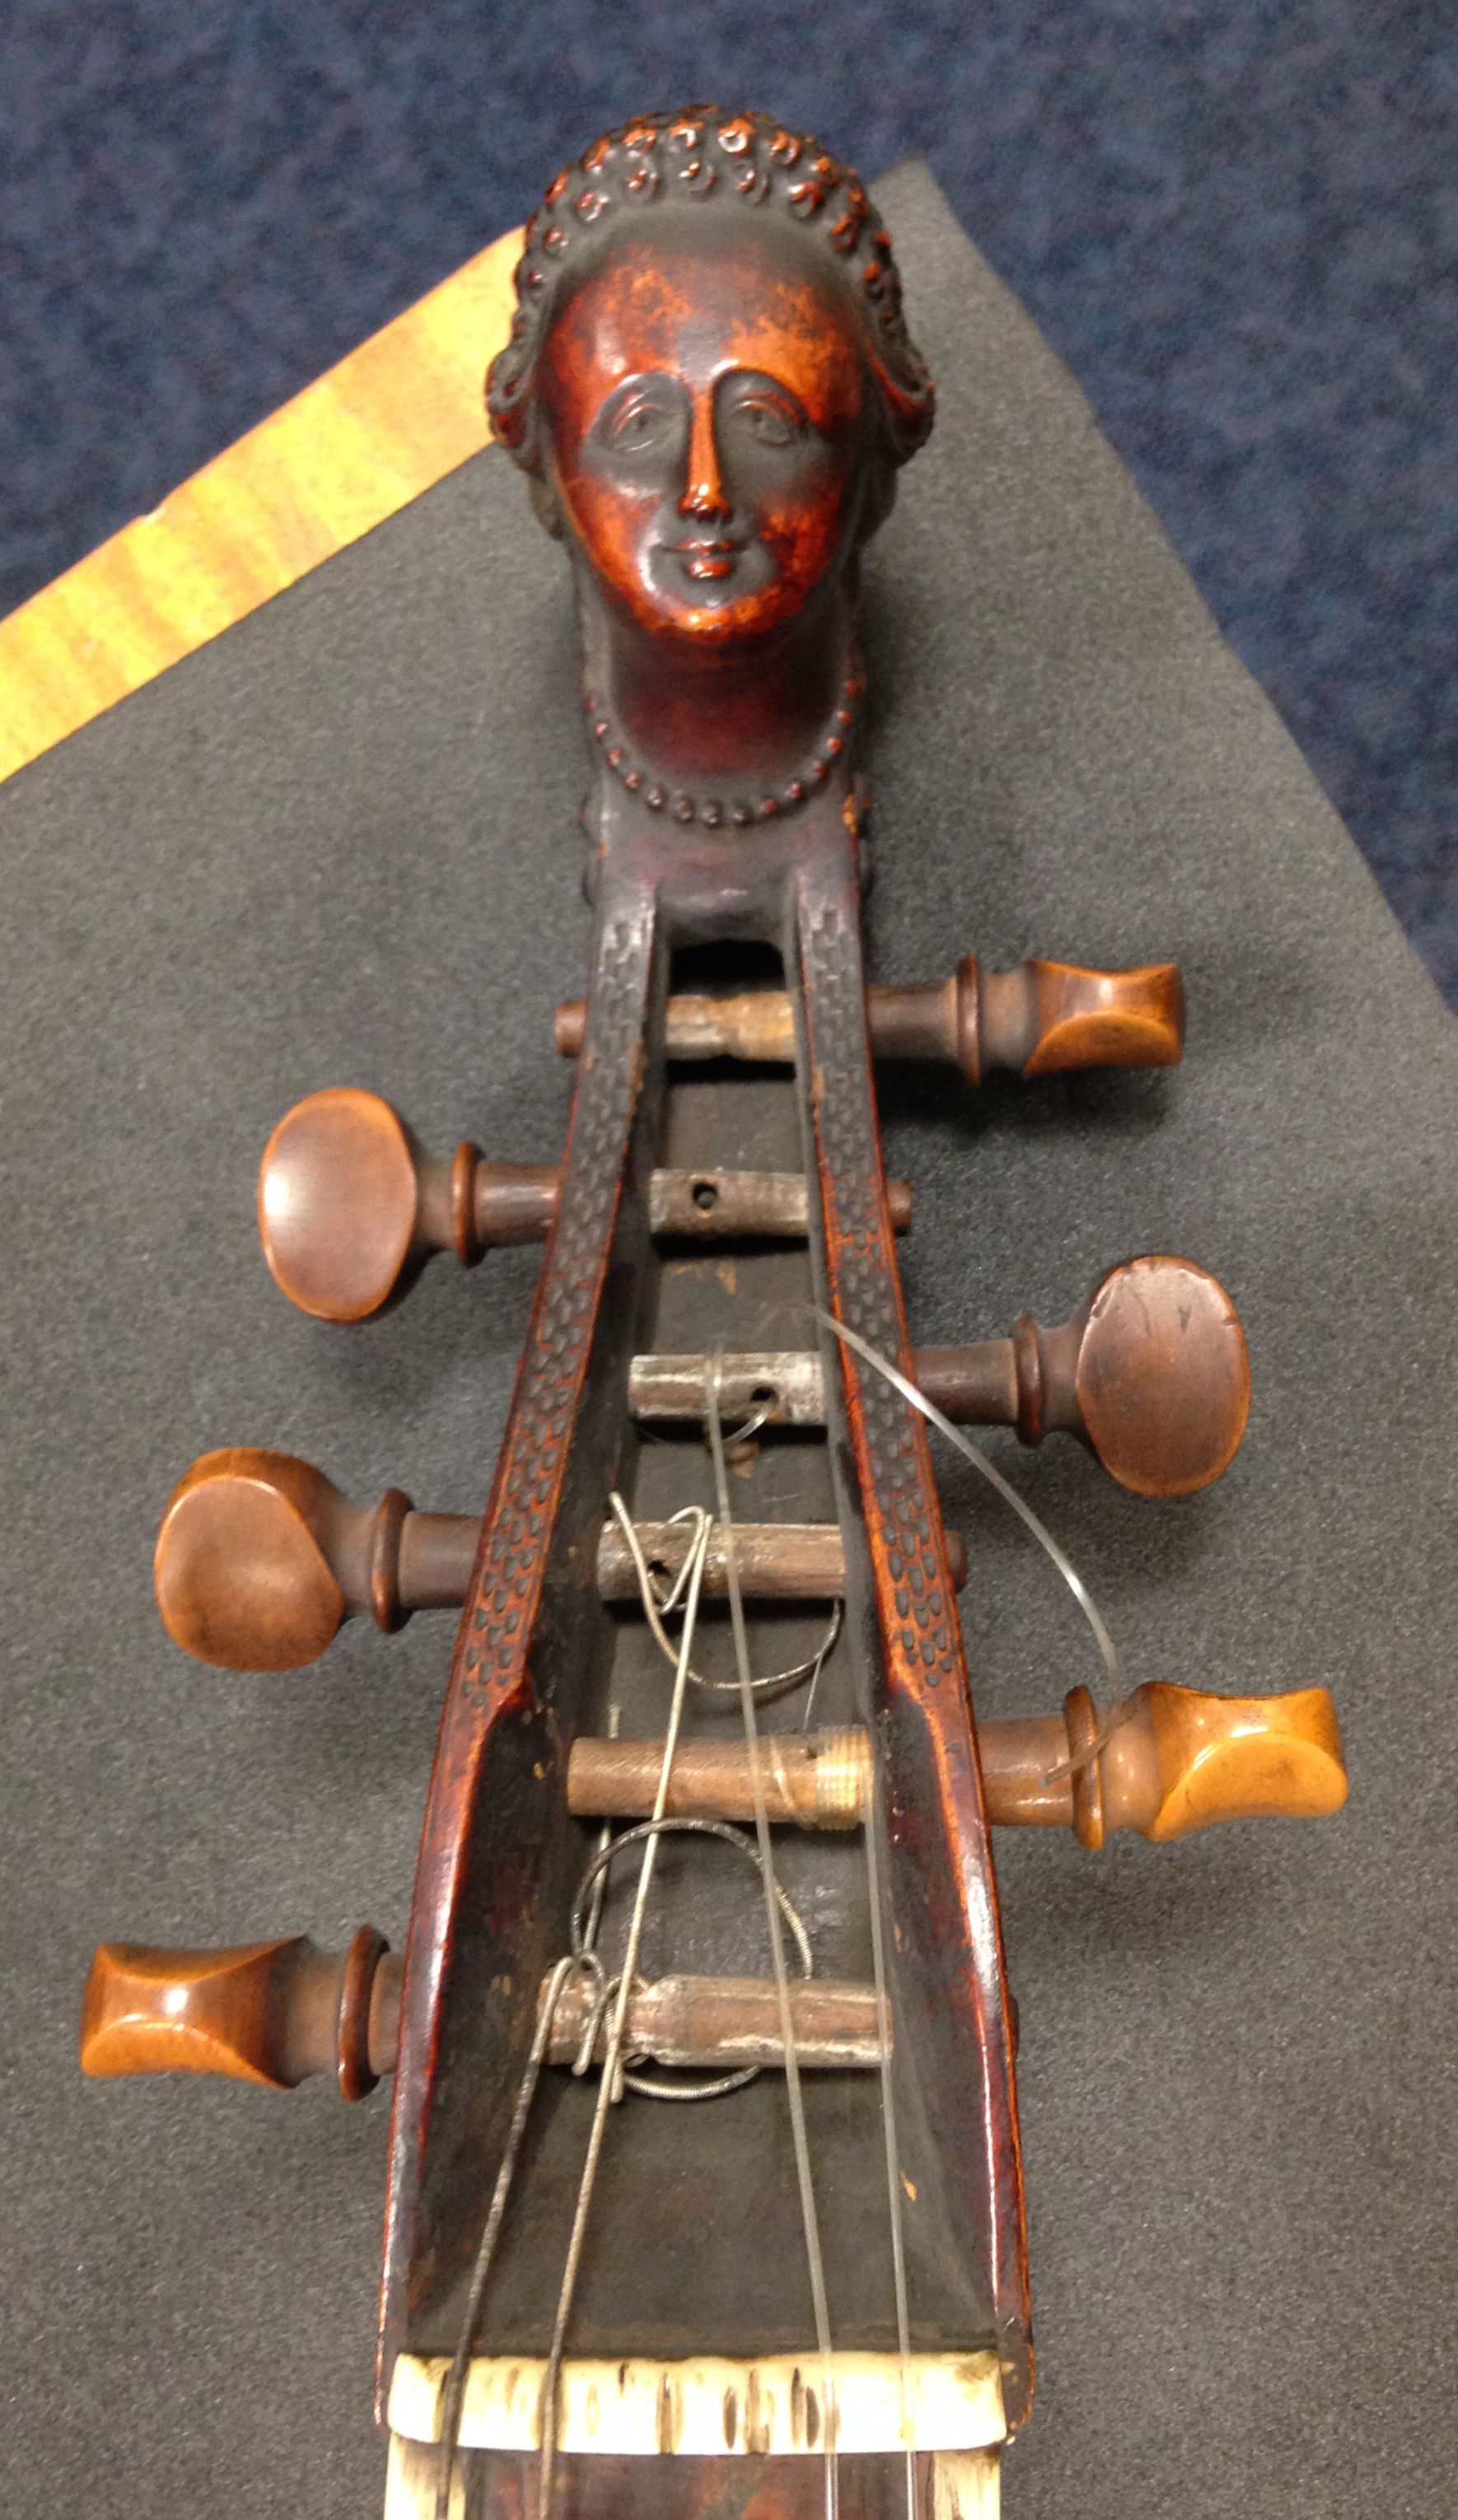
Viola da gamba before cleaning and re-stringing
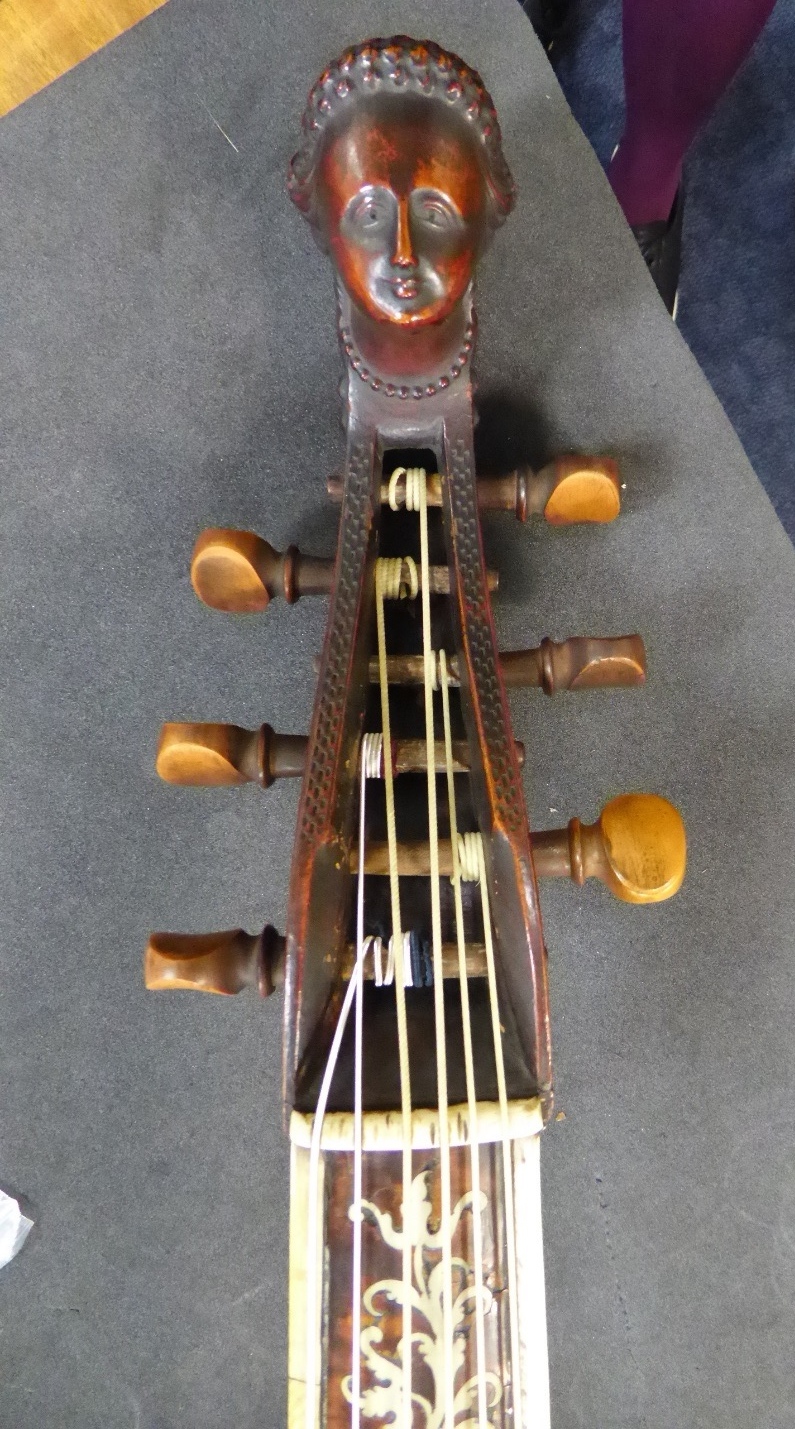
Viola da gamba after cleaning and re-stringing
Post by Harriet Braine, Preventive Conservator Student Placement