Stirling Work

Last week, a contingent from conservation left their natural habitat of the studio to embark on a day trip up North. Stirling University was our destination, more specifically their conservation studio, in order to learn more about their special collections, and the conservation work they’re doing. Stirling University is currently part way through a Wellcome Trust funded project to conserve and re-house the records from the Royal Scottish National Hospital. Working on this project are conservator Elizabeth Yamada, with interns Kat Saunt and past University of Edinburgh conservation intern Erika Freyr (who you may remember from her work on the Laing project: http://libraryblogs.is.ed.ac.uk/conservation/2014/06/20/conserving-laing-iii/). We had previously been delighted to have had the chance to show Elizabeth, Kat and Erika our own studio at the Main Library and introduce them to the work we are doing and the collections we hold. We were therefore pleased to have the opportunity pay them a reciprocal visit and learn more about their own project.

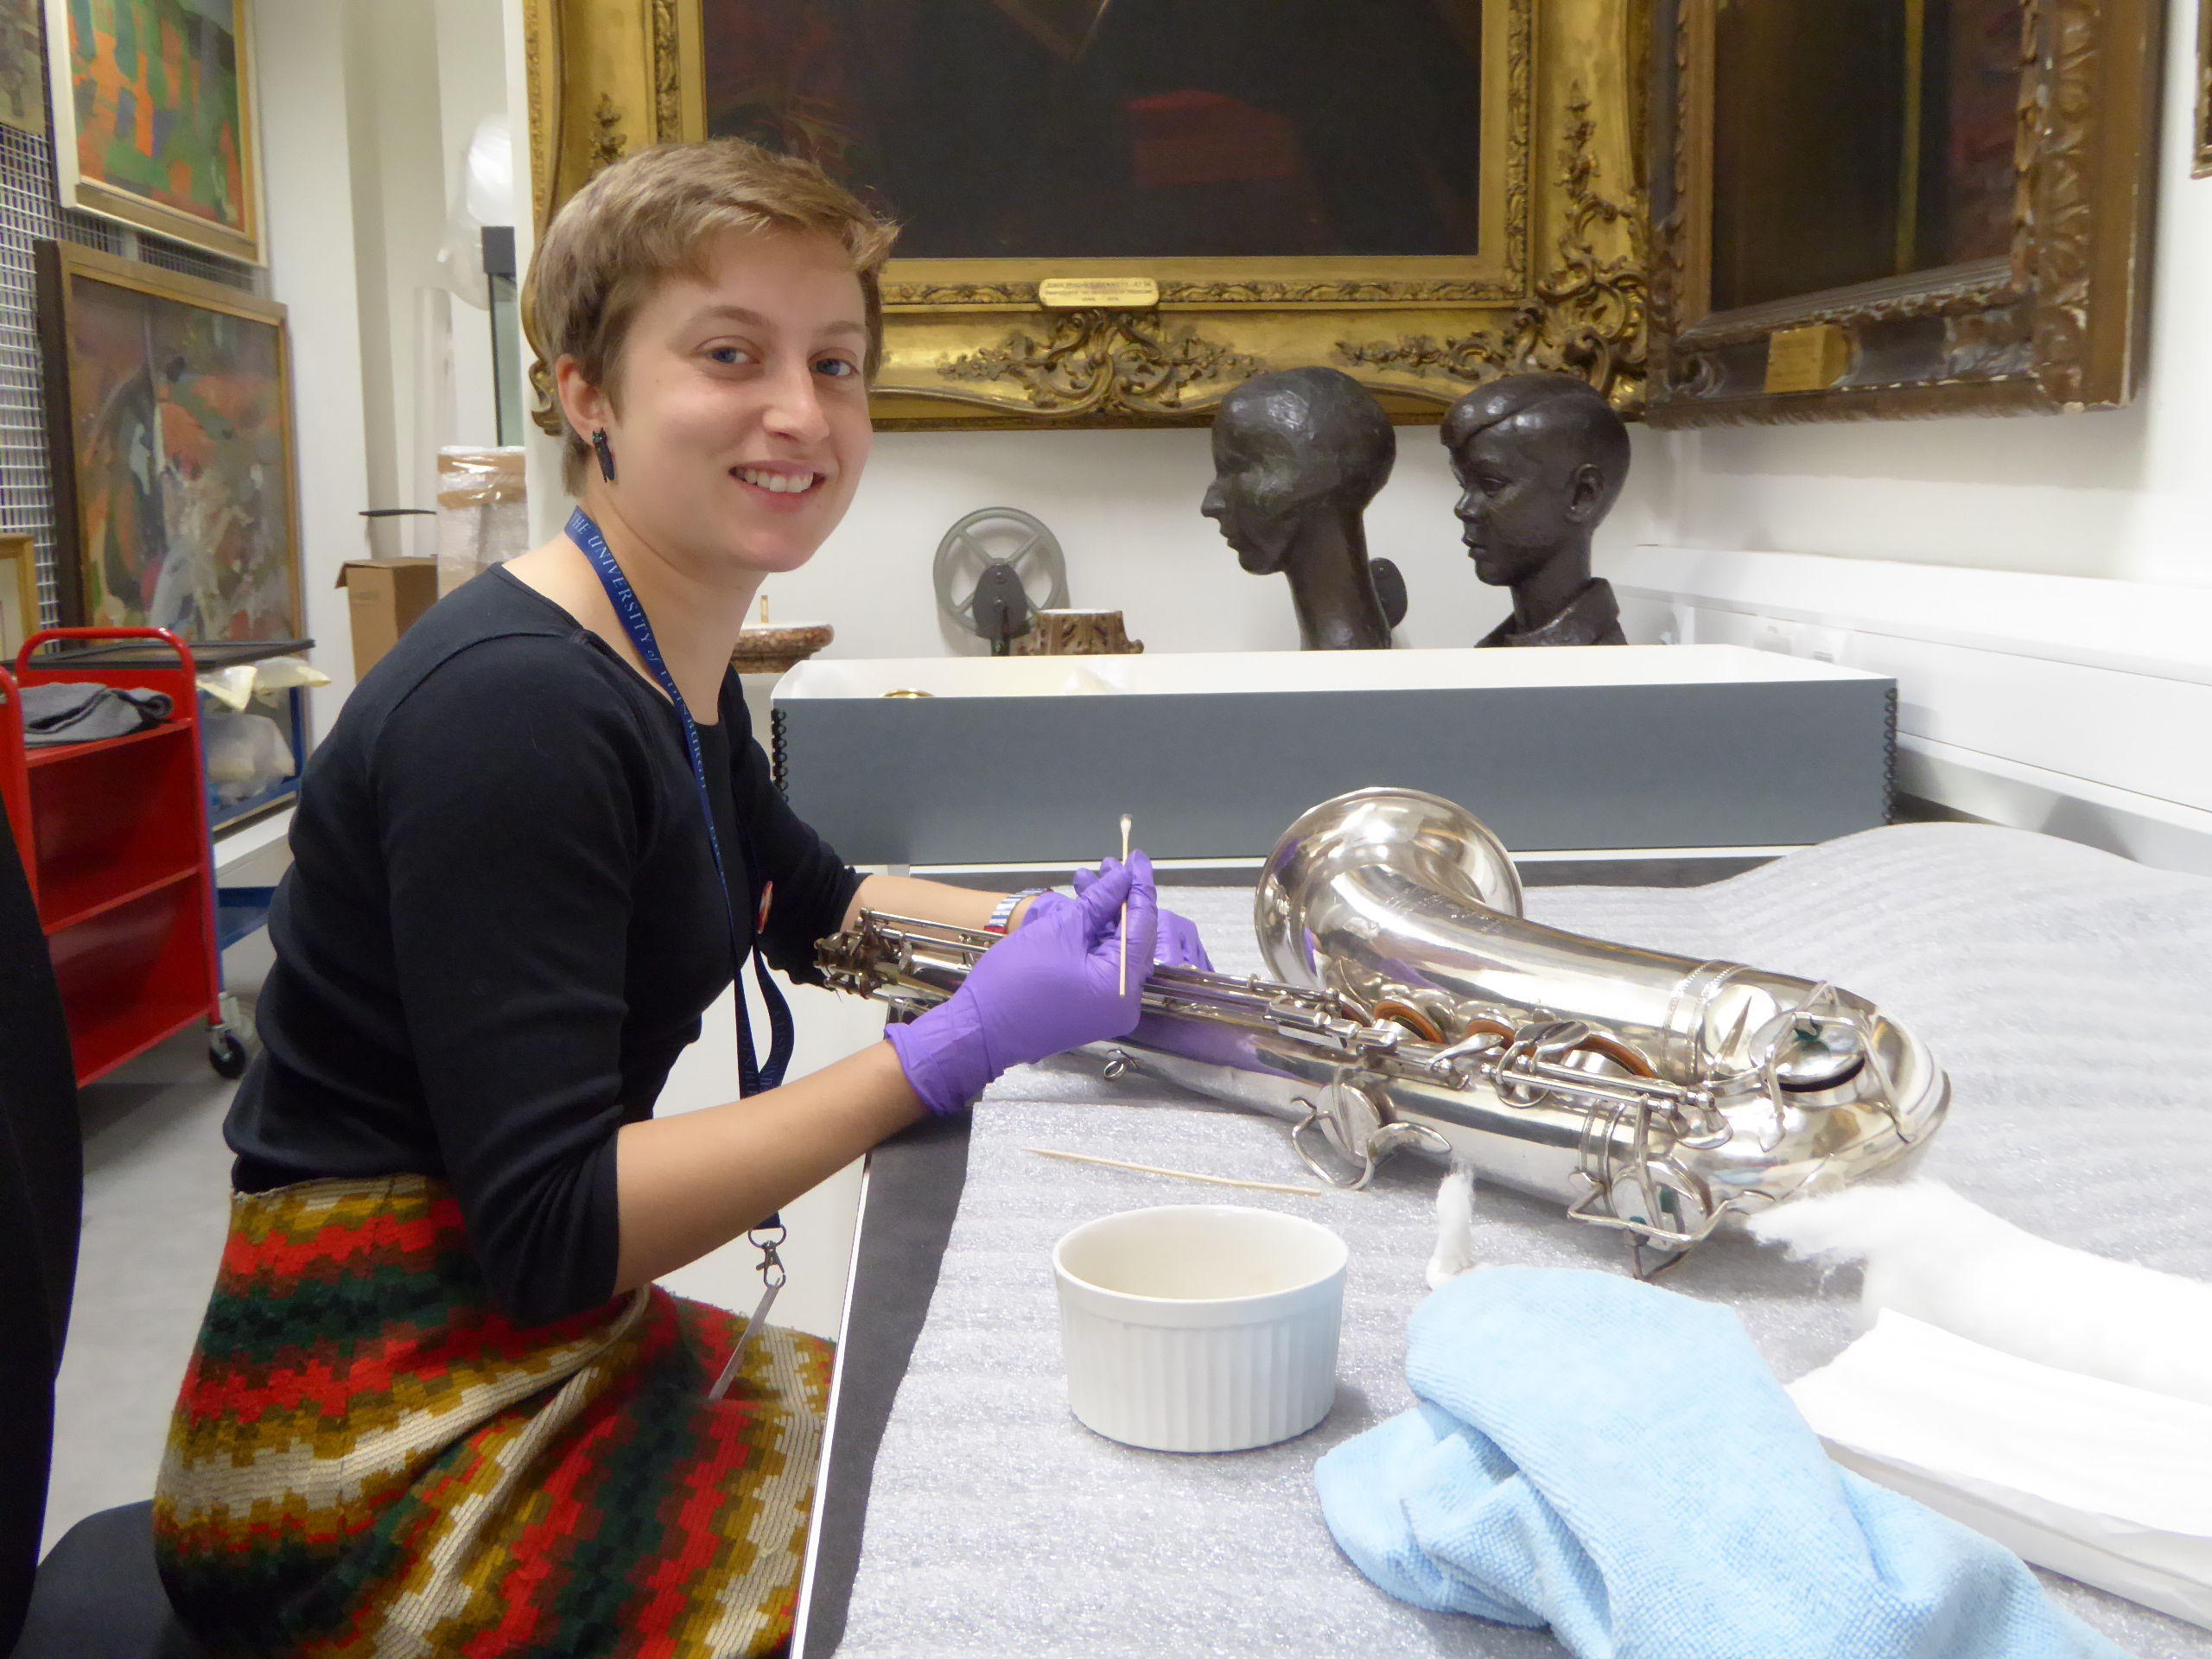
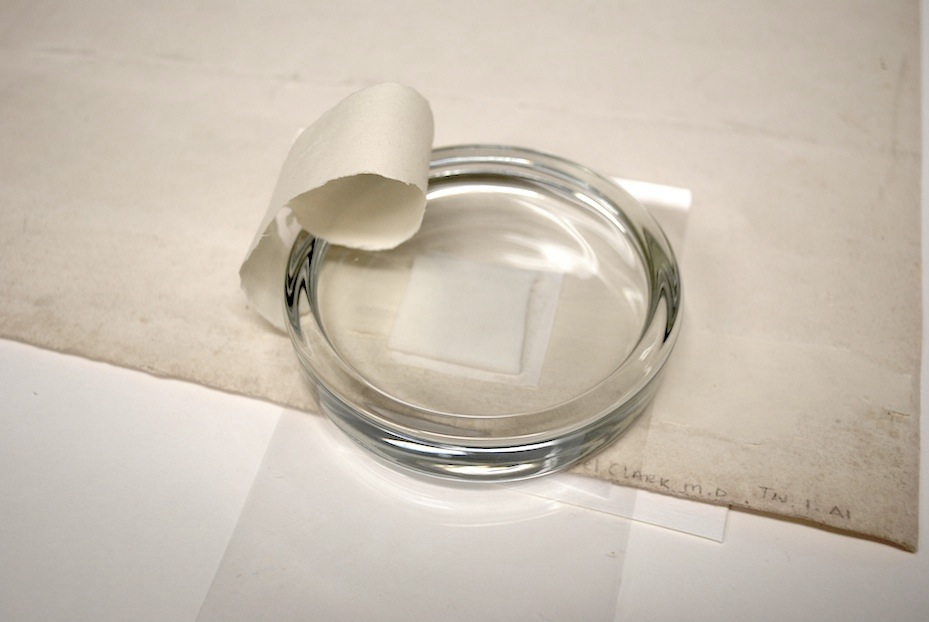
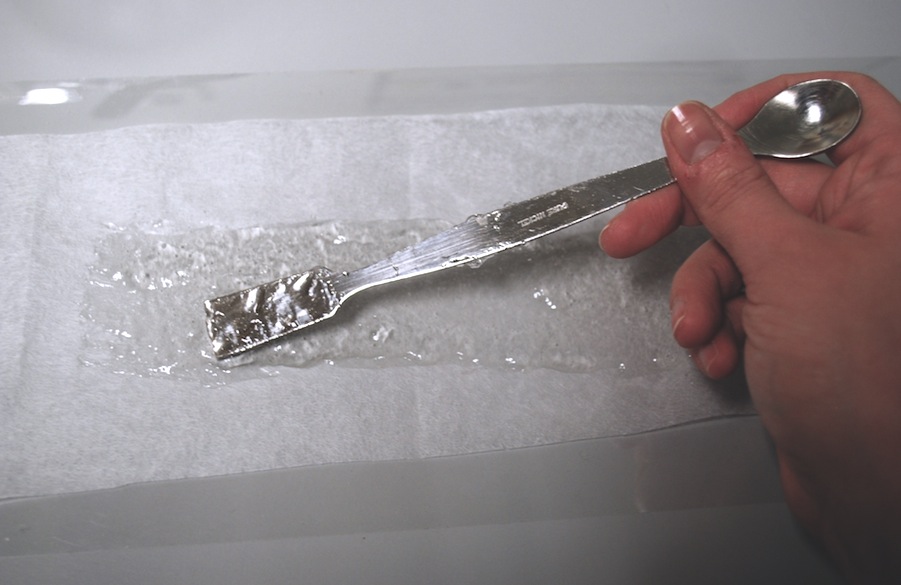
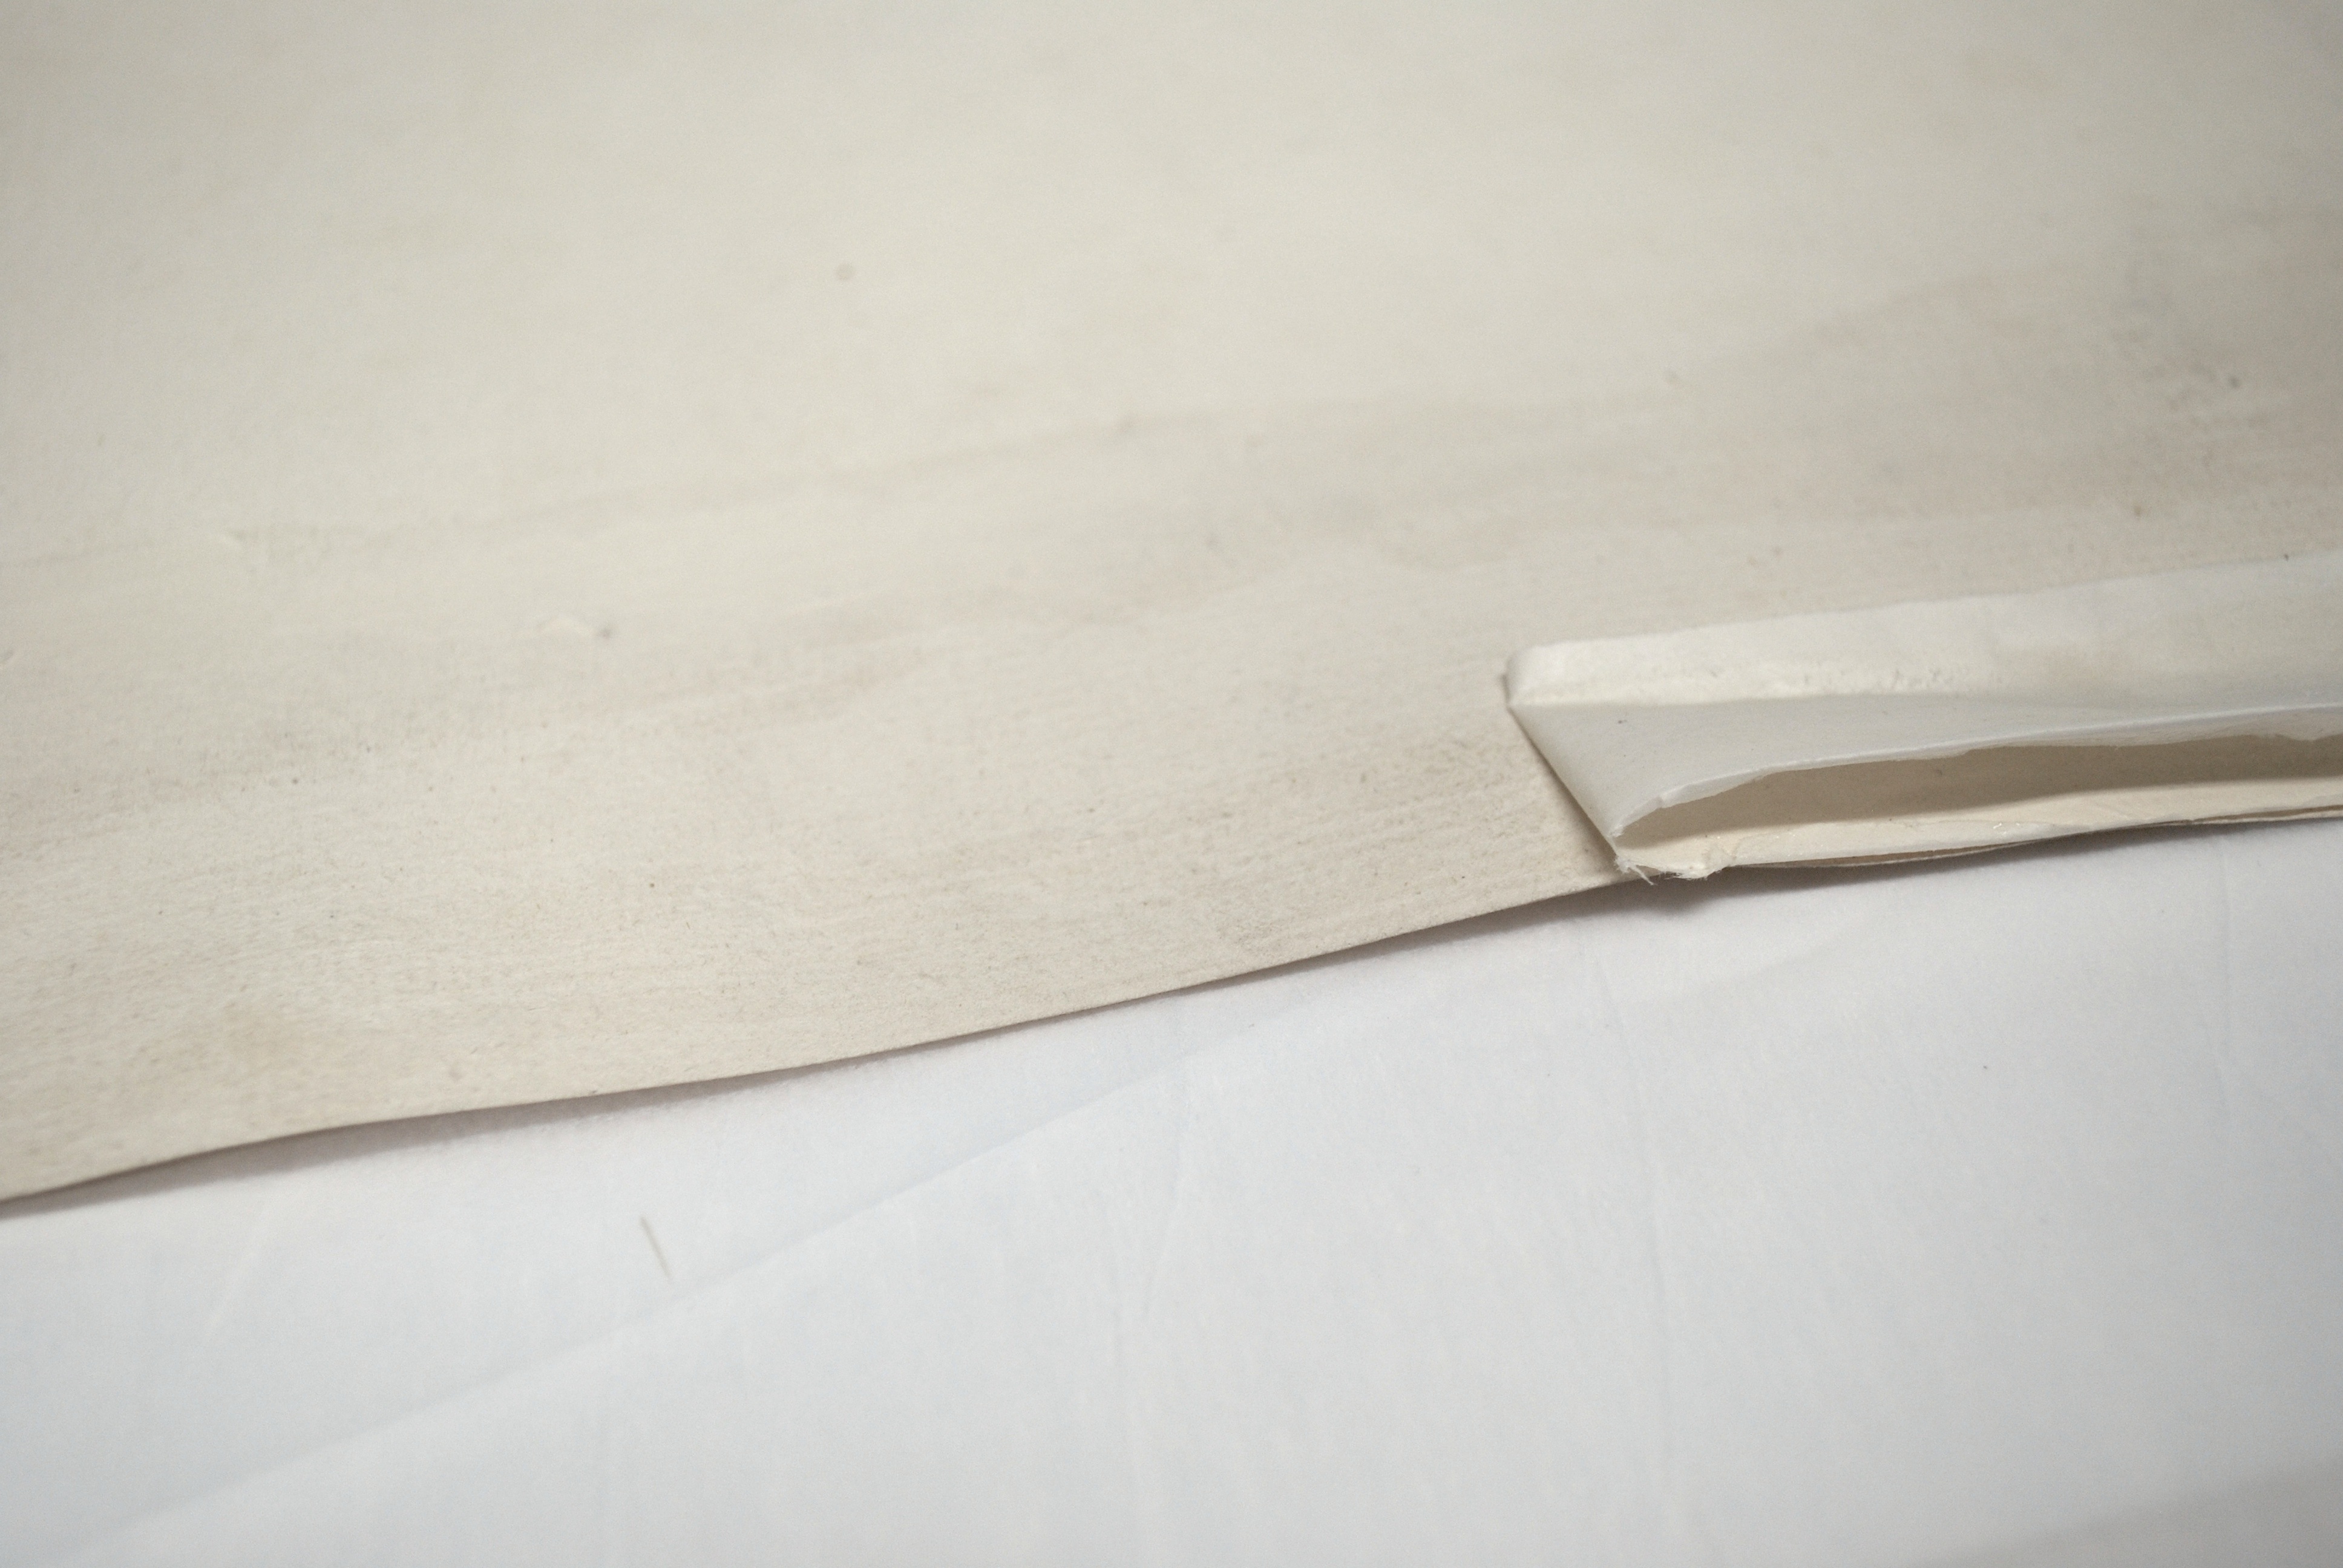
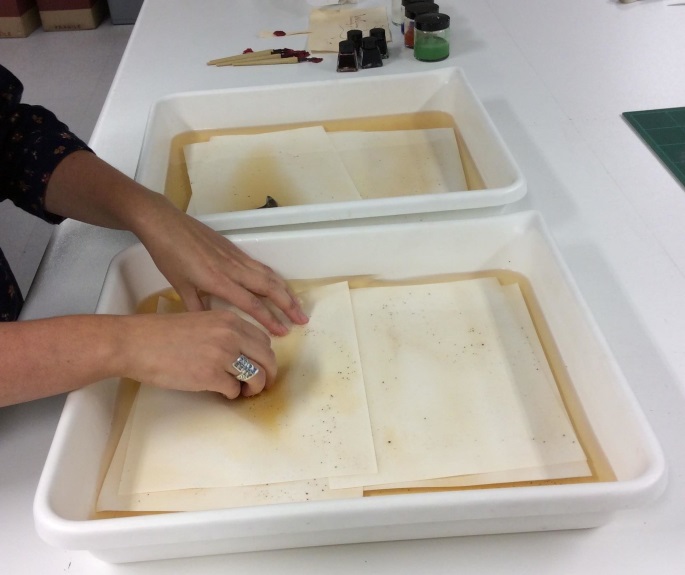
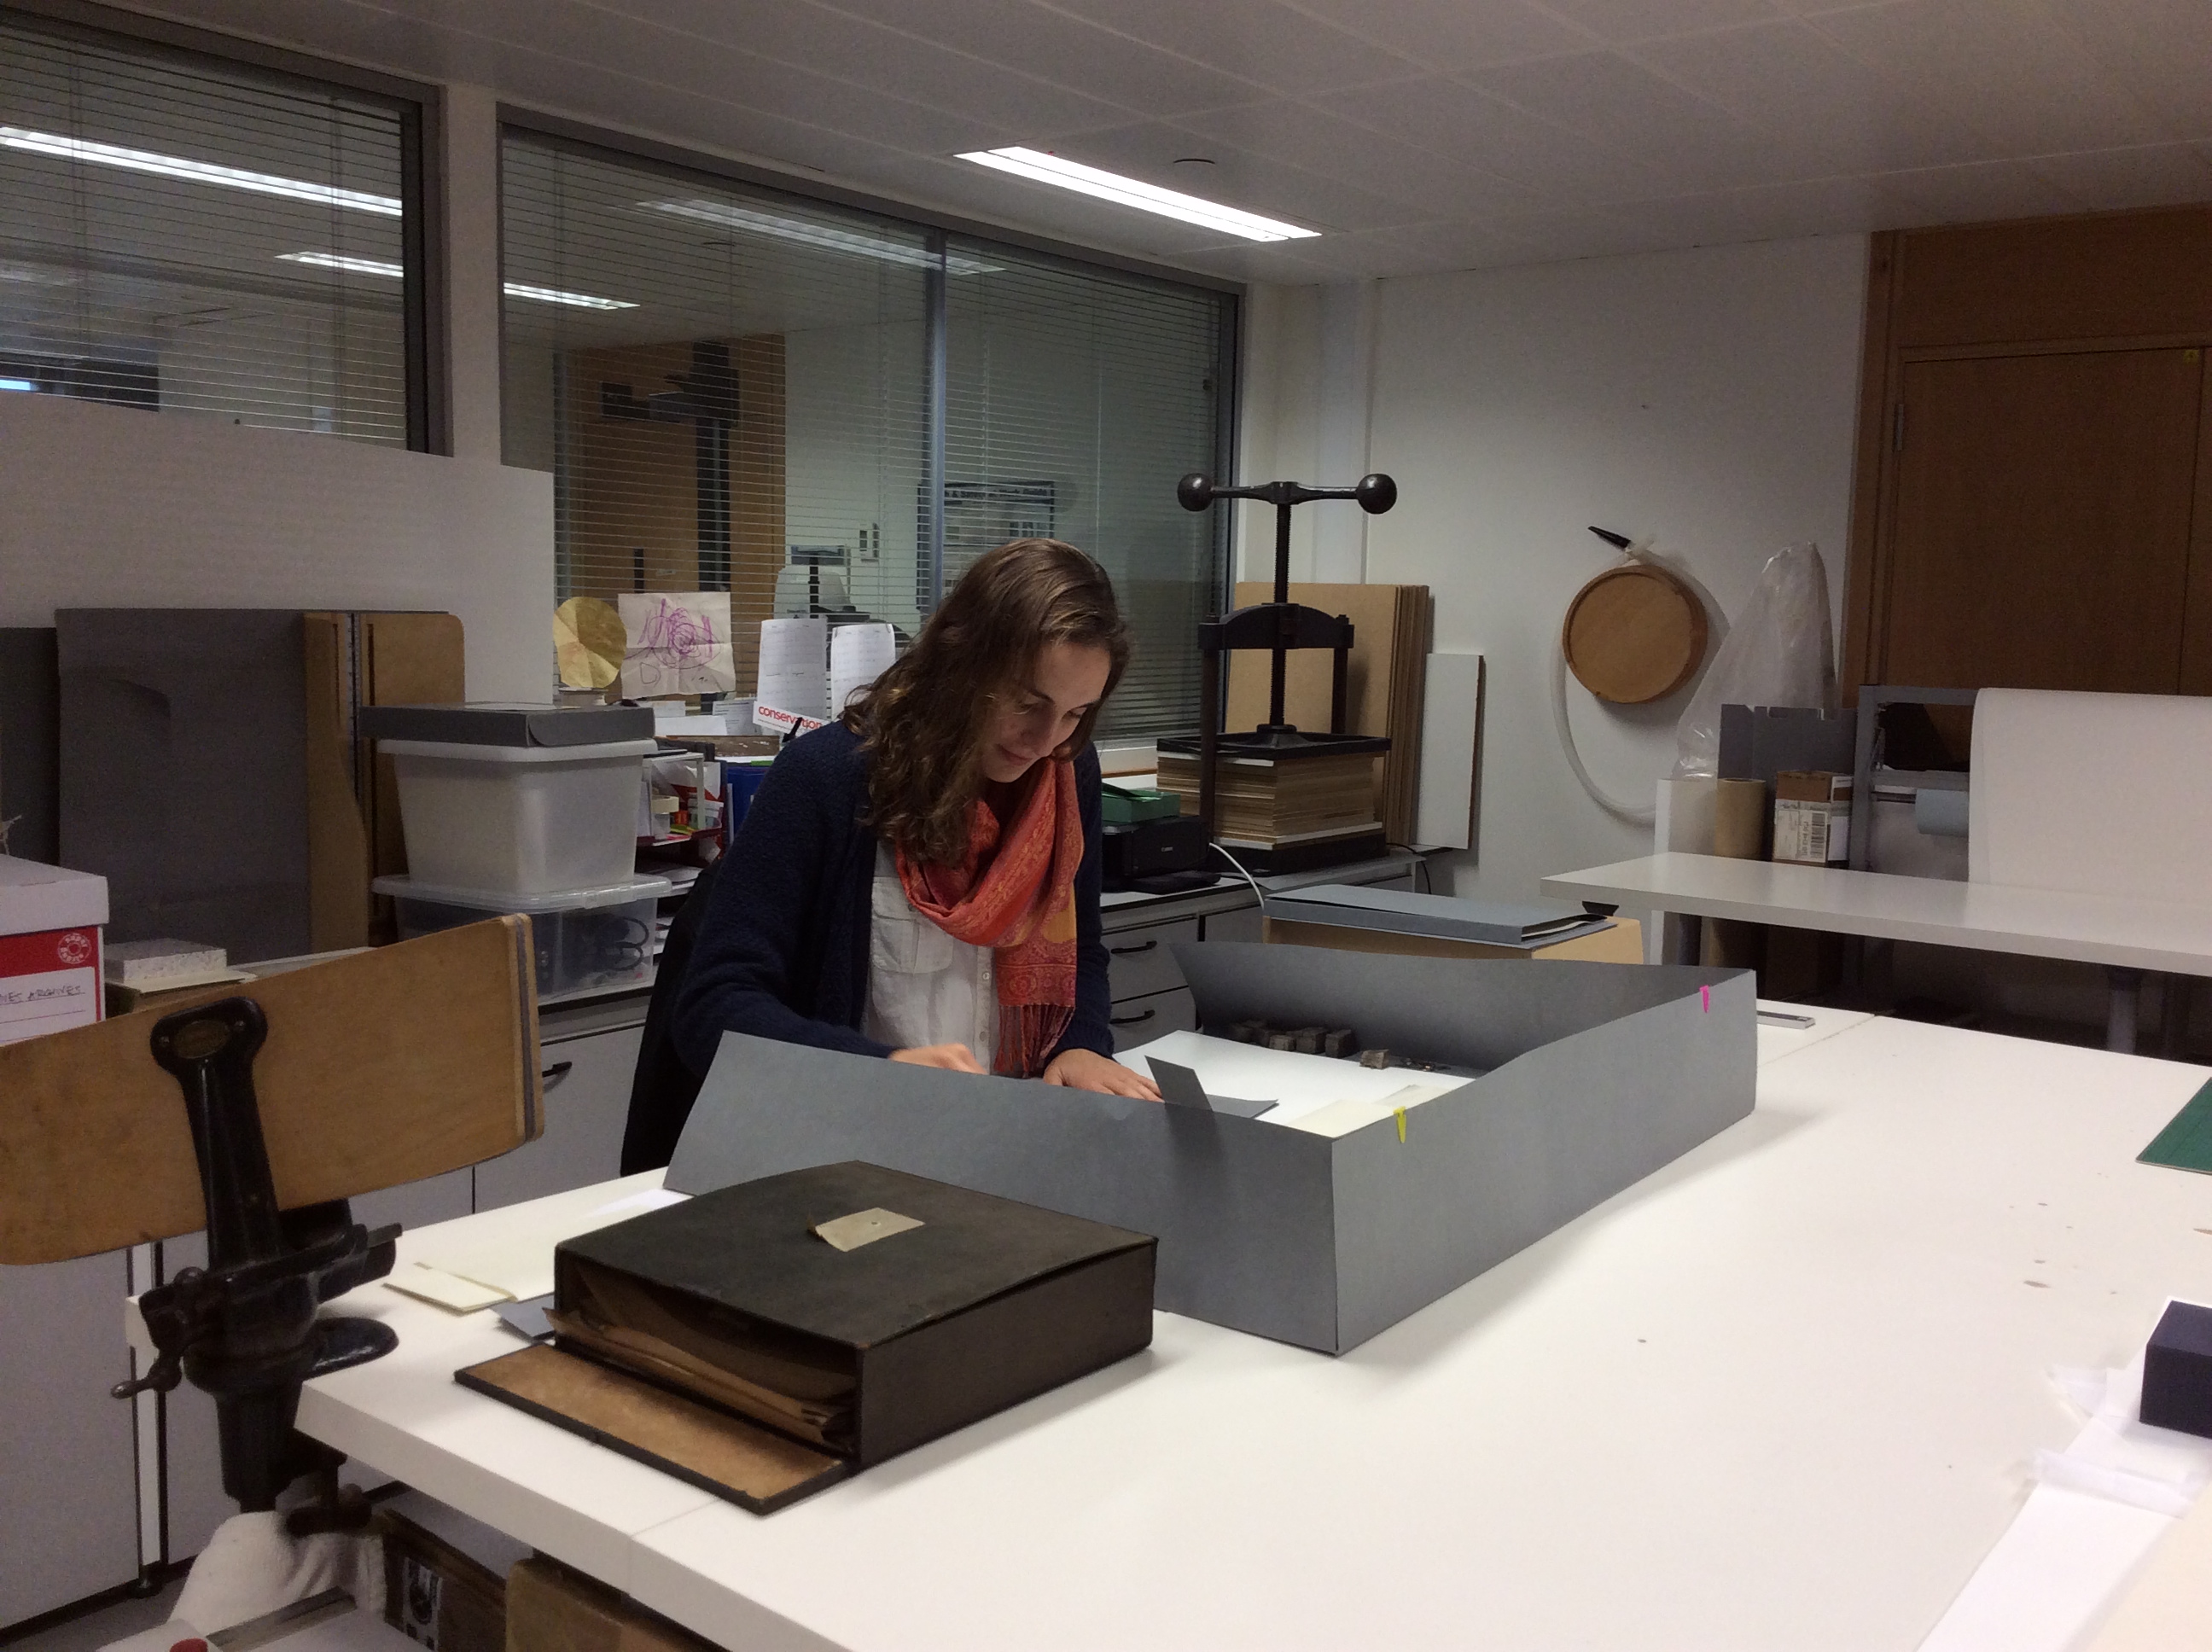
First stop was a visit to their conservation space, and to find out more about the project and their approach to conserving the Hospital’s records. Having converted an old bindery for use as a studio, space was at a premium and with so many records requiring attention, they certainly had their work cut out! The aim of their project is to stabilise the records – through surface cleaning, flattening, tear repair and rehousing – focusing on making them accessible to readers and researchers. It was interesting to learn about how they manage their time, and their thoughts behind deciding what level of treatment they should carry out. It was apparent that time, space and resource constraints made project management so important – something that many people, of all professions, will be able to identify with!

Stirling Studio

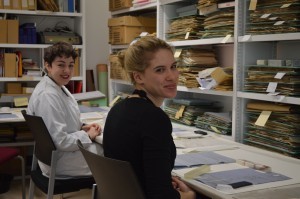
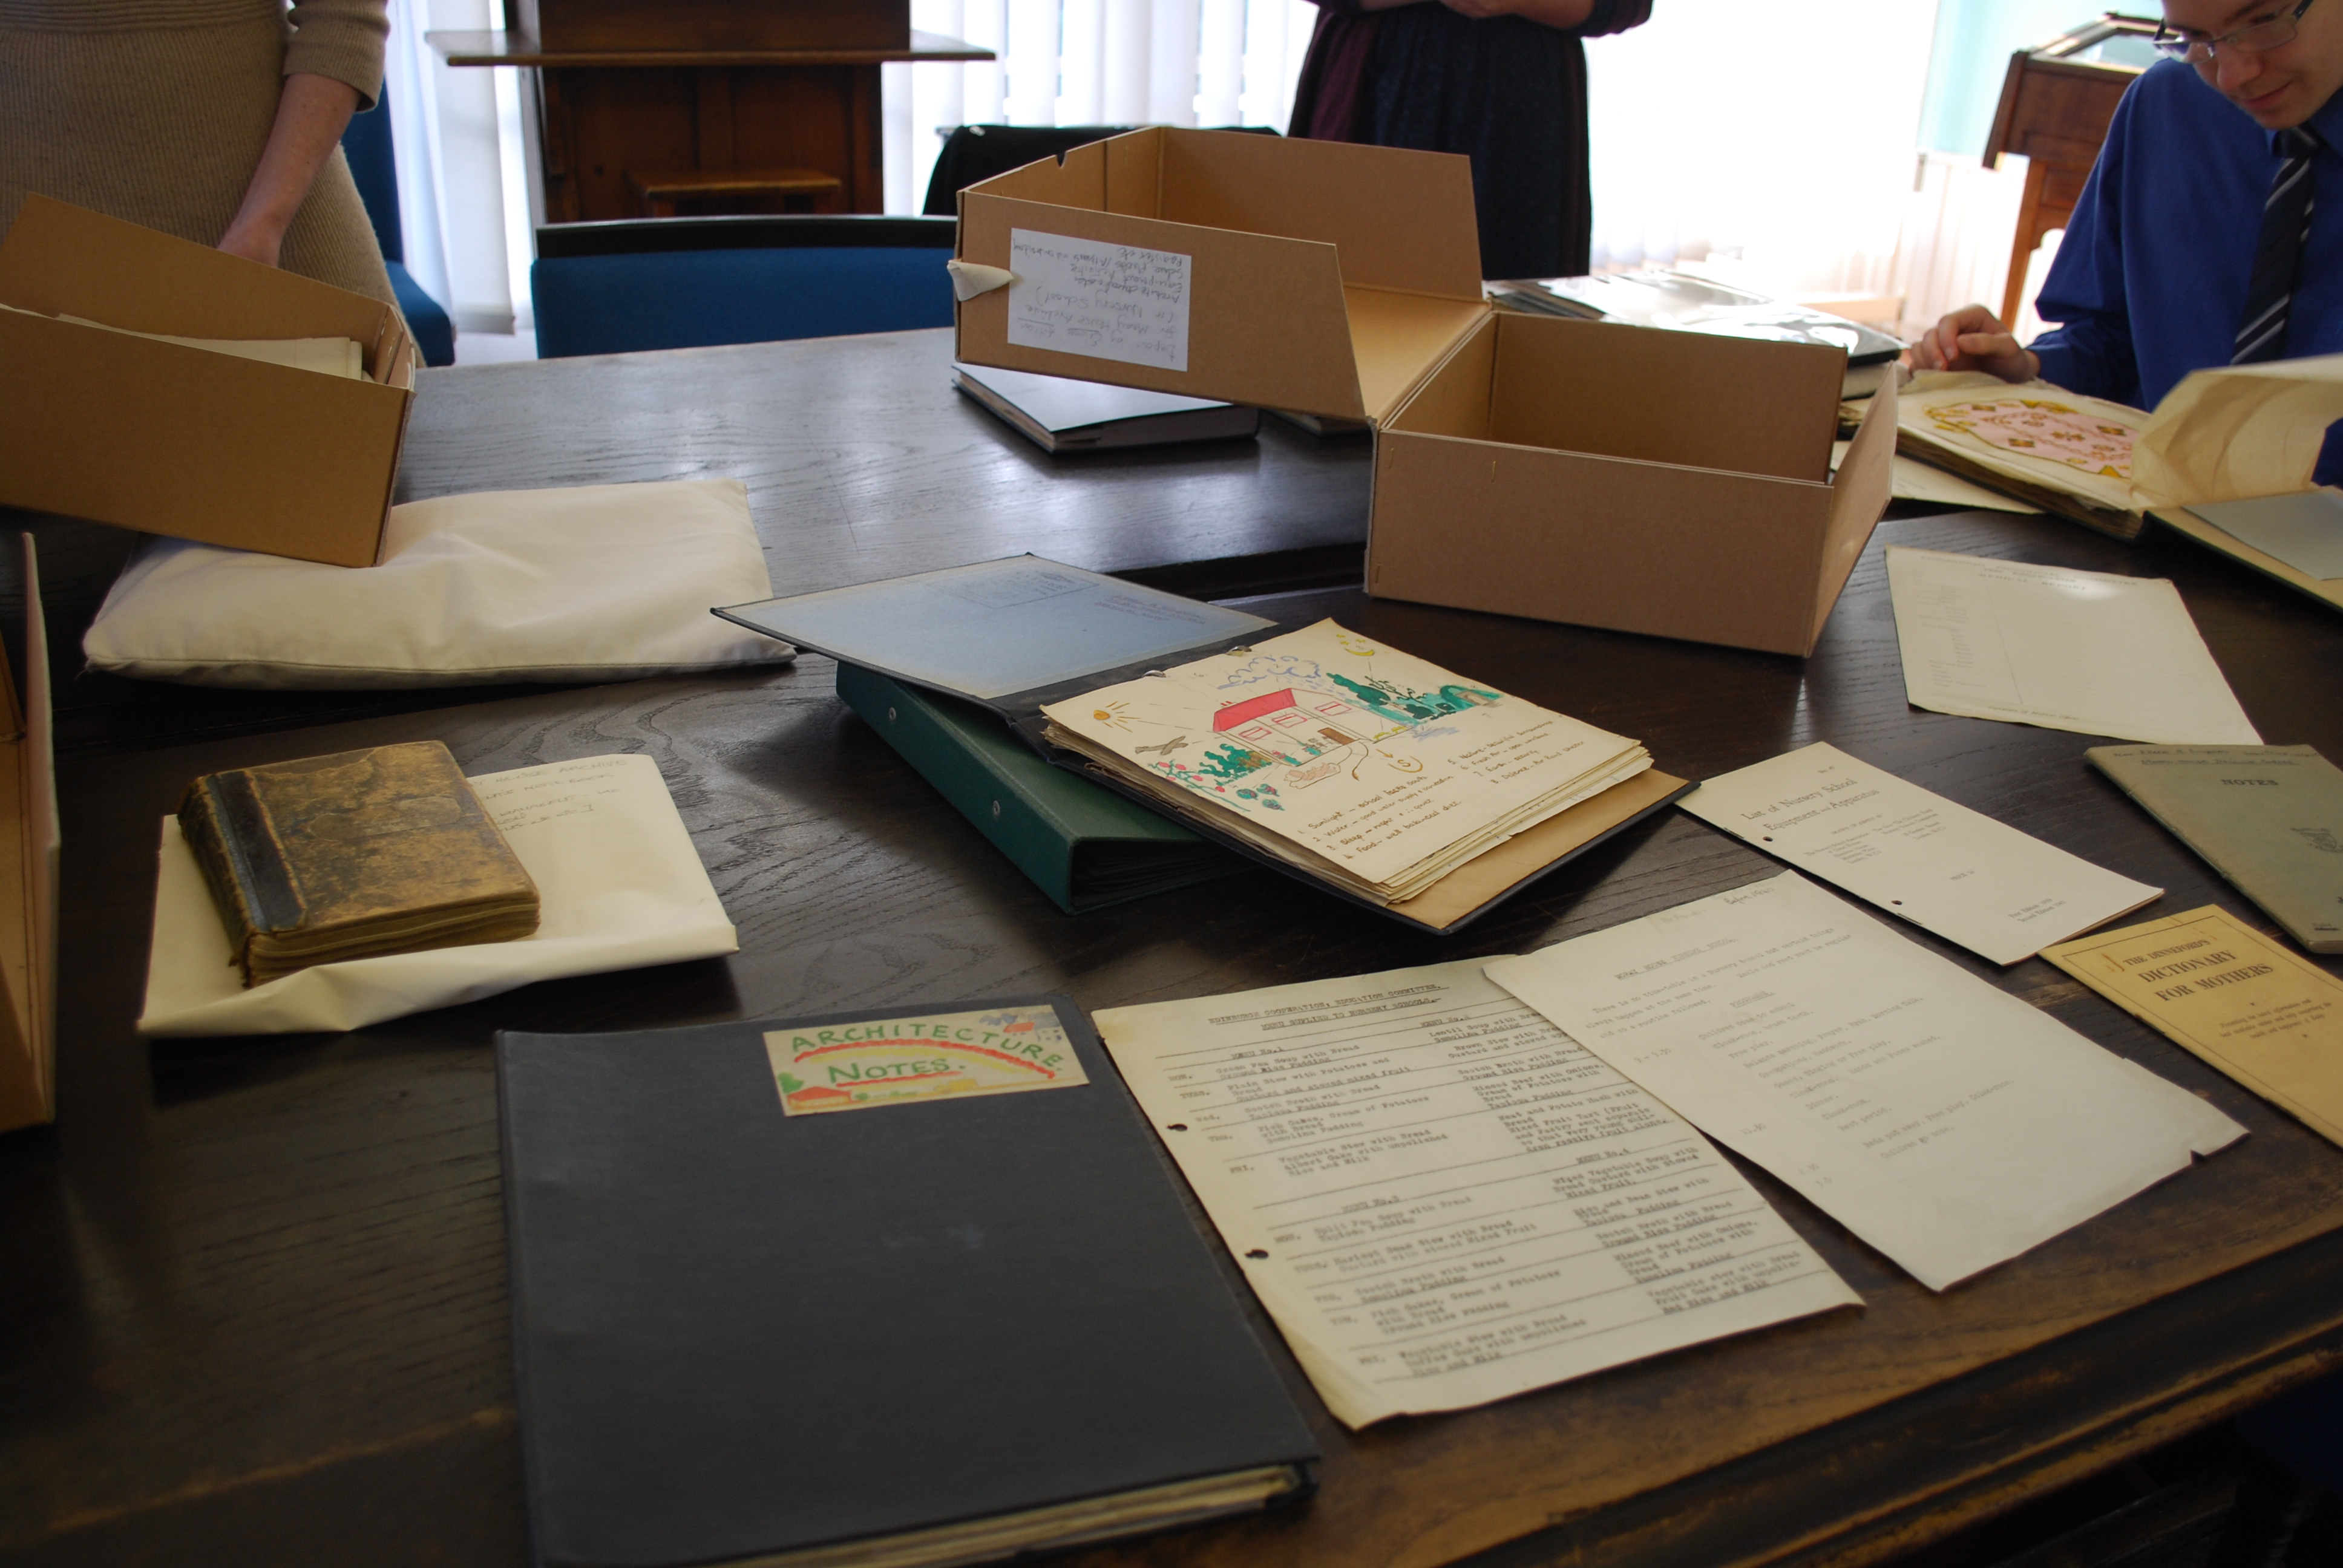
Erika and Kat working in their studio

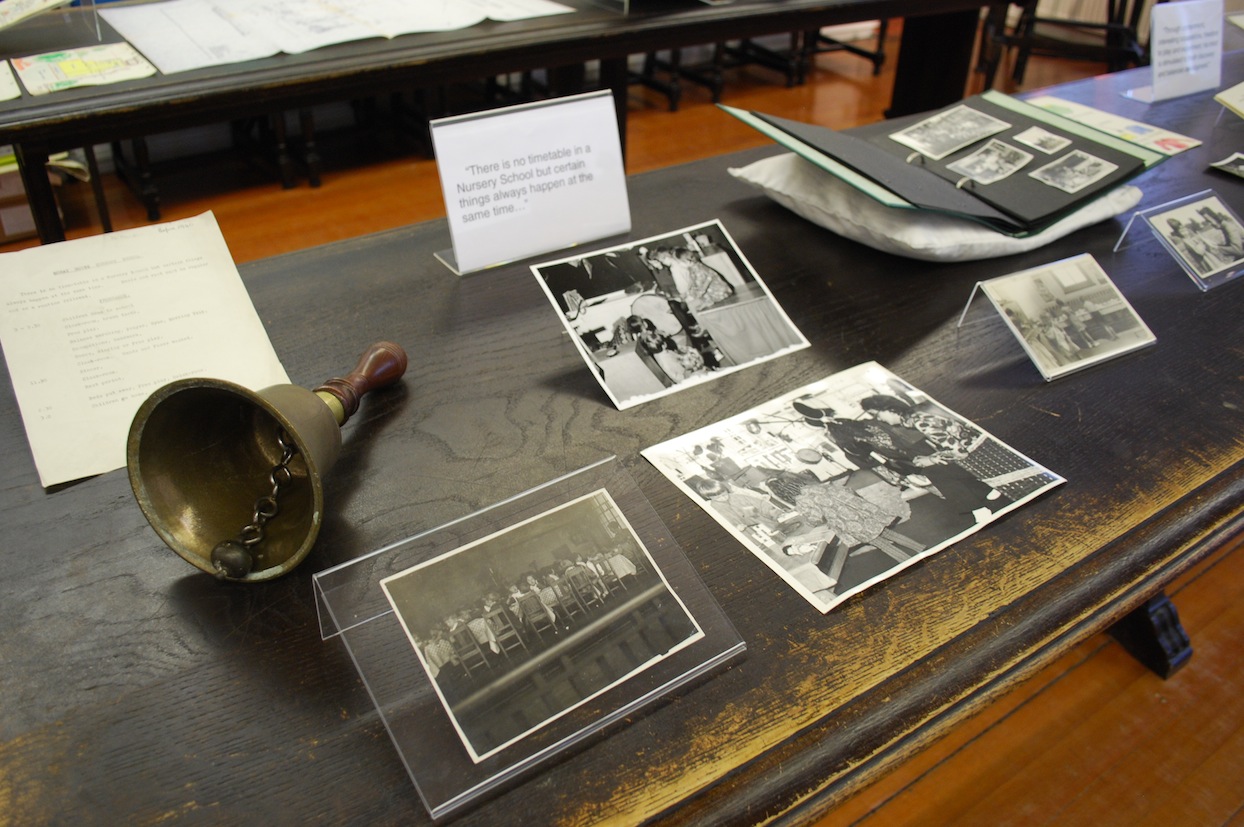
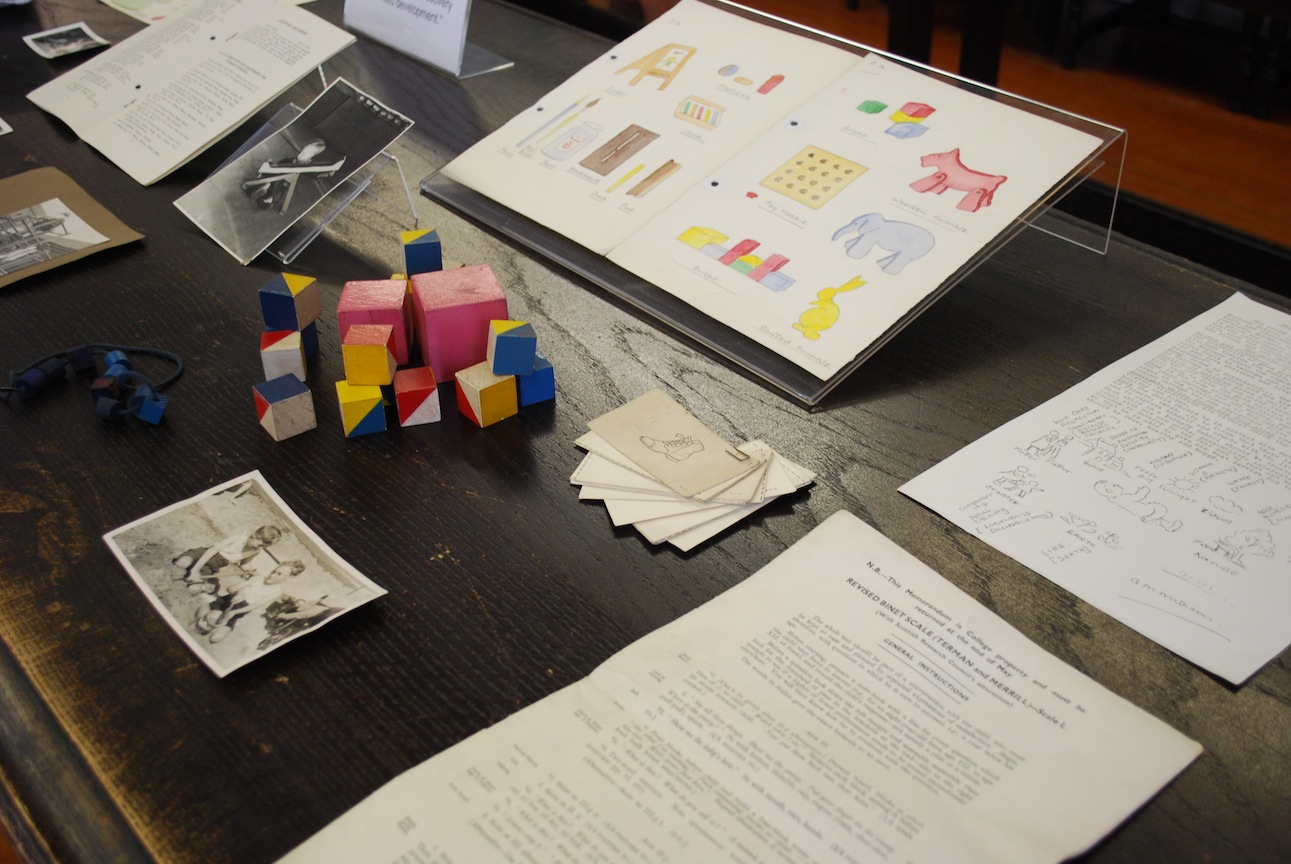
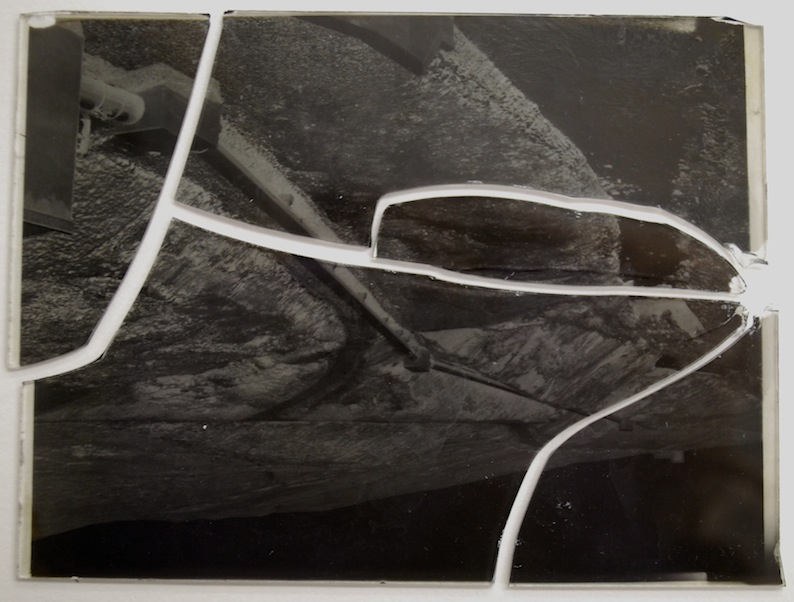
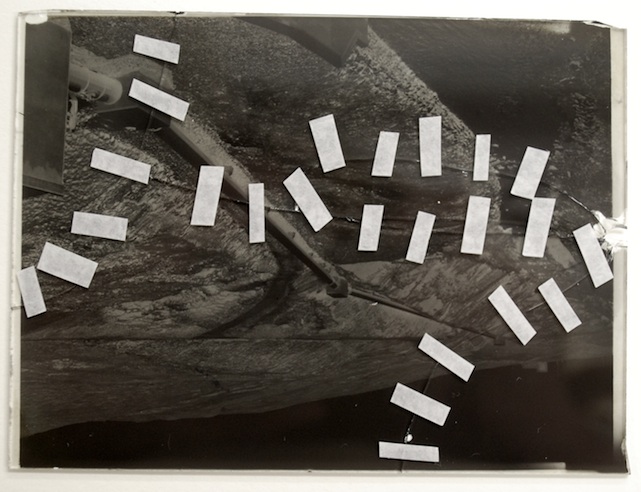
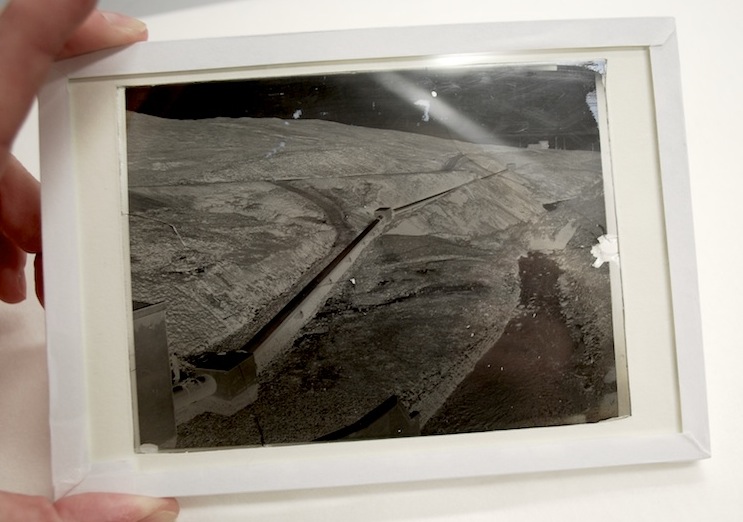
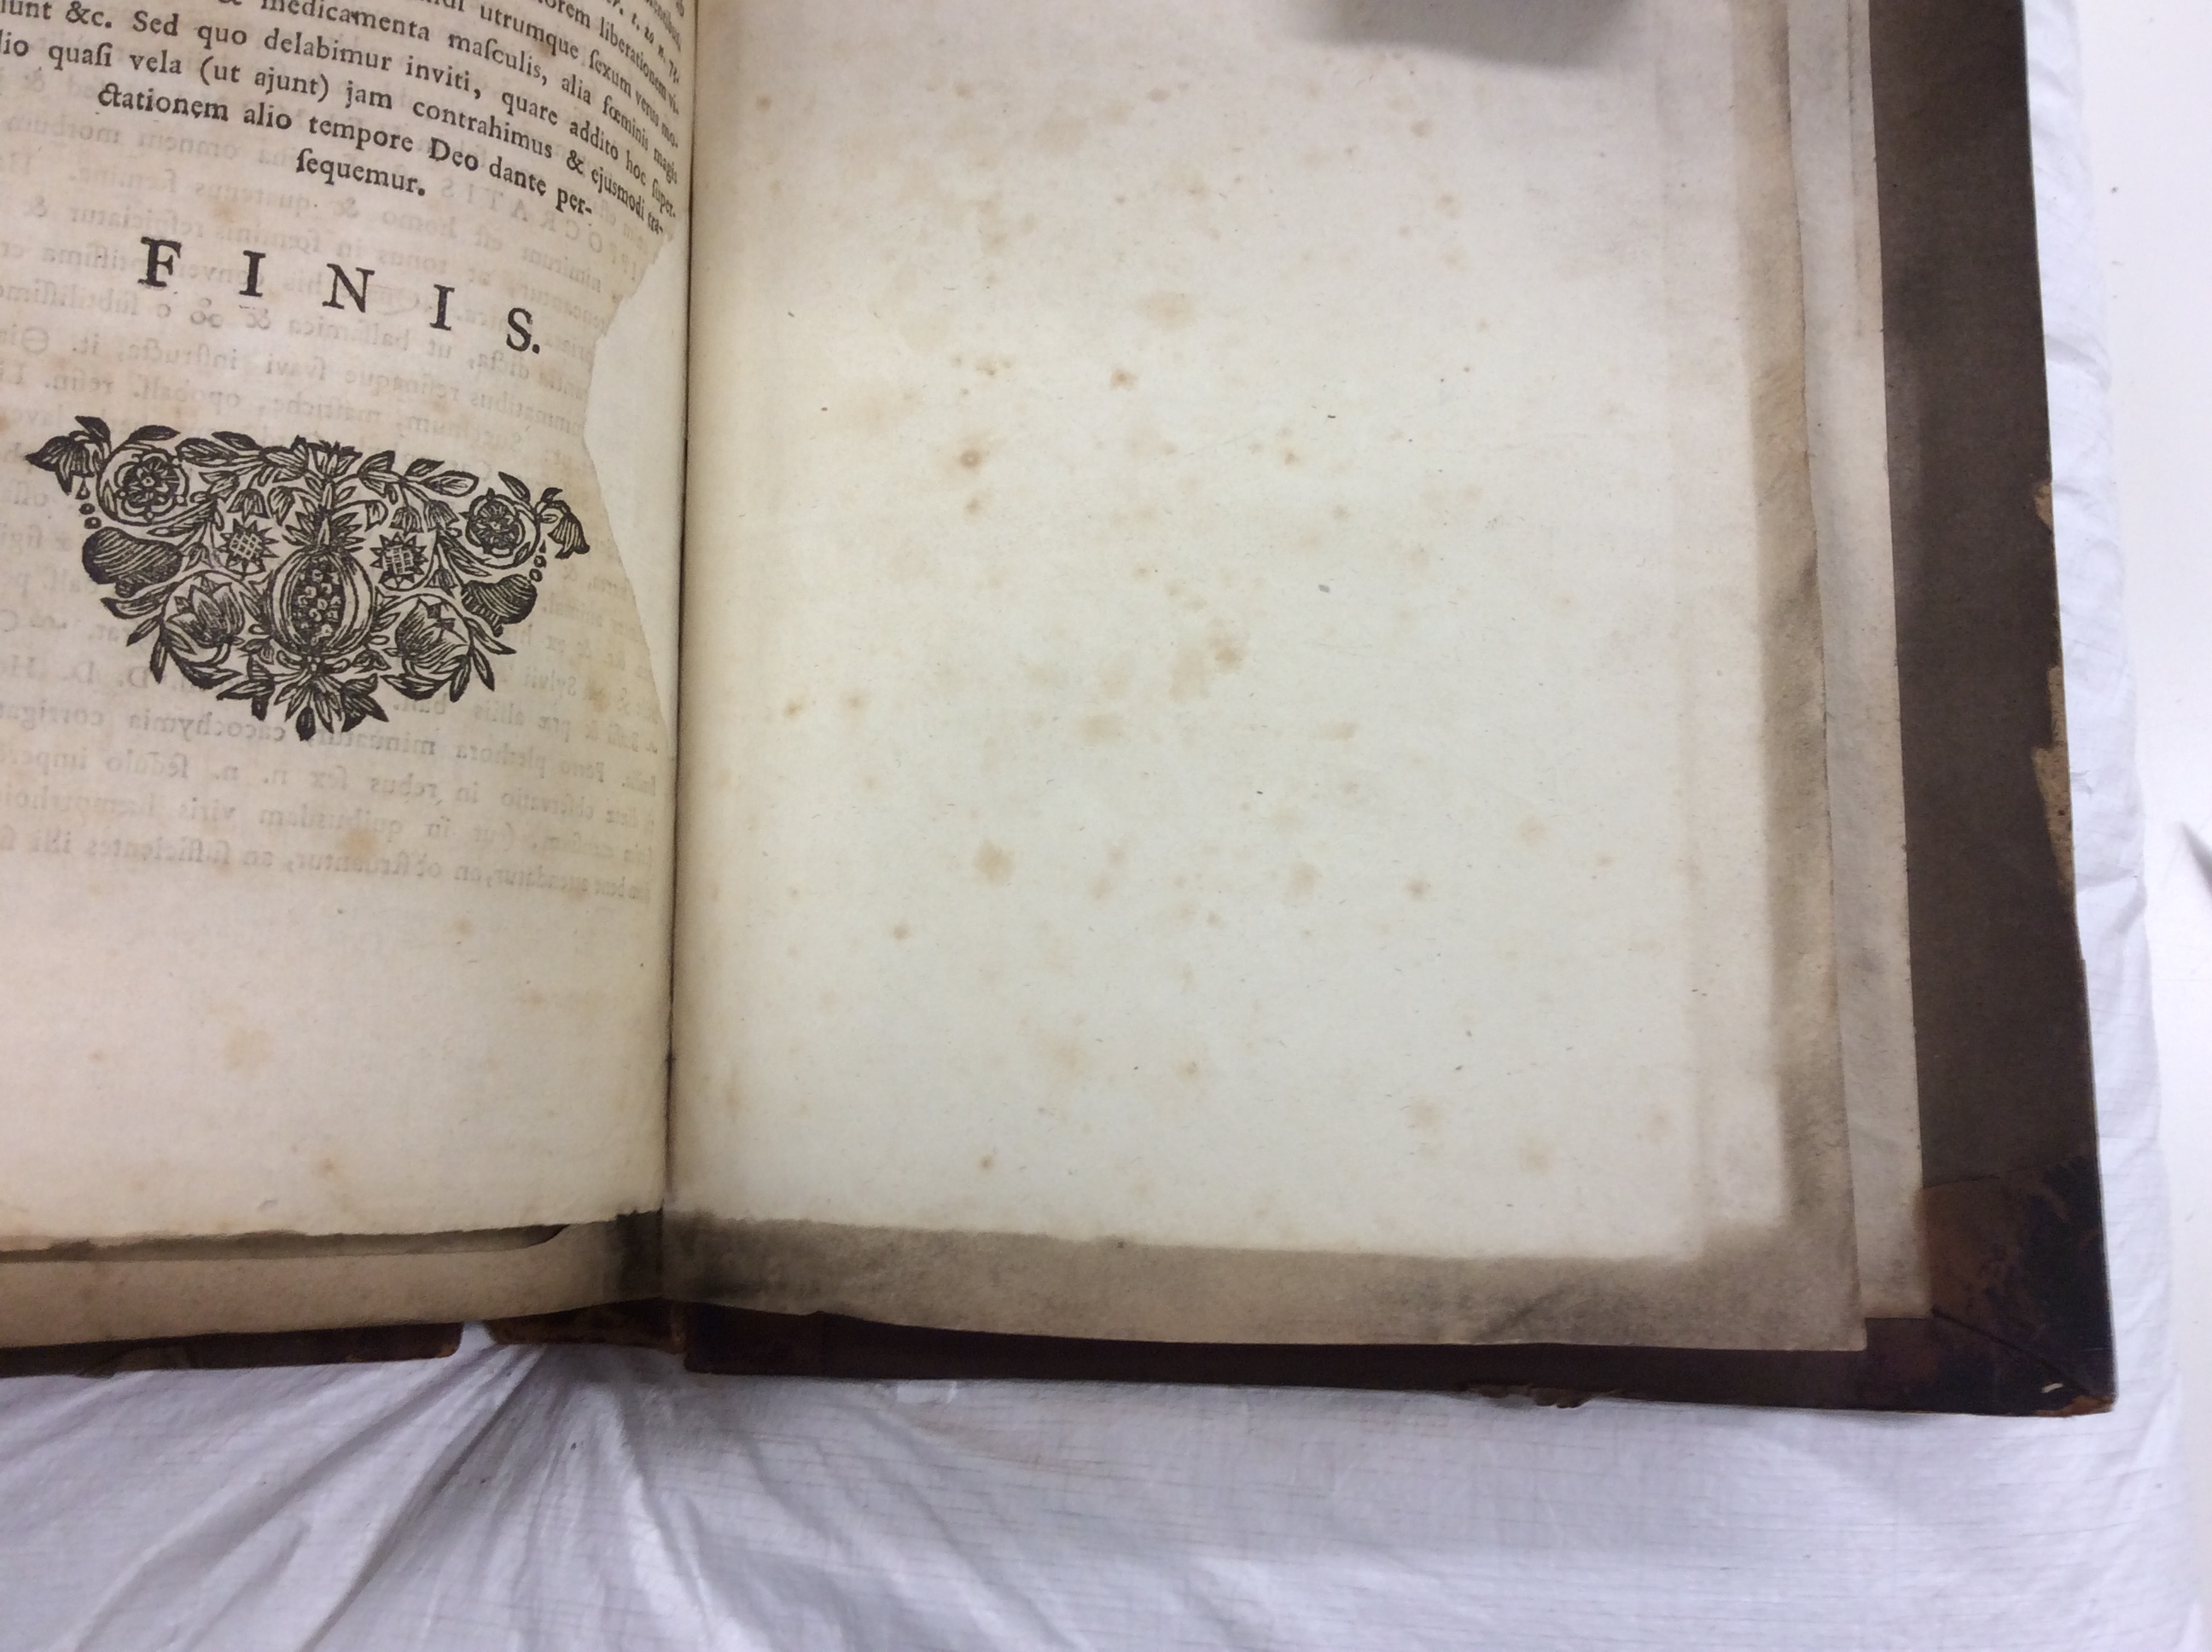
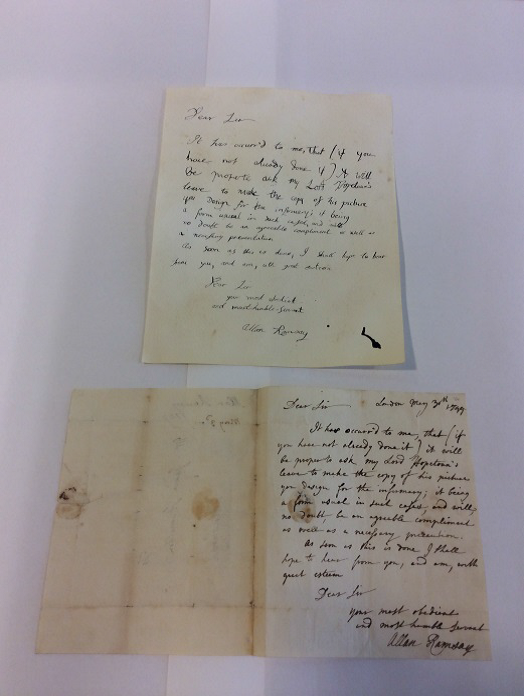
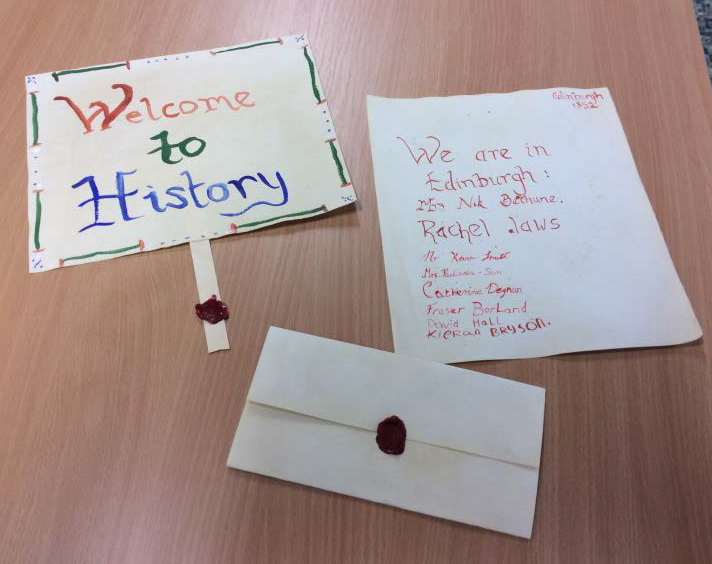
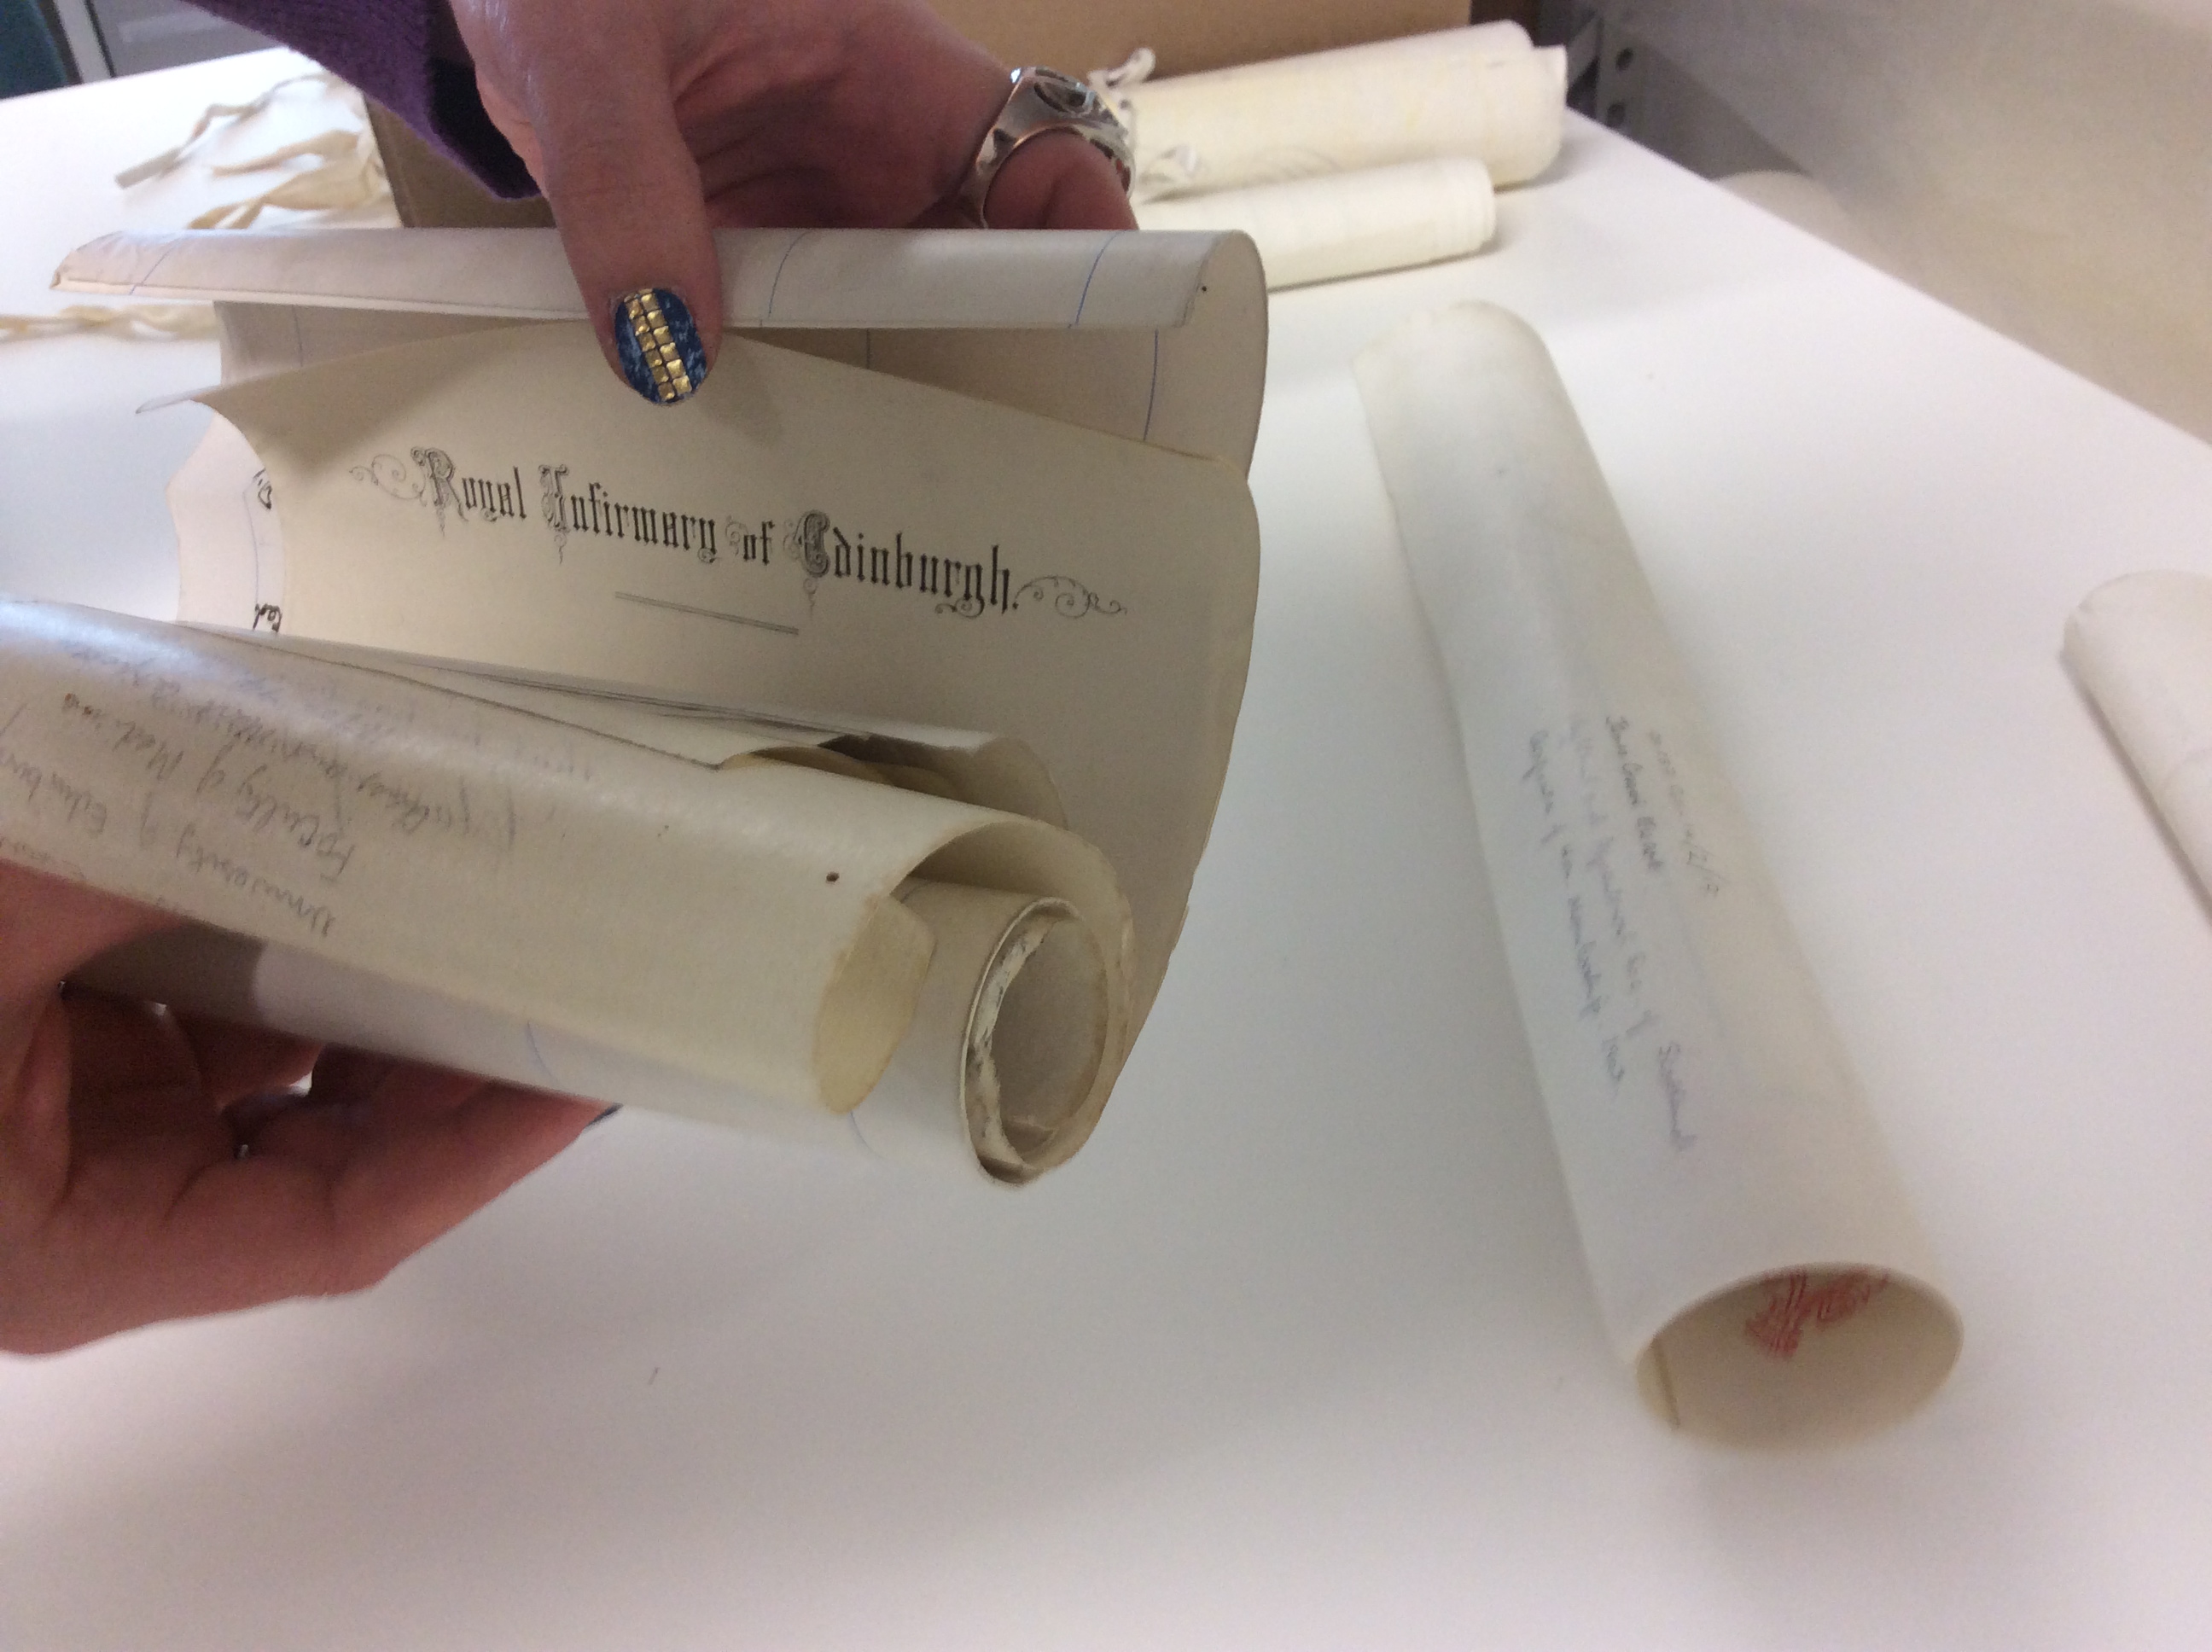
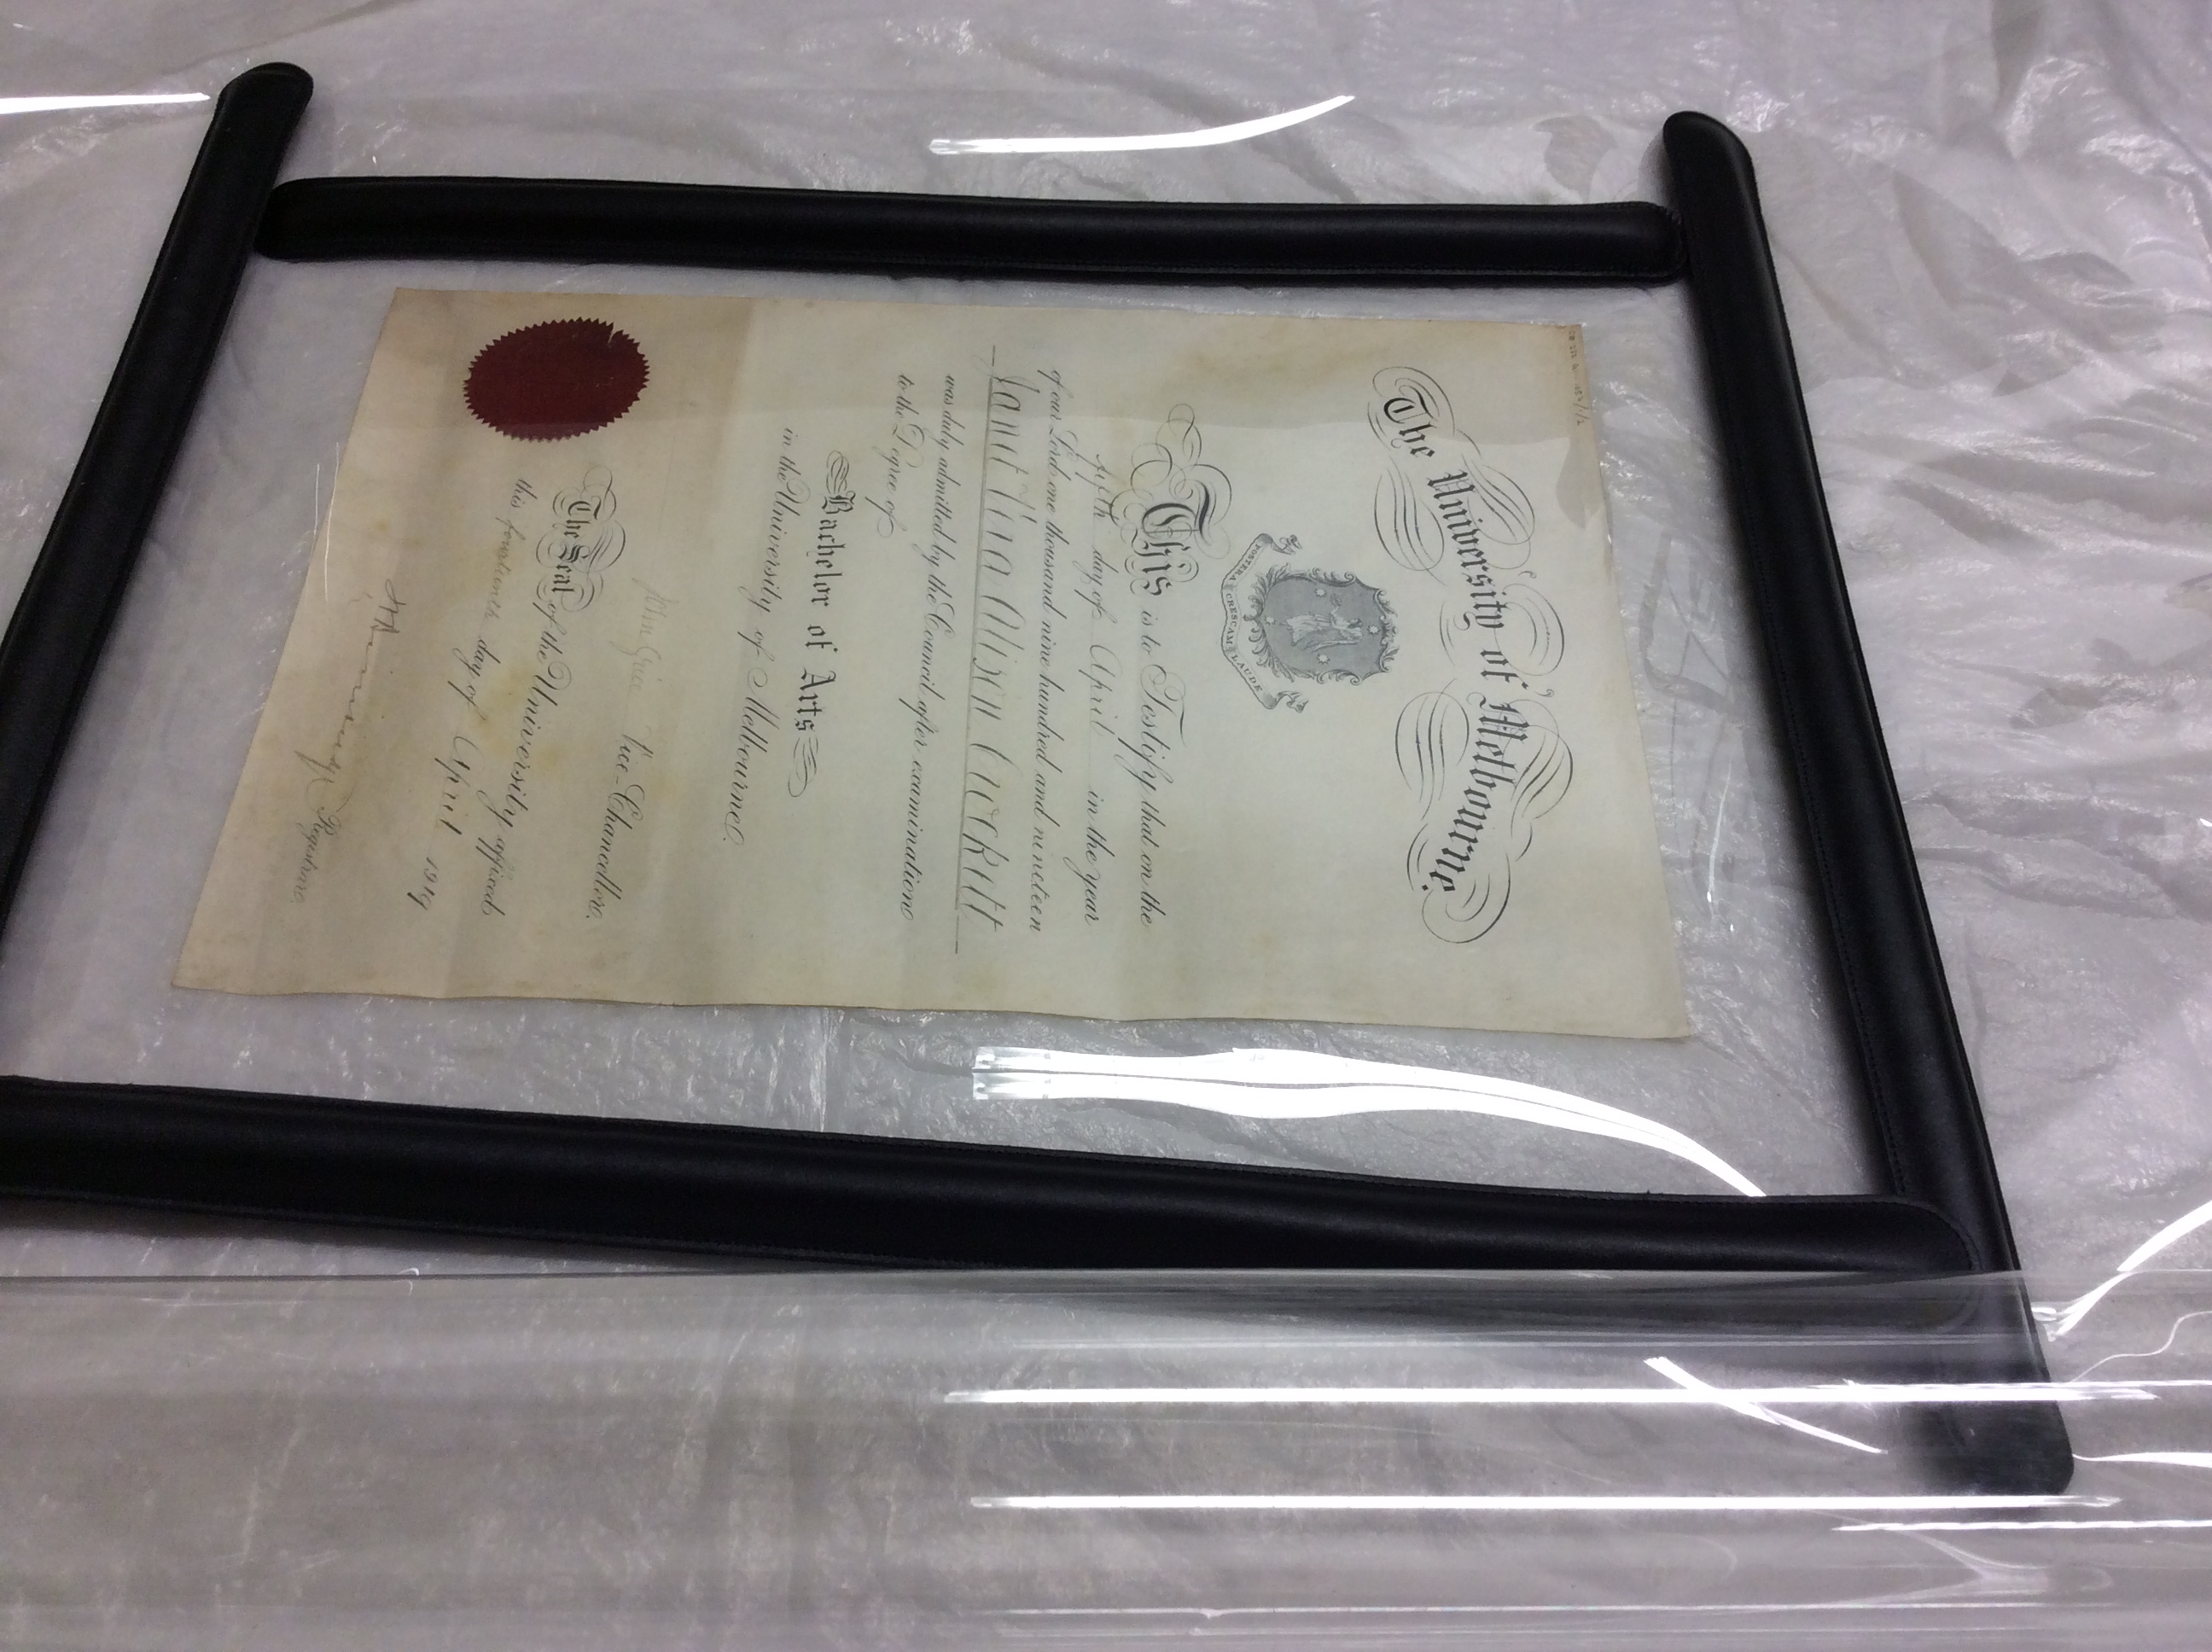
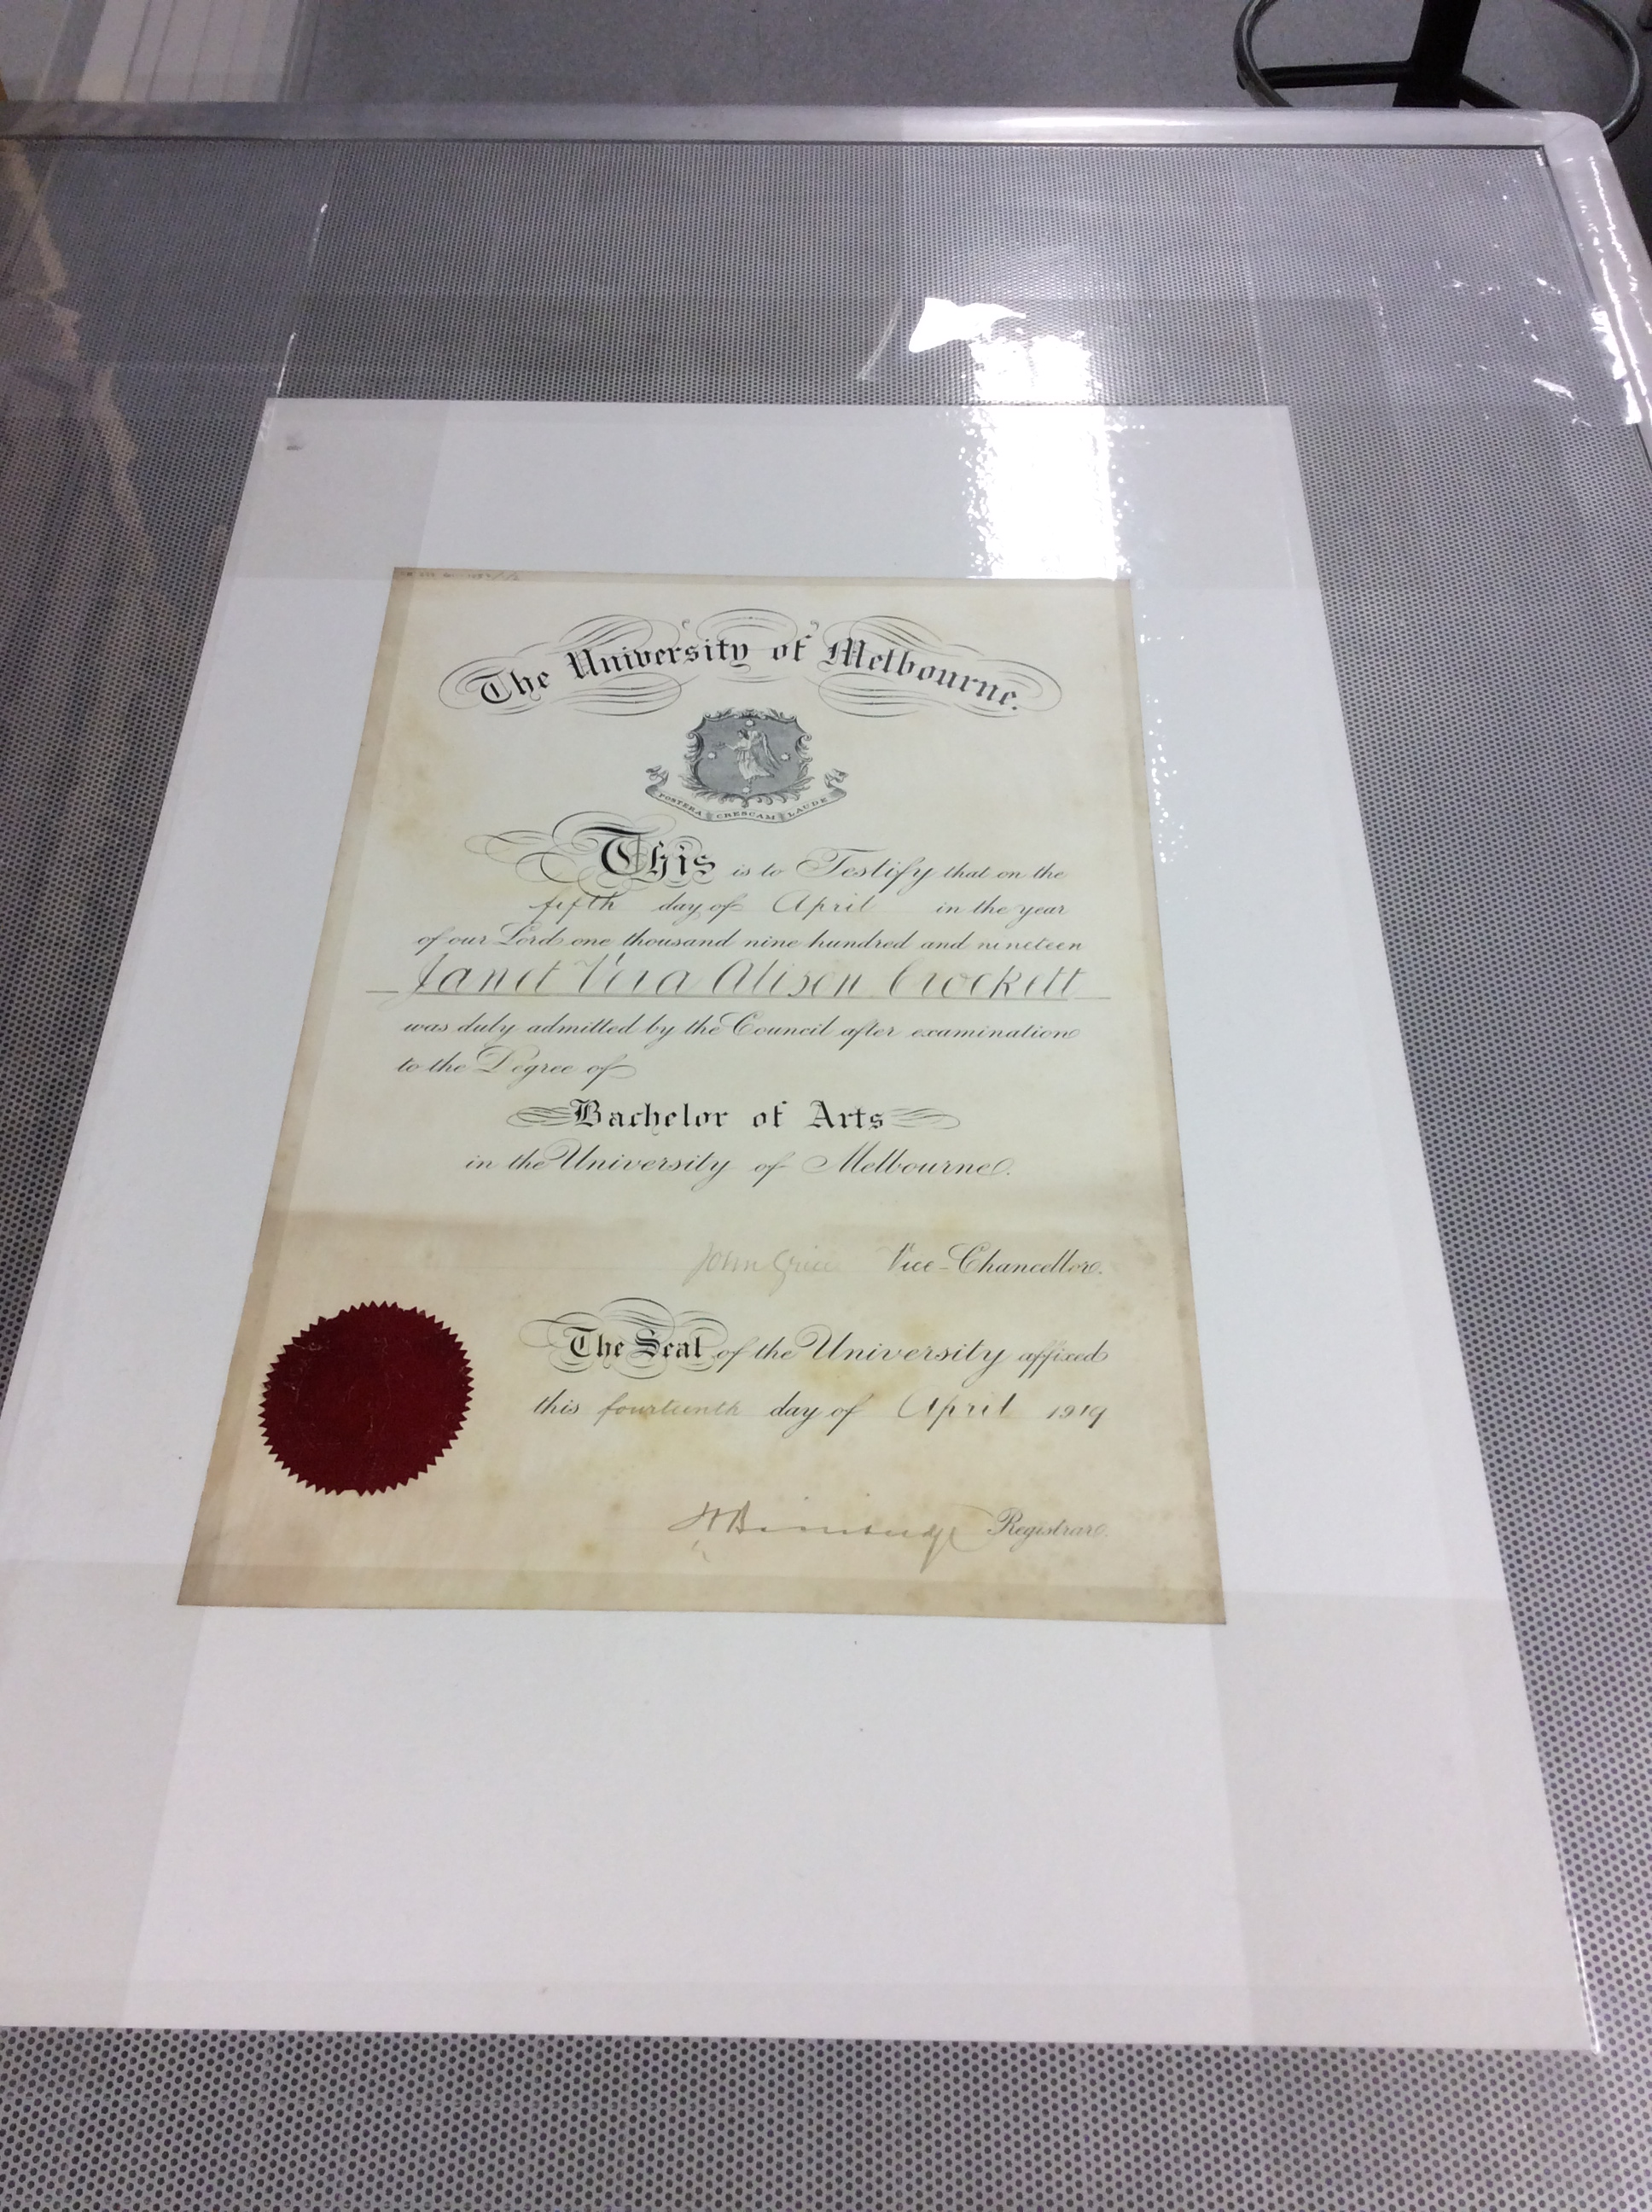
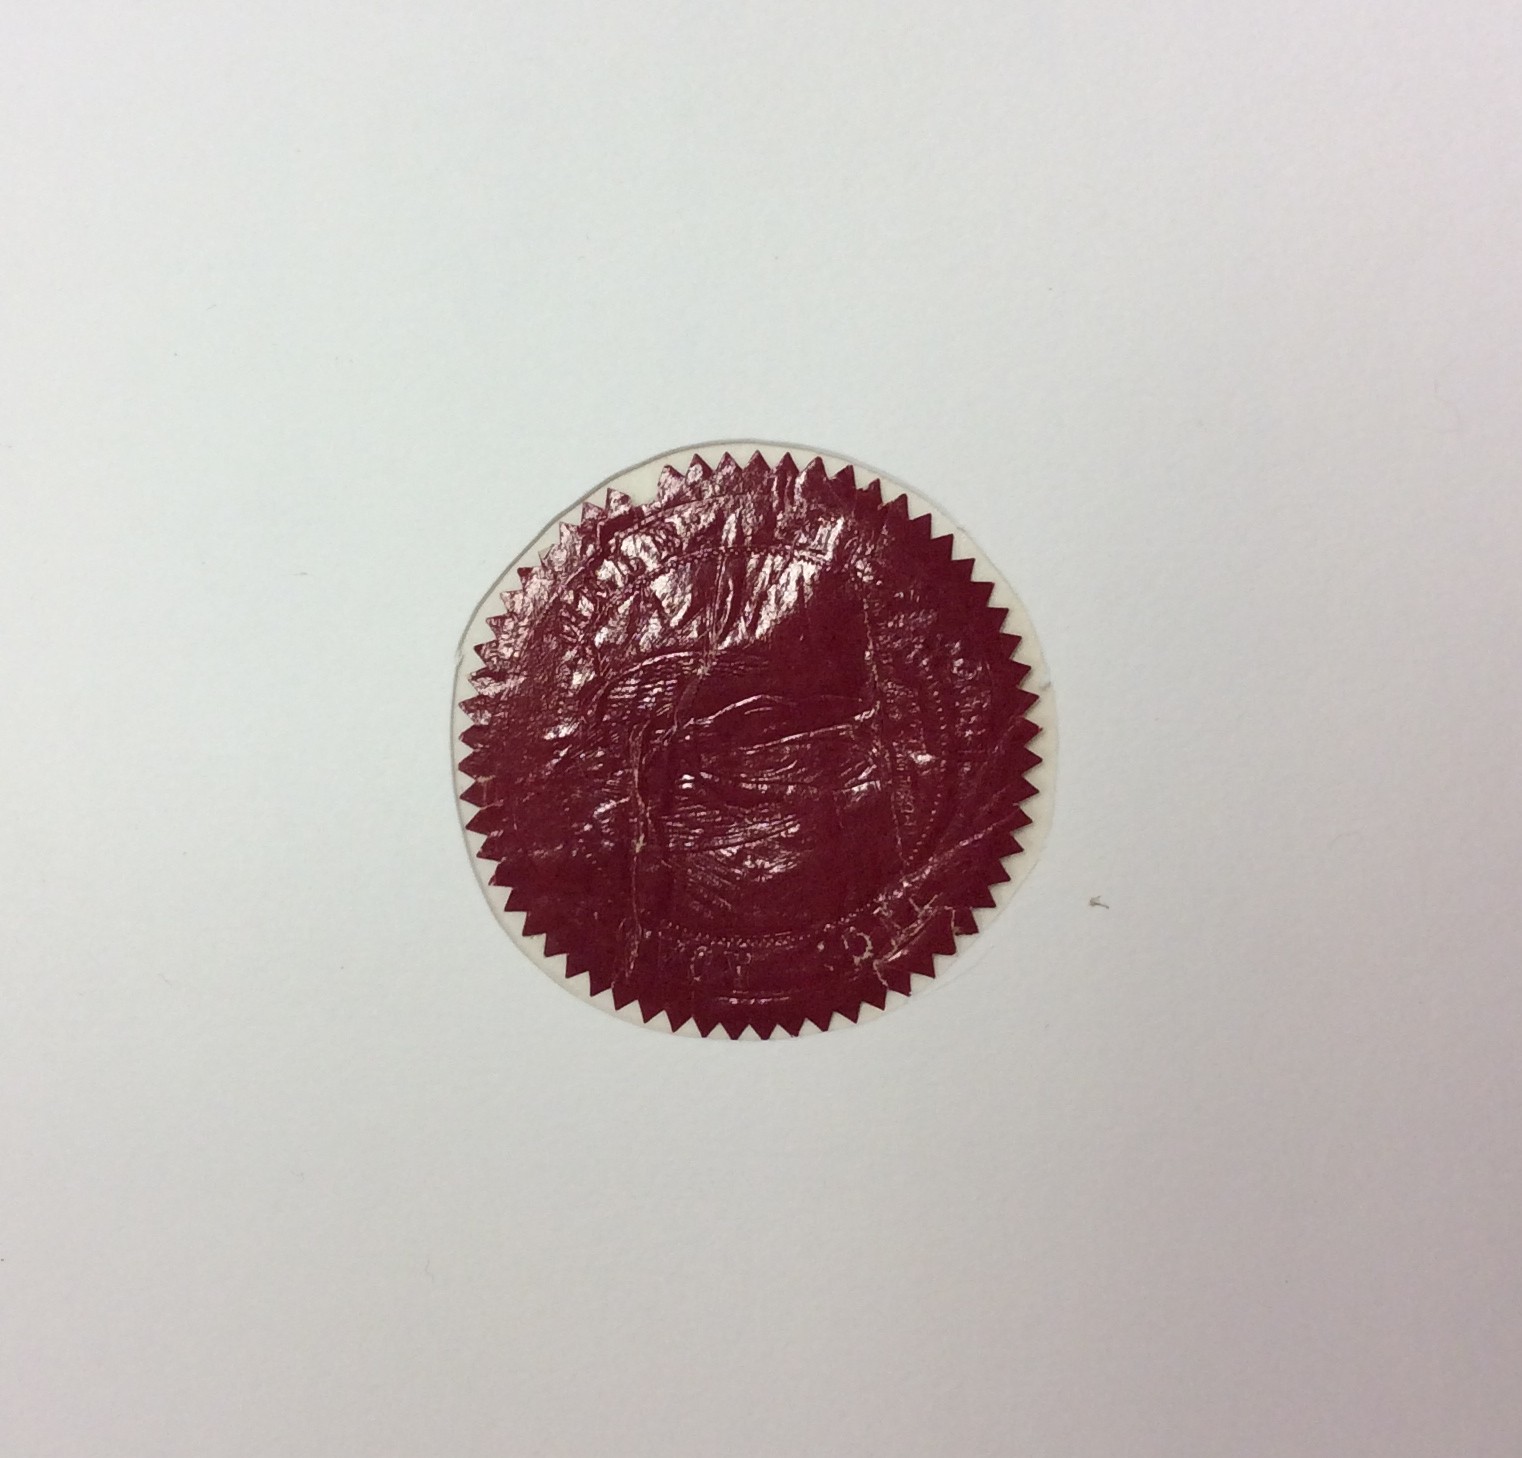
We also had the opportunity to take a closer look at examples from both the University’s wider special collections and those from the Royal Scottish National Hospital. We got a fascinating, and sometimes harrowing, insight into the human stories contained within the archives and, the photographs in particular, gave a glimpse into the daily lives of those that were housed at the hospital.

However, what came as the biggest surprise to us was that, despite not running any History of Art or Fine Art courses, Stirling University has a vast and important art collection with works ranging from paintings by the Scottish Colourist, J.D. Ferguson to a sculpture by Barbara Hepworth. Housed within the Pathfoot Building, there are works by world famous, and home-grown, artists around every corner and in the numerous courtyard spaces. The art collection, and the temporary and permanent exhibitions they hold, are open to the public and I would certainly recommend a visit…

As conservators, we do not work in isolation and visits such as these are important in forging those links with other institutions and to learn how other studios and conservators work. It is a great opportunity to share knowledge and skills thus developing the profession as a whole.

It just leaves me to say big thank you to the conservators at Stirling University for taking the time to show us their work and collections. If you would like to learn more about their project, you can read their blog at:

http://archives.wordpress.stir.ac.uk/2015/01/22/work-placements-in-conservation-2015/

Post by Emma Davey, Conservation Officer

Clean up your sax

I am a Preventive Conservation Masters student at Northumbria University, and as part of my course, I am fortunate to be able to put theory into practice for six weeks at The University of Edinburgh. Being a musician, and wanting to work with interesting composite objects, I was hankering after a chance to work with musical instruments. Having studied at Edinburgh Uni for the last 5 years, I knew it housed an amazing musical instrument collection and I relished an opportunity to go back! I have spent most of my first two weeks working with Jonathan Santa Maria Bouquet, the musical instruments conservator, and have had the task of cleaning a beautiful silver plated saxophone by Selmer for the upcoming Out of the Blue exhibition in the Main Library.

Having been taught repeatedly the reasons why metals and water should not mix, I was surprised when I was shown that the preliminary cleaning phase was water-based. However, I soon learnt that as long as each small area is dried carefully after the wet treatment, the water poses little threat. The abrasive agent used is calcium carbonate (precipitated chalk), which is mixed into water, and applied as a fine dispersion in theHarriet 1 water – not as a paste – using cotton wool swabs and cotton rags. The idea is that the calcium carbonate is harder than the tarnish yet softer than the metal. It is still possible to scratch the silver so it is important to be gentle, and to use plenty of water, which seems counter-intuitive but really works.

After working over the entire metal surface using this wet method, drying as I went, I used a microfibre cloth to remove any chalky residue and lastly a silver polishing cloth (which is impregnated with a sulphur scavenger which breaks down the tarnish chemically rather than physically) to get the hard-to-reach and stubborn areas clear of tarnish. The reason for such a thorough clean is that the last stage of the cleaning plan is a coat of microcrystalline wax for protection from re-tarnishing, under which you do not want to trap any dirt or tarnish. These treatments should mean that not only will the saxophone look fabulous on display, but that it will not need cleaning again (if kept in the right conditions) for a long time.

Harriet 2

The Saxophone mid-way through cleaning

Other tasks so far have included wrapping musical instruments for long term storage, and starting out on an Integrated Pest Management system project with Emma Davey, which has involved visiting the National Trust Scotland offices to hear Preventive Conservator Mel Houston’s approaches to the challenges of monitoring insect pests over their numerous collection sites.

All in all a varied and exciting couple of weeks. Exactly what I came here for! More to come later in my placement, when I’ll be dealing with strings…

Post by Harriet Braine, Preventive Conservator Student Placement

An Exhibition in a Day

As part of the University of Edinburgh’s Innovative Learning Week, the Centre for Research Collections ran a joint event between Conservation, Exhibitions and Archives entitled ‘An Exhibition in a Day’. The aim of this event was to provide the participants with the basic skills required for curating and displaying an exhibition. Despite all our preparation, we entered the day with some sense of trepidation – was it even possible to create an exhibition in a day? We were certainly about to find out…

Using the fascinating and diverse archive collection from the University’s Moray House School of Education as inspiration and source material, the participants received a ‘behind-the-scenes’ experience of what goes in to creating an exhibition. This was as varied as learning how to curate, interpret, design, display and promote their own exhibition (with the aid of the CRC twitter page!), all of which was topped off by an exhibition opening in which we were able to present our day’s work. The day itself was led by Rachel Hosker (Archives Manager), Emma Smith (Exhibitions Officer) and Emma Davey (Conservation Officer), who all shared their own individual expertise and knowledge in this particular field.

The ethos behind the proposed event was to not only to demonstrate the tools and skills required in preparing for an exhibition, but also to provide an interesting and engaging way for participants to interact with the University’s rare and unique collections. The event aimed to engender a greater sense of ownership by students and staff alike of the University collections, and to encourage them to learn more about how these collections can inform or be incorporated into their own work and studies.

ILW 1

The Moray House Archive Collection

ILW 2

Choosing exhibition exhibits

As one of our attendees, Heather McFarlane, writes ” An Exhibition in a Day was a fascinating insight into the collections and a great way to learn how you can make objects and displays engaging. As Education Coordinator in the School of Chemistry I often visits schools, and trainee teachers so it was great to explore the Moray House historical collections and learn about teacher training and nursery care over the last 100 years. As well as exploring the collection, it gave me the chance to think about using exhibitions more. I am always looking for new ways to engage young people and adults in science and so getting experience of putting on exhibition has given me lots of ideas of what can be done using collections and how to make appealing displays. I look at the chemistry museum in a new light now!”

Also participating in the day’s events was our very own conservation Intern, Samantha, who discusses her experience of the day. “Before deciding upon a career in conservation I was working mainly as an artist and curator concerned with the interpretation and exploration of objects with a passion for community engagement. I was thrilled to be able to discover the Moray House School of Education archival collection and help others to appreciate and handle it correctly. The collection has some wonderfully insightful information regarding education in Edinburgh during the early 20th century with so many stories waiting to be discovered. My main role of the day was to assist CRC staff and those taking part, however I became just as absorbed with the collection as our innovative learners! Because we had to sift through such a large number of interesting documents it was very difficult to know what to include within the exhibition, and how to best tell the story of the nursery school. Nevertheless by the end of the day we had all became familiar with our chosen assortment of documents and objects giving us the confidence to forge ahead with how we wanted others to view them. It was great to see so many people engaging with the collection in this way and learning from it too!”

ILW 3

Video Corner!

ILW 4

A display from the exhibition

ILW 5

A display from the exhibition including children’s toys

Overall, the experience was tiring but very rewarding for everyone involved. And, as it turns out, it is possible to create an exhibition in a day…

Post by Emma Davey, Conservation Officer and Samantha Cawson, Conservation Intern

Getting to the Heart of the Matter

This blog post starts where I left off last time (with another pun!) and details my efforts on the Thomson-Walker medical print collection thus far, describing the first phase of the project.

After I had spent a few days surveying the boxes of prints I began to get a better idea of how to best approach treating the entire collection and started to investigate various rehousing ideas, as well as experimenting with numerous adhesive removal techniques. The main requirement for the adhesive removal was to be able to lift a range of adhesives, at various stages of degradation on differing primary supports allowing for the safe and quick removal of carrier and adhesive for the majority of the 2500 prints. It was decided quite early on during the survey that a poultice would work best for such a task. A poultice is a swelling agent commonly made with a viscous substance used to slowly and controllably release moisture. This would permit a number of objects to be treated simultaneously and, if the correct poultice method was adopted, to remove an adhesive easily and equally – such a technique would not only be beneficial for the wellbeing of the prints, but would also be time and cost effective.

I began my experimentation with the Albertina poultice, a ready for use amylase poultice that removes un-swellable starch pastes. I was sent a sample kit, which comprised of two interleaving silk tissue papers, an amylase poultice, and a small piece of blotter. I experimented with this system on a variety of prints from the collection, however whilst the poultice worked wonderfully on some adhesives and carriers (presumably starch based) the poultice failed on others. Because of this I believed that despite the Albertina poultice working well on certain adhesives, and with the added benefit of reusability (the Albertina poultice can be stored and reused for at least 12 months) it was not a suitable option considering the varied adhesives present within the collection.

Next, I experimented with high viscosity carboxymethyl cellulose sodium salt poultice strips, a method devised at the Book and Paper Conservation Studio at the University of Dundee. To be efficient and economical the CMC is wrapped in Japanese tissue to create individual poultice strips that are then placed directly onto the carrier of the adhesive and left to take action. I discovered that to easily remove the adhesive and carrier the poultice strip only needed to be in place for about 20 minutes and thereafter the adhesive/carrier could be gently lifted and removed. This particular poultice worked on a variety of tape and adhesives and the reusable strips were easy to handle and manipulate according to shape and size of the adhesive layer. So far the poultice has been successful on a range of tapes and adhesives including starch based adhesives, animal glue, and masking and glassine tape.

And so, there you have it, the Carboxymethyl Cellulose strips created perfect and painless poulticing – a swift operation, if I do say so myself…

SC 1

Albertina Poultice sample at work

SC 2

Making CMC poultice

SC 3

CMC poultice at work

SC 4

Adhesive and carrier removal after using the CMC poultice

Post by Samantha Cawson, Conservation Intern

Capturing the Moment on Glass Plate Negatives

I recently attended a one-day workshop at the RCAHMS conservation studio regarding the preservation and conservation of glass plate negatives. The day was split roughly into two parts, with the first half of the day dedicated to lectures in digitising glass plate negative collections, preservation, identification of damage and the conservation and stabilisation techniques available for broken negatives. Practical sessions were conducted by ICON intern, Marta Garcia-Celma during the second part of the day when the group were given a practical demonstration of the cleaning procedures of glass plate negatives, gelatine consolidation, and a stabilisation technique for cracked and broken negatives called the sink mount with pressure binding technique. This system of encapsulation uses blotter to create a tight fitting frame-mount and two pieces of clean glass to sandwich the broken glass plate negative within, allowing the plate to be safely handled, digitised and stored. I shall discuss how to make this enclosure in more detail during this blog post as I had never undertaken such a procedure before, finding the experience insightful, rewarding, and very fiddly! First of all though, chaps, you need to find yourself a broken glass plate negative. Here’s one I prepared earlier! Cue Blue Peter theme tune…

G.P.N. 1

Broken glass plate slide

Once you have completed surface cleaning the glass side of the pieces of broken plate using a very soft squirrel hair brush and dampened cotton wool, you may begin to create your flush repair. You start by wiping the surface of two new pieces of glass with IMS (industrial methylated spirit), which should be cut slightly larger than your glass plate negative. Next, you should place your broken glass plate negative emulsion side down onto a piece of blotter (about 1cm larger than your plate and the same size as your new pieces of glass) and splint the broken pieces back together using filmoplast p90 tape. This is a delicate and time consuming process, however the key thing to remember is to avoid sticking the splints down too much, otherwise you’ll have a real job of pulling them off again later!

G.P.N. 2

Glass plate slide with tape splints

To create a tight fit within the blotter sink mount, you should carefully score around the edge of the negative using a scalpel blade then cut out the centre of the blotter and discard – you only need the outer rim to act as a frame-mount for your glass plate negative. Your glass plate negative should now fit snugly in the newly cut centre of the blotter. This part of the process is probably the trickiest, as it is very important for the mount to fit tightly and perfectly around the glass to avoid movement – a saggy mount will not do! Then once you have placed your newly mounted glass plate negative on to your clean sheet of glass and removed your splints you can begin the procedure of binding your glass sandwich together!

G.P.N. 3

Splints being removed from the glass plate slide within the blotter mount

With your broken glass plate negative snugly within its blotter mount and now sandwiched between two new sheets of glass you can bind the edges together using a pasted out strip of silver safe photographic paper; roll your glass plate along the pasted paper and secure as you go. This part is also fiddly mainly because the pasted out strip is damp and weak. So don’t be namby-pamby about it, you don’t want to lose grip of your sandwich whilst smoothing down the binding paper! Once the whole glass sandwich is bound you can snip and fold the corners to make them neat and pretty.

G.P.N. 4

Enclosed glass plate slide

 And voilà! Your broken glass plate negative is now easy to handle and store, which is quite jolly considering its prior sorry shattered state and always worth a shot if you ask me….

Post by Samantha Cawson, Conservation Intern

It’s Bound to be a Pamphlet

As part of my ongoing conservation treatment plan, I have been asked to address the needs of the Special Collections popular and regularly consulted pamphlet series. We are all used to seeing, and using, pamphlets as part of our everyday lives, whether they are marketing the latest products, persuading us how to vote (you may see a lot more of these pamphlets in the coming months!), or why we should be eating healthier. However, the use of pamphlets is by no means new, and has been around for centuries, becoming widely used with the invention of the printing press. Then, as now, they were an effective, low cost and simple means by which to distribute information to a large audience, often being used for propaganda purposes, whether religious or political.

But what exactly is a pamphlet? Thankfully, following their 1964 General Conference, UNESCO provided us all with a handy classification. A pamphlet can be defined as “a non periodical printed publication of at least 5 pages but not more than 48 pages, exclusive of the cover pages, published in a particular country and made available to the public”. Anything with more than 48 pages would be classed a book. And with that cleared up…

detached spine and boards

Examples of damage, including detached spine and cover board

Pamphlets, when they are first produced, will usually be held loosely together along the inner margin. However, many of the pamphlets in the collection have, at some point in the past, been bound together to create larger volumes. Although this does have benefits, allowing them to be more easily shelved, accessed and consulted, there are now a number of associated conservation issues with these volumes. These have ranged from surface dirt through to detached or loose cover boards and/or detached or partially detached spines.

Surface dirt

Example of excessive dirt to uneven page edges

Prior to undertaking any interventive conservation treatment, the volumes were surface cleaned. Many of the pamphlets which have been bound together are different sizes, resulting in irregular edges to the textblock. This has allowed surface dirt to collect between the pages and page edges, as the image amply demonstrates. Firstly, the volumes are lightly cleaned with a soft brush along the textblock edges to remove any loose dirt, before a smoke sponge (made using vulcanised natural rubber) is used to reduce the surface dirt affecting the pages.

If the volume’s boards have become detached, or are loose, I am, in most cases, able to reattach the board, or reinforce the inner join, with the use of Japanese tissue (a thin, strong paper which comes in varying thicknesses depending on the repair required) and wheat starch paste.

Inner join

Detail of inner join repair, using Japanese tissue and wheat starch paste

Spine Hollow

Detail of new spine hollow

The reattachment of the spine is slightly more involved, as it requires accurately measuring and fitting a new spine hollow – these create a gap or ’hollow’ between the spine and the textblock, reducing pressure on the binding. Using acid-free paper and paste (a combination of wheat starch paste and a stronger Evacon adhesive), the new hollow is first adhered to the textblock upon which the spine piece can then be positioned and pasted in place. Although, judging by the picture, it appears that a horrible accident has befallen the poor object; bandages can be used to ensure that there remains good contact between the new spine hollow and the textblock/spine piece whilst drying.

Bandaged

The use of bandages to aid drying

So next time you see a discarded and unlooked at pamphlet, give a thought to their long history and importance in spreading the word, allowing people a platform to express their thoughts and beliefs in the pre-television and internet era.

Post by Emma Davey, Conservation Officer

A gutsy project: A heart to heart with the new girl

If you didn’t guess from the anatomical pun title, this blog post details the beginnings of my 10-week internship conserving the Thomson-Walker collection at The Centre for Research Collections conservation studio. As a recent MA graduate of art on paper conservation from Camberwell College of Arts I was looking for an internship that would give me the chance to gain project management experience as well as allowing me to become familiar with various printing techniques and how to treat them in innovative ways. This internship permits me to meet these aims as I am the first person to begin conservation work on this collection and shall be creating a treatment and rehousing program as well as undertaking research, experimentation and treatments to get the project underway.

T-W 1

Print from the Thomson-Walker Collection

The Thomson-Walker collection includes some 2,500 prints, which were bestowed to the University of Edinburgh in 1939 by Sir John William Thomson-Walker (1871-1937), a surgeon and committed print collector. The collected prints are mostly in good condition and convey portraits of influential medical men from the UK and Europe ranging from the 16th-20th centuries. The main conservation issue for this collection are the backing boards that the prints have been adhered to; the board is of low grade quality, which is not only destructive to the primary support but also prohibits the prints from being exhibited, digitised, or used as a resource for teaching. The unattractive and damaging boards and the tape used to adhere them to the primary support will have to be removed; I shall be experimenting with various treatment methods in the coming weeks in order to create a fast and effective programme of conservation which can be carried out by myself and the interns that follow after me. Additionally, the print collection varies tremendously in size and so I will also be investigating various storage solutions to rehouse this large group of artworks in a way that is not only cost effective but also accommodates how they shall be used now and in the future. Wish me luck, let’s hope my efforts aren’t in vein….

T-W 2

Close-up of a print hinged onto a poor quality backing board

Post by Samantha Cawson, Conservation Intern

Previously, in Conservation…

There have been many highlights in conservation over the last 12 months, but one of the most enjoyable for me has been the opportunity to take part in outreach activities, whether it’s been writing blog posts, participating in studio tours and visits, holding conservation training days, or representing the University’s conservation department at various local and national festivals.

In October of this year, we were able to leave our natural habitat of the studio when asked to take part in the Midlothian Science Festival. Emily Hick (LHSA project conservator) and Vanessa Johnson (a conservation student and previous blog contributor) ran a booth that demonstrated how conservators can use Ultra Violet light to identify pigments which in turn can assist in informing an artworks treatment plan or long-term preservation needs. Using various pigments that absorb, reflect or fluoresce under UV, the participants were encouraged to draw pictures and then examine them in a dark tent under UV and describe how they changed. As Emily says, the “kids loved seeing their paintings transformed, and learnt that science isn’t all about test tubes and chemicals, but can be used in art as well!” MSF

Last month, we were also delighted to be asked to hold a workshop – entitled ‘Making History: DIY medieval charters, title deeds and treasure maps’ – as part of Scotland’s Previously History Festival, which we held in our conservation studio at the Centre of Research Collections. The event proved popular, with particPreviously 2ipants of all ages enjoying the practical side – with tea-staining paper, wax seals, painting with pigments, and transcribing using ink and dip pens included – as well as being afforded the opportunity to see first-hand some of the University’s Special Collection and Lothian Health Services Archive Collection material, dating back to the eighteenth century, for inspiration for their creations. Below is an example of the handiwork produced by some High School History pupils during the session, including a replica of a letter written by the artist Allan Ramsay – can you spot which one is the fake?

Previously 1Previously 3 

All our outreach efforts, and these sessions in particular, have been a great opportunity to bring conservation and collection care theory to a wider audience, both within the University and further afield, in what is hopefully a fun and engaging way. Perhaps we may even be influencing the next generation of conservators….

Lastly, I would like to wish everyone a Merry Christmas and Happy New Year from us all in conservation. We look forward to keeping you posted with all our conservation news throughout 2015!

Emma Davey, Conservation Officer

Opportunity Knocks…

We have been very pleased to welcome some new faces to the conservation studio over the past month – we now have two new conservation volunteers, Olivia and Collette, and our CRC Graduate Trainee, Alice, who have been spending one-day a week with us in conservation. They have all been doing a fantastic job with their current project of surface cleaning and re-housing a series of Library Correspondence, dating from the 1930-40s, from the University’s Archive Collection. You will be able to read more about their work and their own perspective on their time in the studio in an upcoming blog post.

Olivia

Our volunteer, Olivia, busy surface cleaning and rehousing the University’s Library Correspondence.

We are excited to be able to add further to this bustle of activity – we are now advertising a 10-week conservation internship at the Centre for Research Collections. This is an exciting opportunity for a newly qualified, or soon-to-be qualified, paper conservator to further their experience in their chosen field, as well as gain wider experience of working in the Special Collections and higher education sectors.

The successful intern with have the opportunity to work on the University of Edinburgh’s Thomson-Walker Collection; a collection of some 2500 prints bequeathed to the University by Sir John William Thomson-Walker (1871-1937), an eminent surgeon and print collector. This internship will see the prestigious print collection assessed for its conservation and storage requirements, with the first phase of appropriate treatment undertaken.

This is a particularly exciting time for us in the studio, not only to have an important collection receive conservation attention, but to also to have the chance to pass on valuable experience and skills to those who are just beginning their conservation careers.

To read more about the conservation internship, please visit: http://www.ed.ac.uk/polopoly_fs/1.154060!/fileManager/Thomson-Walker%20Internship%20Advert.pdf

If you wish to apply, please get your applications sent in by 28th November!

Post by Emma Davey, Conservation Officer

Conservation, with Honours

With Fresher Week just past, it seems fitting that this post should be based around diplomas – even if graduating does seem a long way off for these new students!

Box

Archival Box containing rolled diplomas from ‘Toward Dolly’ Project.

Several months ago, I was presented with an interesting conservation challenge by ‘Towards Dolly’ Project Archivist, Clare Button, namely a box of tightly rolled diplomas and certificates. As Clare explains these are “certificates for many of Edinburgh’s leading biological scientists, giving an insight into their training, education and society memberships”. There are medical degree certificates for James Cossar Ewart who became Professor of Natural History at the University of Edinburgh in 1882, and who established the teaching of genetics in Edinburgh. There are also Alan William Greenwood’s undergraduate and doctoral certificates in Science from the University of Melbourne. Greenwood emigrated to Edinburgh in 1923 to study poultry genetics and he later became Director of the Poultry Research Centre. Finally, the honorary degree and association membership certificates for Charlotte Auerbach, a pioneering mutation researcher at the Institute of Animal Genetics, show the respect she garnered from colleagues and institutions around the world.

Rolls

Rolled diplomas and certificates proving difficult to handle

The diplomas and certificates in their existing rolled format proved to be very difficult to handle and view, even with the aid of weights. This was particularly problematic in those rolls consisting of multiple documents, with anything up to eleven sheets – and undoubtedly it is always the one in the centre that is required! It was therefore deemed appropriate to unroll and flatten them in order to improve handling and enable them to be more accessible to potential readers.

On examining the documents, it soon became apparent that dry pressing the sheets would not be sufficient to flatten them satisfactorily. Prior to any pressing, the sheets would first need to be ‘relaxed’ through humidification – a method by which moisture is slowly and carefully introduced to the document in a controlled environment, relaxing the paper and slowly flattening the sheet. I humidified the objects by laying each document upon a layer of Gore-tex® which, in turn, is place on a sheet of non-woven fabric which has been wetted. The Gore-tex® acts as an interleaving layer and, due to its micro-porous nature, gently introduces moisture to the object above. Finally, a layer of transparent Polyester is placed above this set-up and, with the aid of weights, a make-shift chamber is created to maintain a humid environment. This method ensures moisture is kept to minimum, thereby lowering the risk of distortion or disrupting potential water soluble inks. A very close eye was kept on the documents during this process all the same….

Humidification

Humidification process

When the paper was suitably relaxed and unrolled, the diplomas were placed on a low pressure table which uses suction to remove excess moisture whilst gently restraining and manipulating the sheet to lay flat during this drying process. This is a quick (but very noisy) method, which was subsequently followed up with a period under weight in the press.

Suction table

drying and flattening diploma on low-pressure table


Close-up seal

Blotter surround used to protect embossed seal during pressing

Whilst pressing, extra care had to be taken with those diplomas with embossed stamps or paper seals. Tracings were taken of the seals, the shape of which was cut out of the blotting paper used to sandwich the object during pressing. This ensured the rest of the sheet remained flat, whilst avoiding the stamps and seals in order to retain their raised design. The sheets were pressed for several months to ensure that the diplomas did not retain their ‘memory’ of their previous existence as a rolled document.

Once pressed, the final step was to place the diplomas and certificates into transparent Polyester sleeves, allowing them to be housed safely and, most importantly, flat in acid-free archival boxes. As Clare adds about the ‘Towards Dolly’ project, “these collections are not only an invaluable resource for research on the history of science and medicine, but they also speak to all of us by revealing the fascinating human story behind the science”.

Definitely something to remember when walking up to collect your graduation certificates….