In this week’s blog, Special Collections Conservator, Emily Hick, describes the next stage of conserving a collection of Indian paintings, and explains how she used a rigid gel to remove old tissue papers that were adhered to the front. You can read part one of this blog here.
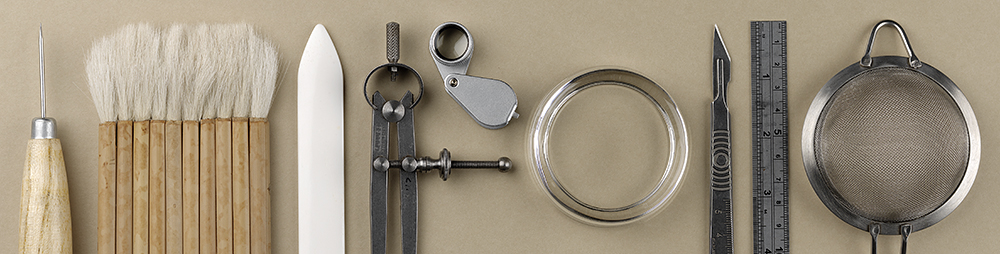
After completing a condition report and putting together a treatment proposal, we began interventive treatment. The first step was to surface clean the paintings. This removes all loose surface dirt, which can be harmful to paper documents, and prevents the dirt from sinking further into the paper fibres during the later aqueous treatments, making it difficult to remove. To do this we used a soft goat hair brush on the painted areas and smoke sponge on the borders. We cut the smoke sponge into small pieces and used a dabbing motion to avoid removing any of the gold leaf sprinkled on the surface. A good quality Mars Staedler™ rubber was cut into thin slithers and used to remove areas of ingrained dirt on the edges of the painting.
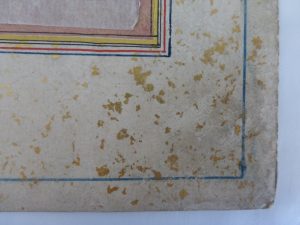
Ingrained dirt at the corner of a painting
After both the front and back of the paintings were cleaned, we consolidated the delaminated edges and corners using wheat starch paste. The paste was applied using a flat head brush and left to dry for a short time before pressing between Bondina™, blotter and weights.

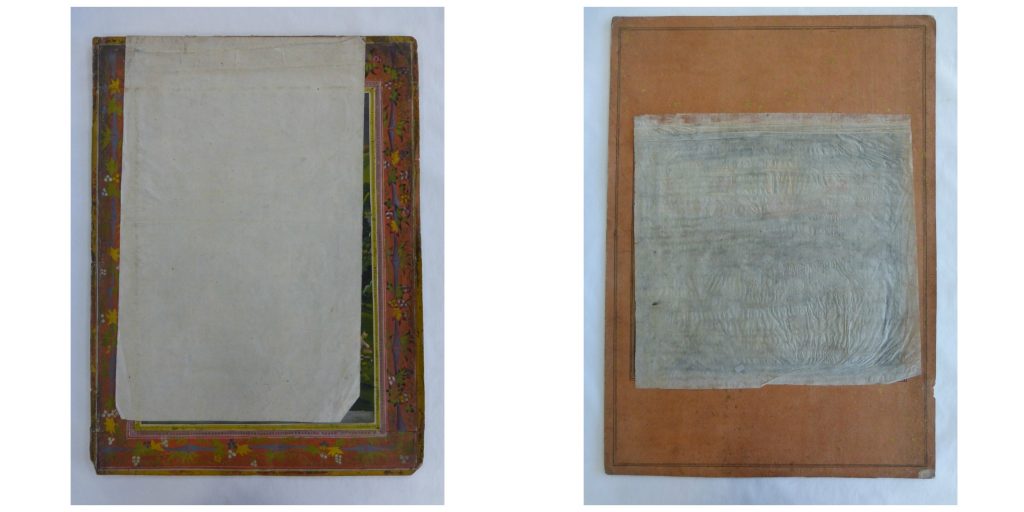
Delaminated corners before (left) and after (right) conservation
Although these treatments improved the overall condition, many paintings still had discoloured and creased tissue papers adhered to the front. These tissue papers were historically attached to protect the fragile surface of the paintings, however, it makes them difficult to exhibit and more handling is required to view the image. They may also be acidic. This acidity can migrate to the paintings weakening the paper structure and potentially change the colour of the pigments.
Tissue papers adhered to paintings
Removing these tissue papers poses a high risk to the paintings as moisture needs to be employed to soften the adhesive used to attach the paper. Since many of the tissues papers are stuck to the paint layer, a small amount of water will need to be introduced to the painted areas. If the paint is very sensitive to moisture it can bleed or offset immediately. Pigments that are only moderately sensitive to water may withstand a higher level of moisture before bleeding. As such, following sensitivity tests, a controlled method of introducing moisture is needed to prevent loss or migration of pigment.
Rather than just applying water with a brush, Conservators often use poultices to slowly moisten a small targeted area. For example, in the studio we often use a high viscosity carboxymethyl cellulose poultice to remove adhesives and tapes. You can read more about this methodology here. However, due to the risk posed to these paintings, we wanted a method that was more precise, so that the area exposed to moisture was reduced as much as possible.
A relatively new method of doing this is to use rigid gels such as gellan gum. To make the gel, we added 3g of gellan gum power to 100ml of water to create a 3% solution. We then raised the temperature of the liquid to boiling point until all the powder was dissolved. This solution is then poured into a shallow container and left to cool. This creates a clear, flexible, but rigid gel that can be cut precisely to match the area that needs to be humidified. In some cases, where an unusual shape needed to be cut, we created a template by tracing the shape using a permanent marker on a piece of polyester, and then cut the shape out of the gel using a scalpel. A useful article on the use rigid gels in conservation can be found here.
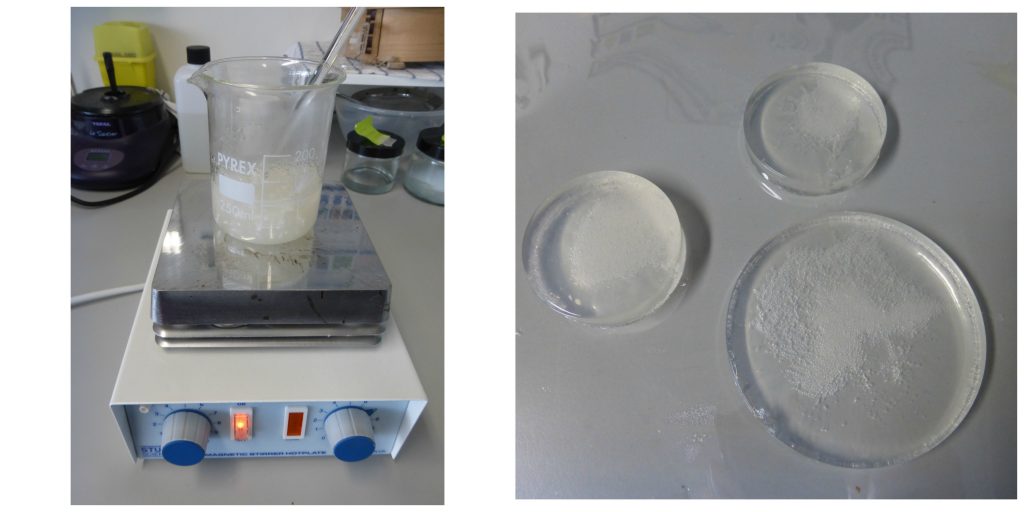
Making a rigid gellan gel
Once the gel was cut to shape, it was placed directly on the desired area and left for several minutes. The exact amount of time needed to remove the tissue paper was calculated by carrying out tests on a small area beforehand. It is vitally important that the area is humidified enough so that the top layer of the paper is not torn off with the adhesive, but not too damp that the paper support is weakened and tidelines form at the interface between the wet and dry areas. Each tissue paper is different, so these tests need to be carried out each time. Once the area has been sufficiently humidified, the tissue paper can be lifted away, and the area swabbed with a cotton bud to remove any adhesive or gel residue. It is then pressed to prevent any planar distortion of the item.
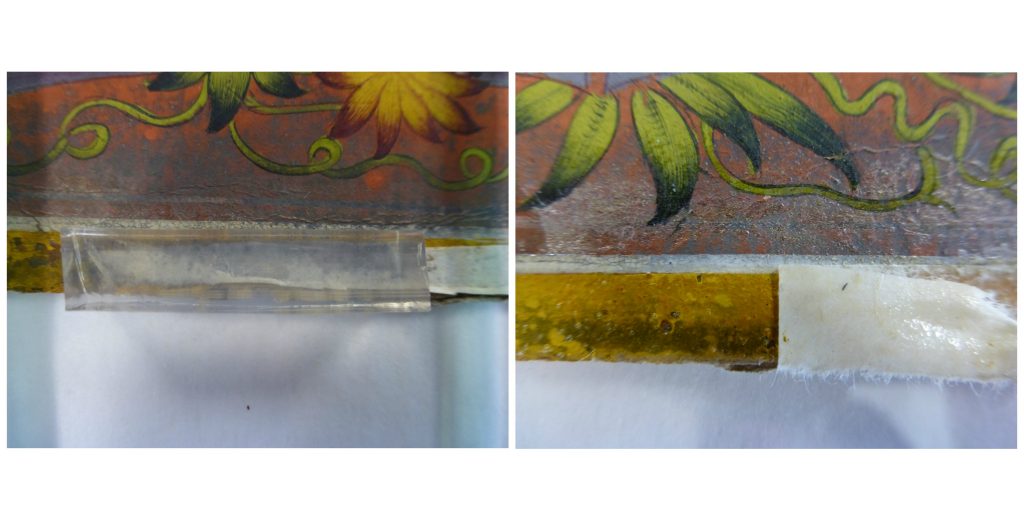
During conservation. Gel applied to tissue paper (left) and removing tissue paper (right)
The next stage of the conservation treatment will be to mount these paintings so that they are ready for use in seminars and in exhibition. Find out more about this in part three of this blog – coming soon!
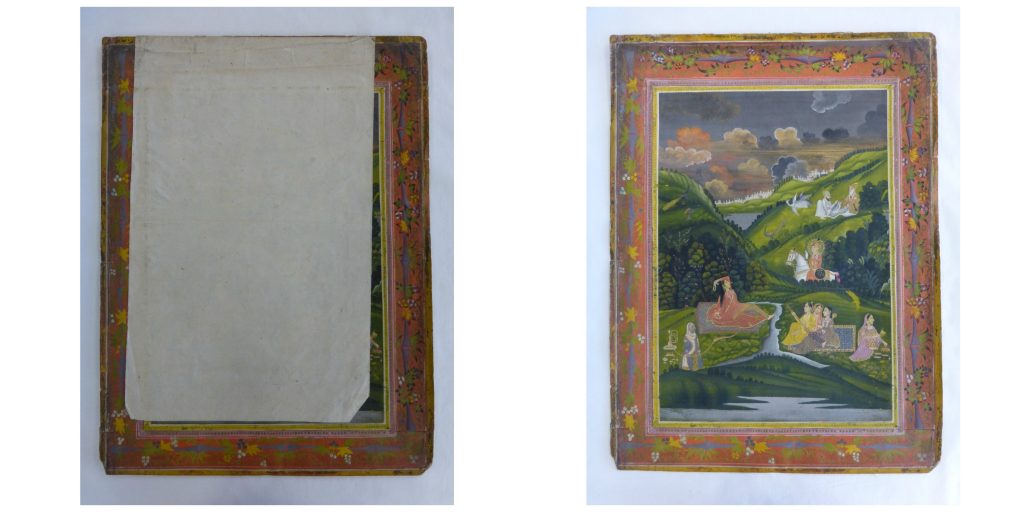
Painting before (left) and after (right) conservation
Pingback: A Passage to India – Part 1 | To Protect and (Con)serve
Pingback: Conservation Placement – Northumbria University | To Protect and (Con)serve
Pingback: Conservation Placement in Scotland | Conservation Conversations