Overview
The Problem
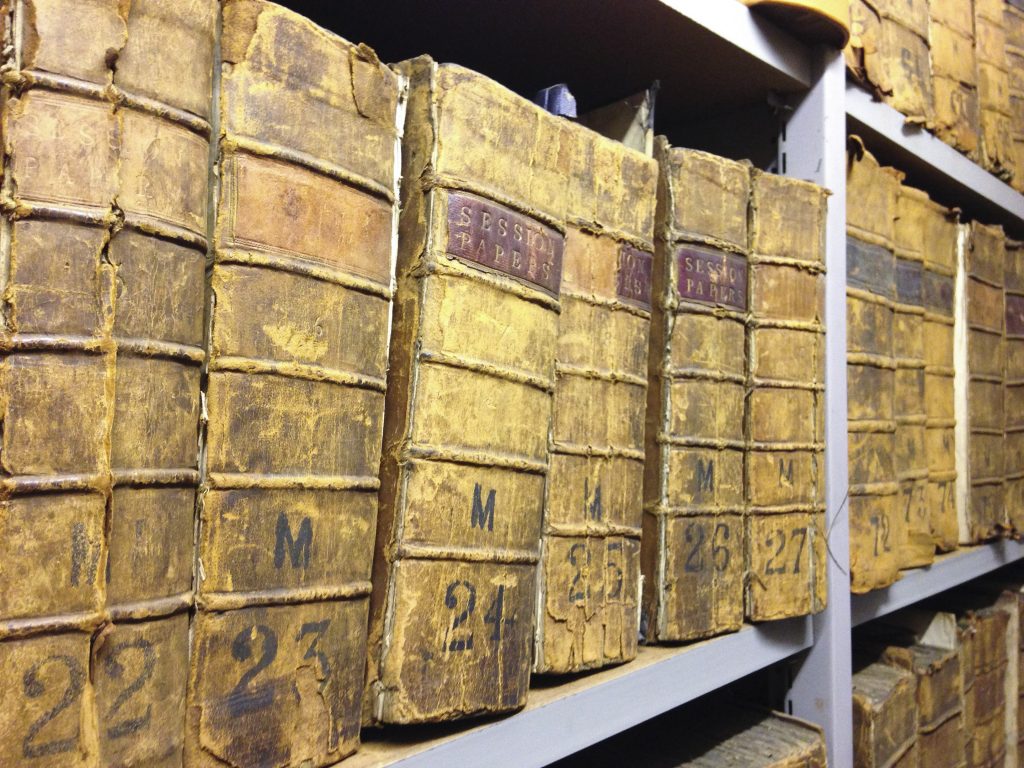
We have a collection of historic papers from the Scottish Court of Session. These are collected into cases and bound together in large volumes, with no catalogue or item data other than a shelfmark. If you wish to find a particular case within the collection, you are restricted to a manual, physical search of likely volumes (if you’re lucky you might get an index at the start!).
The Aim
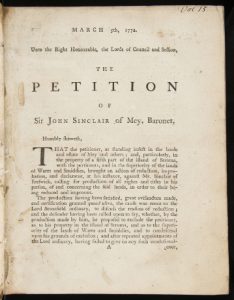
I am hoping to use computer vision techniques, OCR, and intelligent text analysis to automatically extract and parse case-level data in order to create an indexed, searchable digital resource for these items. The Digital Imaging Unit have digitised a small selection of the papers, which we will use as a pilot to assess the viability of the above aim.
Stage One – Image preparation
Using Python and OpenCV to extract text blocks
I am indebted to Dan Vanderkam‘s work in this area, especially his blog post ‘Finding blocks of text in an image using Python, OpenCV and numpy’ upon which this work is largely based.
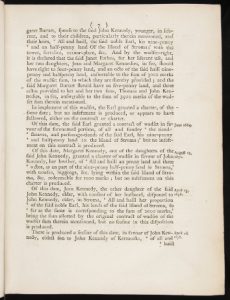
The items in the Scottish Session Papers collection differ from the images that Dan was processing, being images of older works, which were printed with a letterpress rather than being typewritten.
The Session Papers images are lacking a delineating border, backing paper, and other features that were used to ease the image processing. In addition, the amount, density and layout of text items is incredibly varied across the corpus, further complicating the task.
The initial task is to find a crop of the image to pass to the OCR engine. We want to give it as much text as possible in as few pixels as possible!
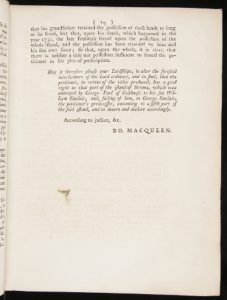
Due to the nature of the images, there is often a small amount of text from the opposite page visible (John’s blog explains why) and so to save some hassle later, we’re going to start by cropping 50px from each horizontal side of the image, hopefully eliminating these bits of page overspill.
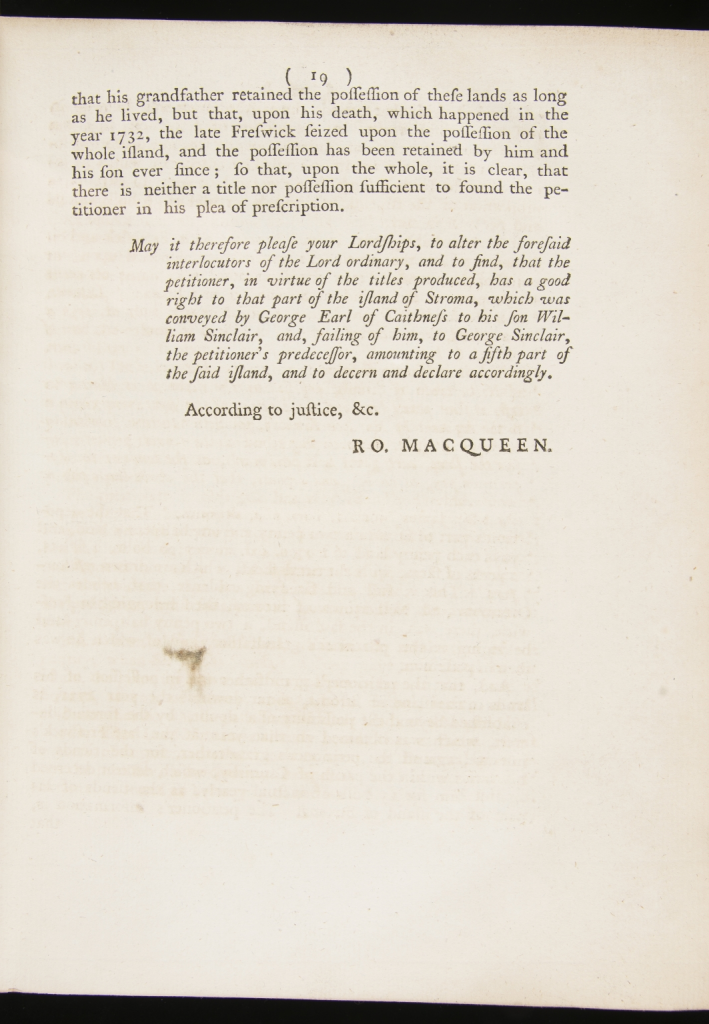
Now that we have the base image to work on, I’ve started with the simple steps of converting it to grayscale, and then applying an inverted binary threshold, turning everything above ~75% gray to white, and everything else to black. The inversion is to ease visual understanding of the process. You can view full size versions by clicking each image.
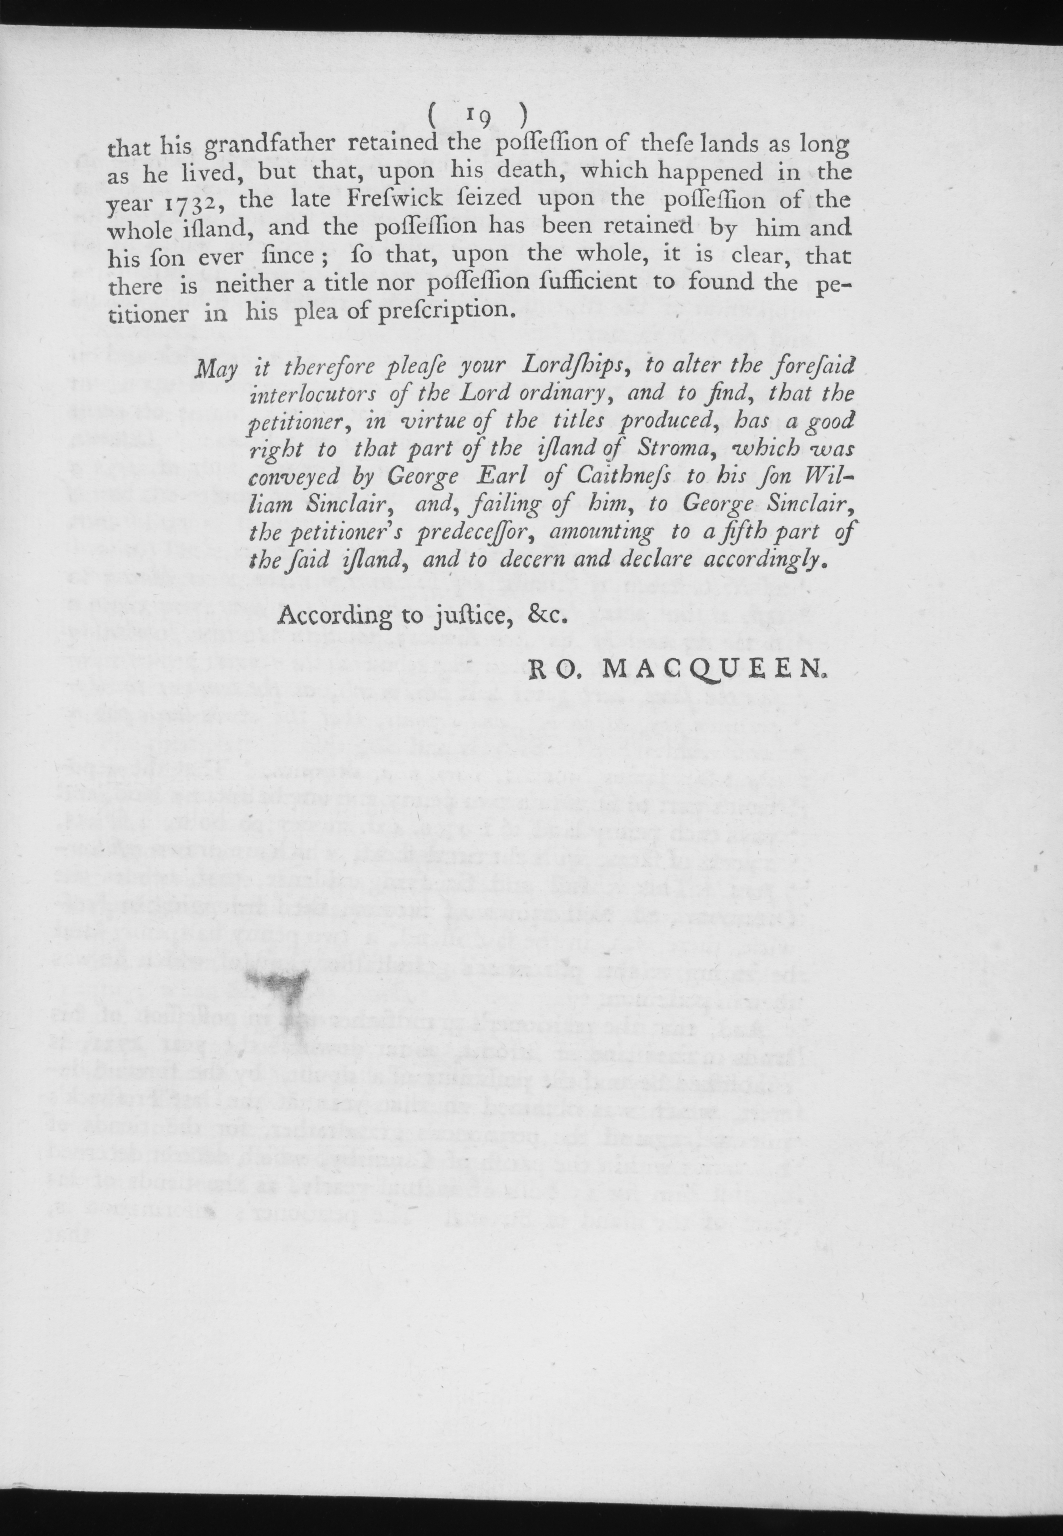
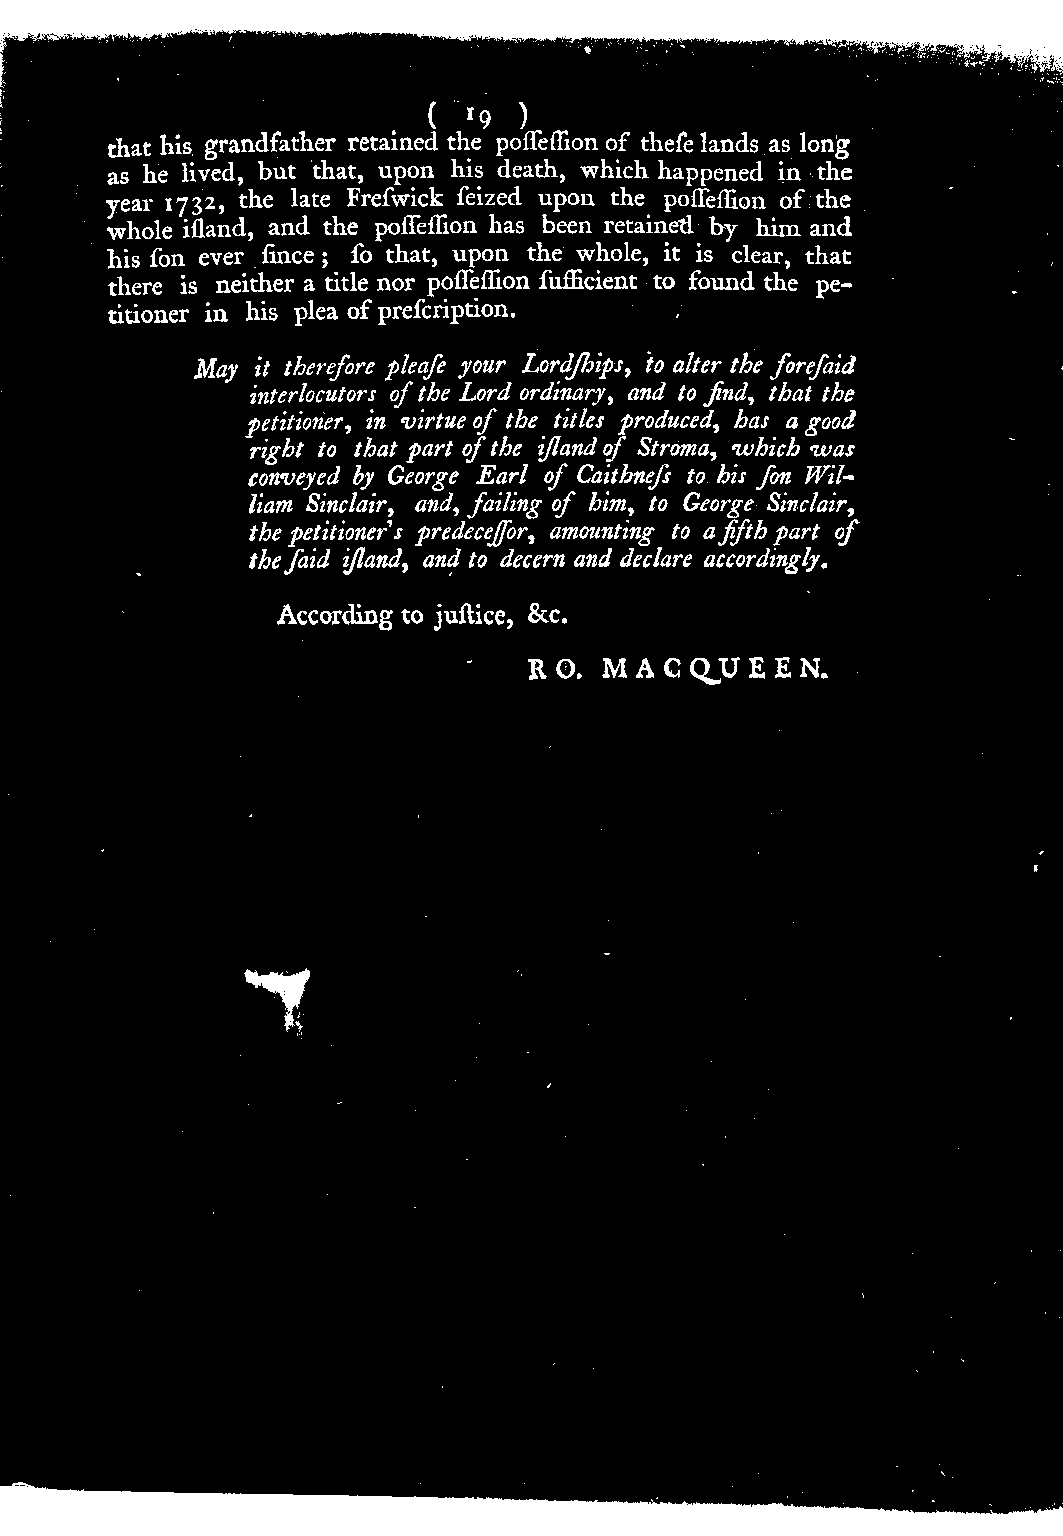
The ideal outcome is that we eliminate smudges and speckles, leaving only the clear printed letters. This entailed some experimenting with the threshold level, as you can see in the image above, a lot of speckling remains. Dropping the threshold to only leave pixels above ~60% gray was a large improvement, and to ~45% even more so:

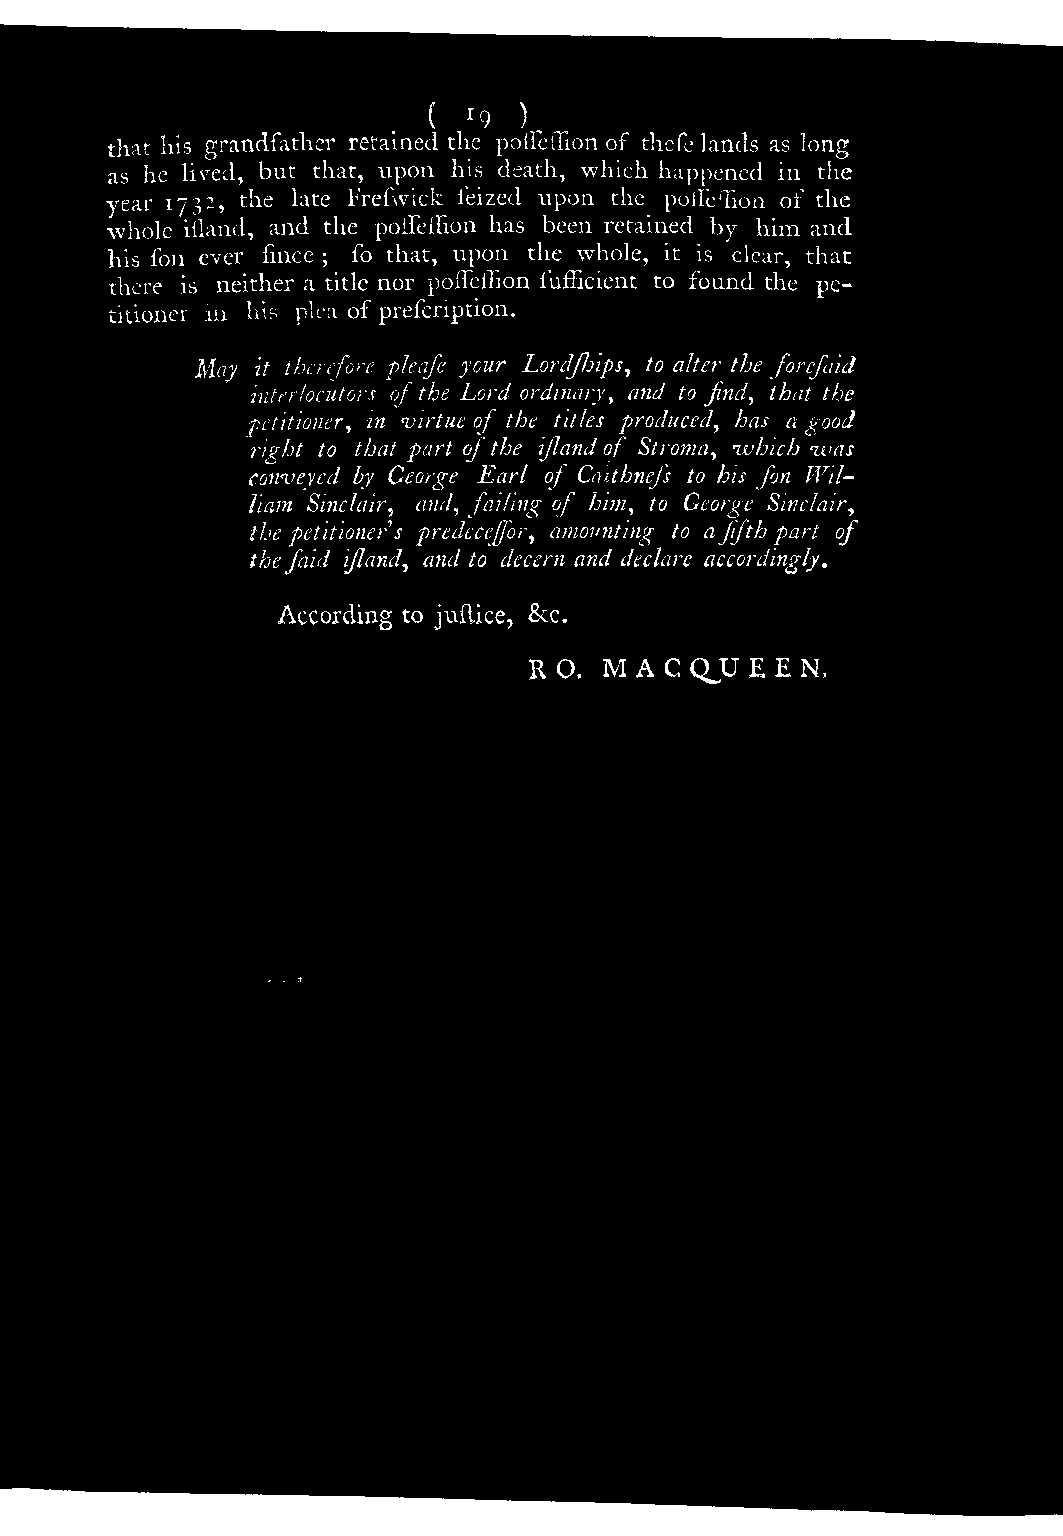
At a threshold of 45%, some of the letters are also beginning to fade, but this should not be an issue, as we have successfully eliminated almost all the noise, which was the aim here.
We’re still left with a large block at the top, which was the black backing behind the edge of the original image. To eliminate this, I experimented with several approaches:
- Also crop 50px from the top and bottom of the images – unfortunately this had too much “collateral damage” as a large amount of the images have text within this region.
- Dynamic cropping based on removing any segments touching the top and bottom of the image – this was a more effective approach but the logic for determining the crop became a bit convoluted.
- Using Dan’s technique of applying Canny edge detection and then use a rank filter to remove ~1px edges – this was the most successful approach, although it still had some issues when the text had a non-standard layout.
I settled on the Canny/Rank filter approach to produce these results:
Next up, we want to find a set of masks that covers the remaining white pixels on the page. This is achieved by repeatedly dilating the image, until only a few connected components remain:


You can see here that the “faded” letters from the thresholding above have enough presence to be captured by the dilation process. These white blocks now give us a pretty good record of where the text is on the page, so we now move onto cropping the image.
Dan’s blog has a good explanation of solving the Subset Sum problem for a dilated image, so I will apply his technique (start with the largest white block, and add more if they improve the amount of white pixels at a favourable increase in total area size, with some tweaking to the exact ratio):

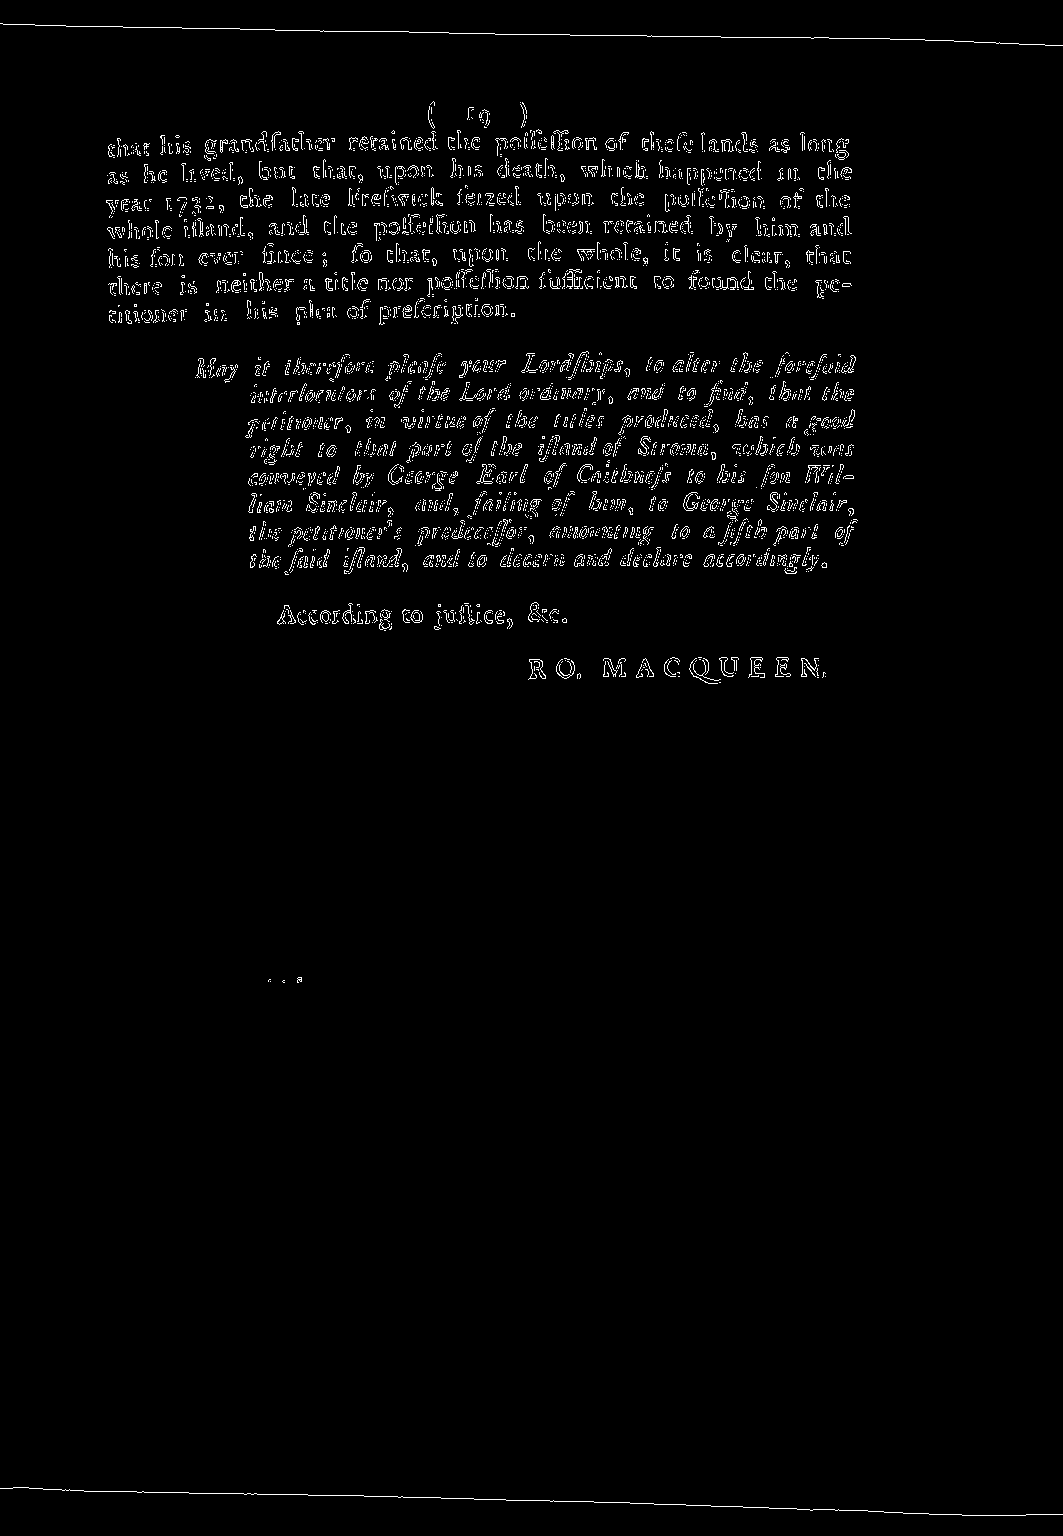
So finally, we apply this crop to the original image:
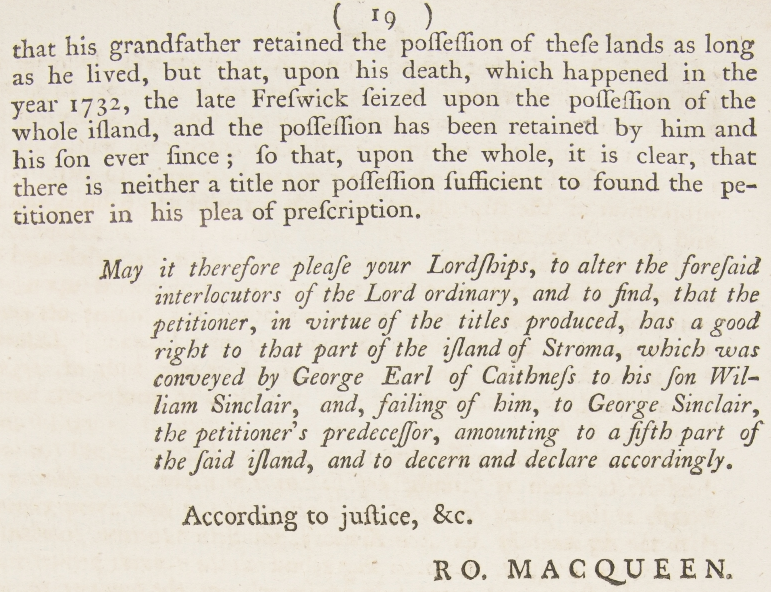
As you can see, we’ve now managed to accurately crop out the text from the image, helping to significantly reduce the work of the OCR engine.
My final modified version of Dan’s code can be found here: https://github.com/mbennett-uoe/sp-experiments/blob/master/sp_crop.py
In my next blog post, I’ll start to look at some OCR approaches and also go through some of the outliers and problem images and how I will look to tackle this.
Comments and questions are more than welcome 🙂
Mike Bennett – Digital Scholarship Developer
Impressive stuff. Well done Mike.
So impressed Mike! Looking forward to following your progress.
That’s an incredible process and very impressive indeed. I think the method you used to solve the blank space problem is very creative! Nicely done.